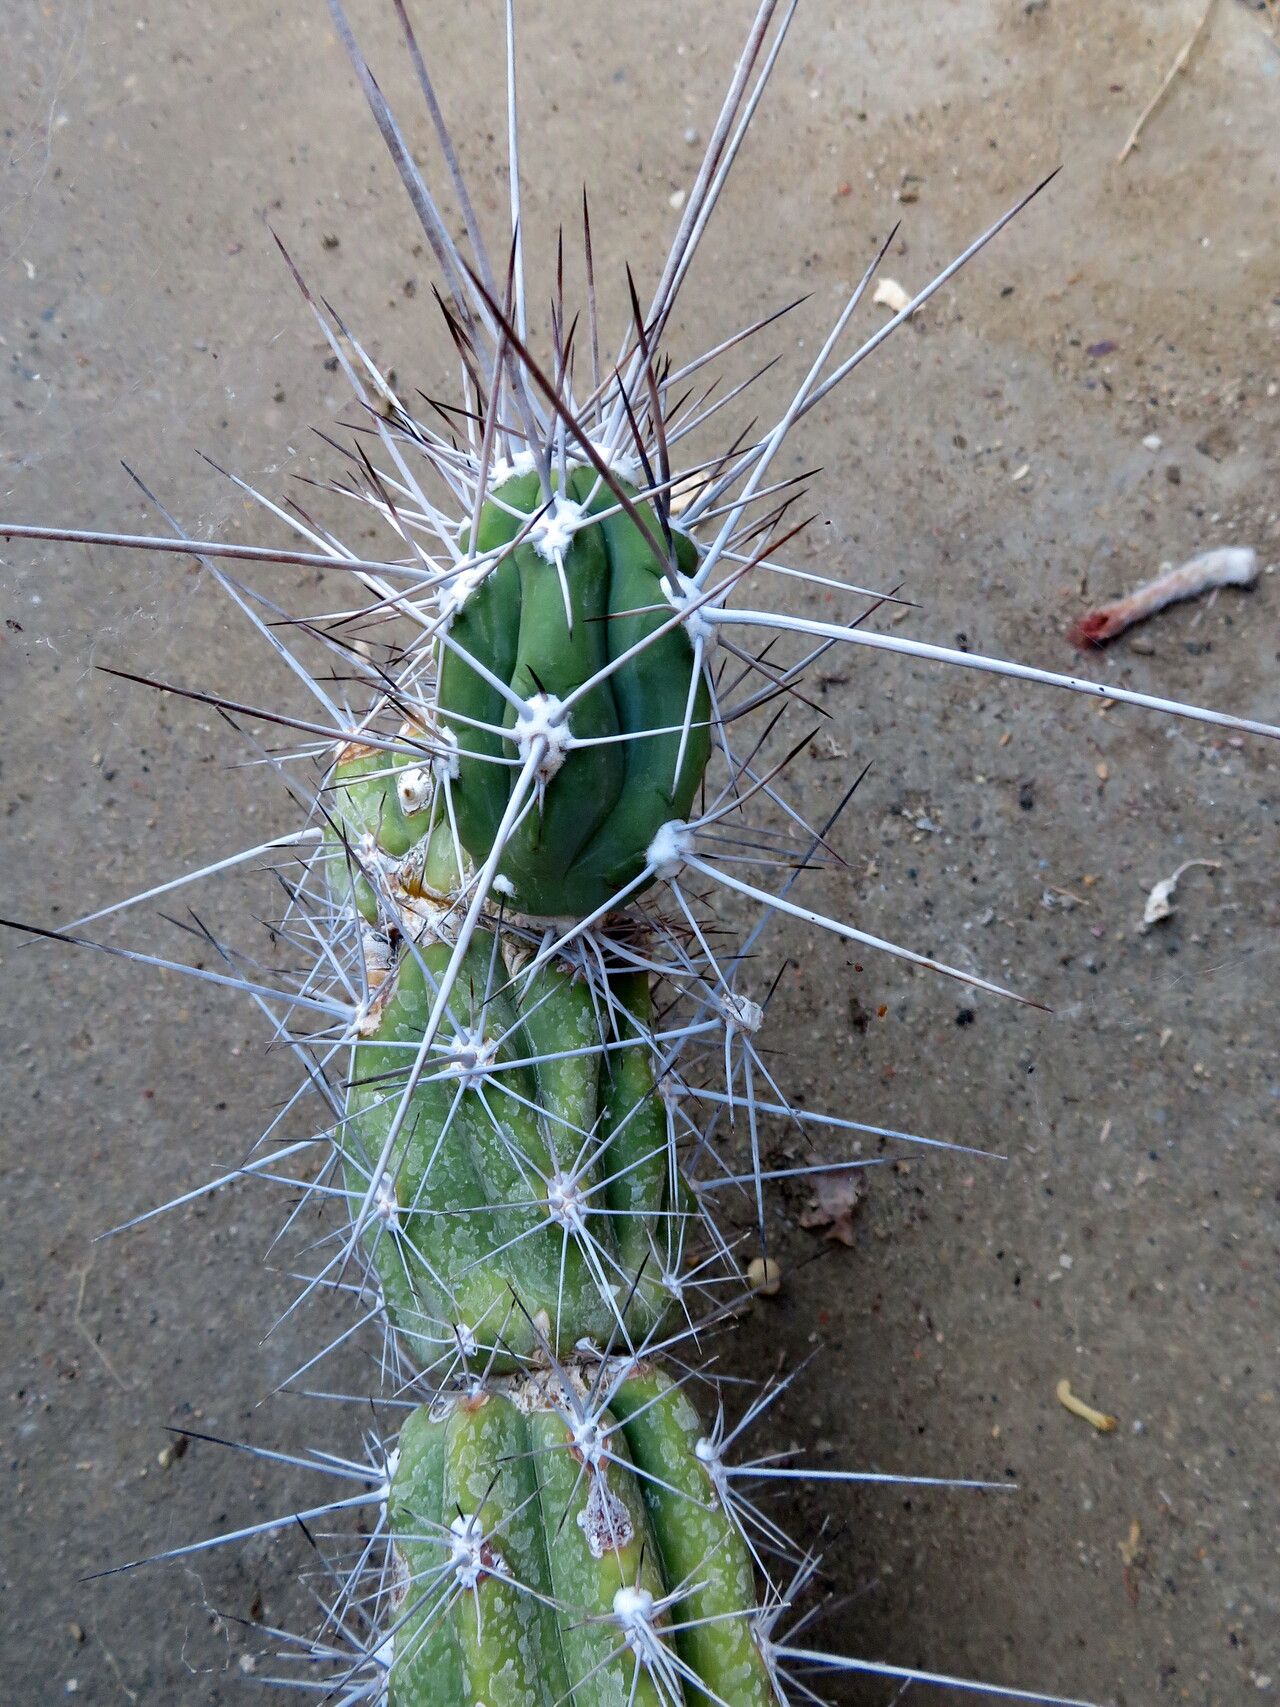
Hey there, fellow plant lovers! I’m so excited to chat with you today about a truly unique cactus: Stetsonia coryne, often called the “Toothpick Cactus.” With its distinctive, sharp spines and architectural form, it’s a real conversation starter in any collection. Propagating these beauties is incredibly satisfying, giving you more of that striking presence to share or simply to fill up your own green spaces. Now, I’ll be honest, while not terribly difficult, it does require a bit of care and patience. It’s a wonderful project for those of you who’ve got a few successful plant ventures under your belt, but a beginner can certainly tackle it with a little focus.
The Best Time to Start
For Stetsonia coryne, spring and early summer are your golden window. This is when the plant is actively growing, which means it’s full of energy and ready to put down roots. You’ll have the best chance of success if you take cuttings when the weather is warming up and there’s plenty of natural light.
Supplies You’ll Need
Gathering your tools beforehand makes the whole process smoother. Here’s what I usually have on hand:
- Sharp, clean pruning shears or a knife: Sterilize them with rubbing alcohol to prevent any nasty diseases.
- Rooting hormone (optional but recommended): This gives cuttings a little boost.
- Well-draining potting mix: A cactus or succulent mix is perfect. You can also make your own by combining equal parts potting soil, perlite, and coarse sand.
- Pots or containers: Small terracotta pots are great because they allow soil to breathe.
- Gravel or small stones: For drainage at the bottom of pots.
- Watering can or spray bottle: For gentle watering.
- Patience!
Propagation Methods
I find that stem cuttings are the most reliable way to go with Stetsonia coryne.
- Taking the Cutting: Choose a healthy stem section that’s at least 4-6 inches long. Using your sterilized shears, make a clean cut at the base of the section you want to propagate. It’s best to take a cutting from near the tip of a stem.
- Callusing is Key: This step is crucial for cacti, and it’s non-negotiable! Lay the cutting on a dry paper towel in a well-ventilated area for 5-10 days, or even longer, until the cut end has completely dried and formed a hard callus. This prevents rot when you plant it.
- Rooting Hormone (If Using): Once callused, lightly dip the cut end into rooting hormone powder, tapping off any excess.
- Planting It Up: Fill your small pot with your well-draining mix. Make a hole in the center of the soil with your finger or a pencil. Gently insert the callused end of your cutting into the hole, making sure it stands upright. Don’t bury it too deeply; just enough to support it.
- Watering and Waiting: Do not water immediately. Wait a few days after planting. Then, water very sparingly. The soil should be barely moist. You can use a spray bottle to mist the soil surface lightly. Place the pot in a bright spot, but out of direct, intense sunlight at first.
The “Secret Sauce” (Pro Tips)
Here are a few things I’ve learned over the years that can make a big difference:
- Don’t Rush the Callus: Seriously, this is the most common reason cuttings rot. If that cut surface still looks moist or fleshy, let it dry longer!
- Embrace Bottom Heat: If you can, placing your potted cuttings on a gentle heat mat designed for seedlings or plants can really encourage root development. It mimics the warmth of spring soil nicely.
- Observe, Don’t Over-Water: Cacti are masters of water storage. They don’t need much to root. It’s far easier to revive an under-watered cactus than an over-watered one that’s already started to rot.
Aftercare & Troubleshooting
Once you see signs of new growth – a tiny bud, a slight swelling at the base, or when the cutting feels more firmly anchored – it’s a good sign that roots are forming! You can then gradually increase your watering, allowing the soil to dry out between waterings.
The most common issue you’ll face is rot. If your cutting looks mushy, turns black, or smells off, it’s a goner. This is almost always due to insufficient callusing or overwatering. Don’t get discouraged if it happens; just remember to be extra diligent with your callusing and watering next time.
Keep an eye out for pests too, though they’re less common on fresh cuttings. A gentle wipe with a damp cloth is usually all that’s needed if you spot any.
A Encouraging Closing
Propagating Stetsonia coryne is a journey, and like all good journeys, it takes a little time. Be patient with your new cuttings. Celebrate the small victories, learn from any stumbles, and most importantly, enjoy the process of coaxing new life from a piece of your beloved plant. Happy propagating!
Resource: