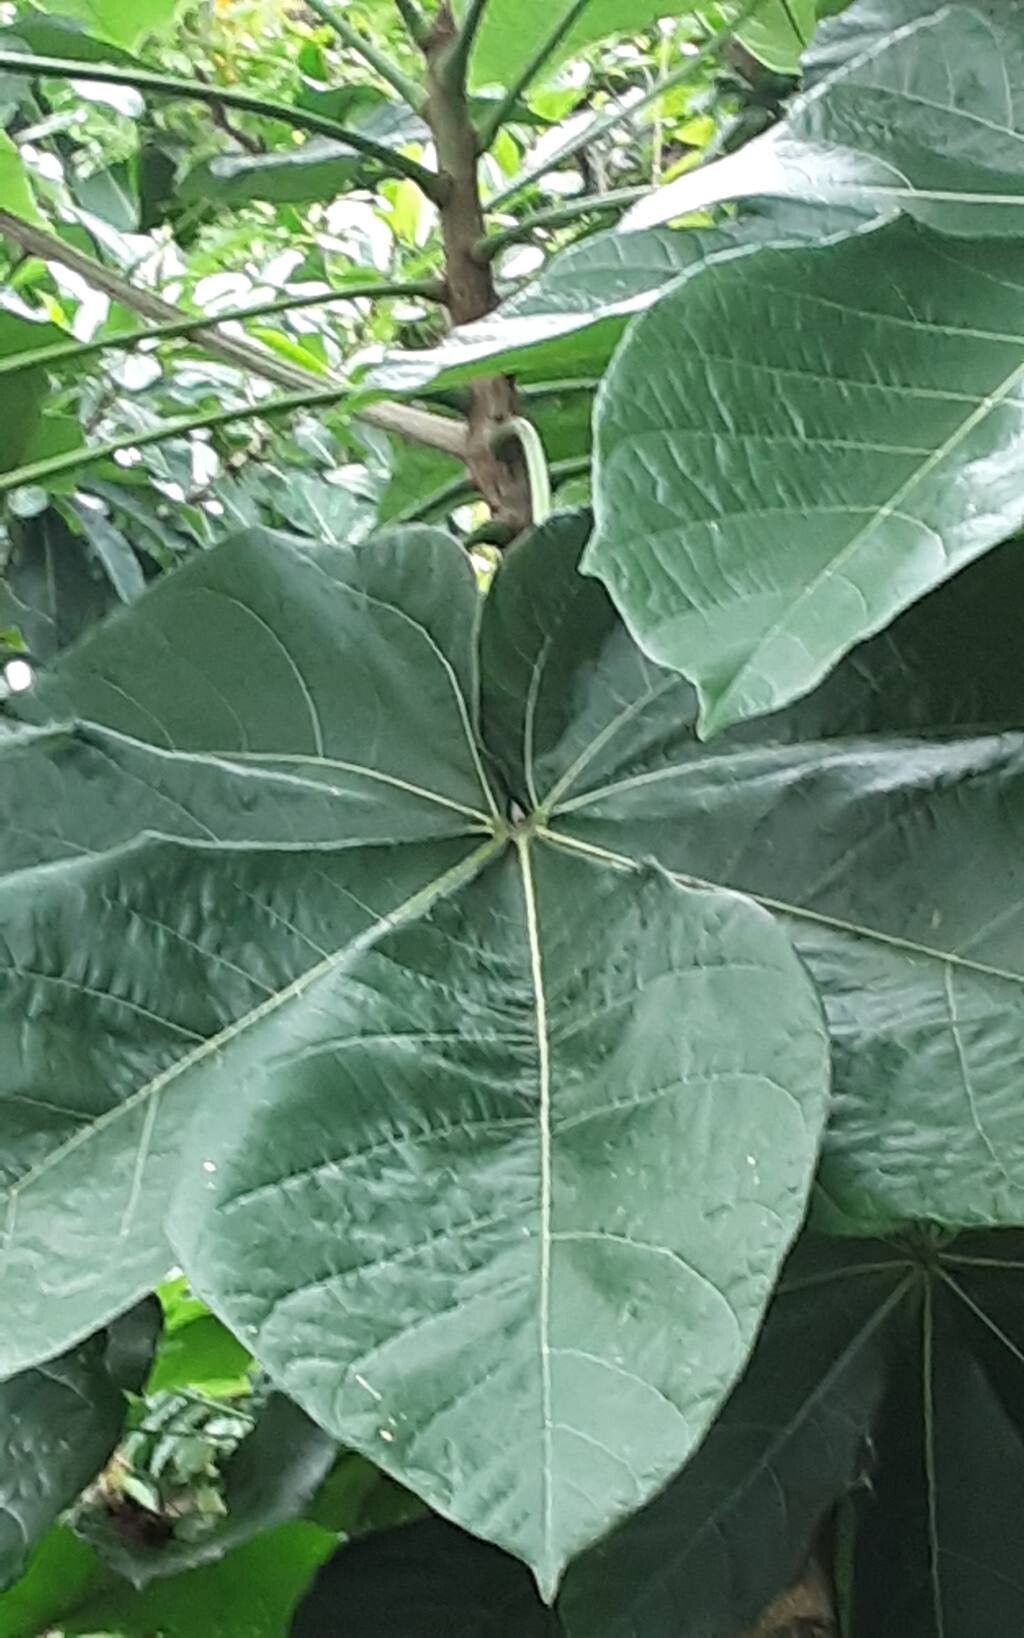
Oh, you’ve got your eye on Sterculia apetala? What a fantastic choice! I tell you, having one of these beauties gracing your garden is a real treat. They have this unique charm, with those big, tropical-looking leaves and a rather interesting habit of blooming without them sometimes – hence the name “apetala,” meaning “without petals,” though they do have small, fragrant flowers.
Propagating Sterculia apetala might sound a bit daunting, especially if you’re just dipping your toes into the plant propagation world. I’d say it leans towards the moderate challenge. It’s not as straightforward as, say, a simple pothos cutting, but with a little patience and the right approach, it’s absolutely achievable and incredibly rewarding to watch a new little tree grow from a piece of the parent.
The Best Time to Start
For the highest success rate with Sterculia apetala, your best bet is late spring or early summer. This is when the plant is in its vibrant growth phase. You’re looking for semi-hardwood cuttings. These are stems that are neither brand new and floppy nor old and woody. They should be firm enough to snap cleanly but still have some flexibility. Think of it as that perfect stage of a pencil – still bendy, but not wilting.
Supplies You’ll Need
Here’s what you’ll want to have on hand before you get started:
- Clean, sharp pruning shears or a sharp knife: Essential for making clean cuts to encourage healing and prevent disease.
- Rooting hormone (optional, but recommended): A product containing auxins helps stimulate root development. Look for one specifically for woody or semi-hardwood cuttings.
- A well-draining potting mix: I like to use a blend of equal parts perlite and peat moss or coco coir. This provides aeration and retains just enough moisture without getting waterlogged. Some gardeners also swear by adding a bit of coarse sand.
- Small pots or propagation trays with drainage holes: About 4-6 inch pots work well for individual cuttings.
- Clear plastic bags or a propagator lid: To create a humid environment for your cuttings.
- A mister or spray bottle: For keeping leaves hydrated.
- A heat mat (optional, but very helpful): Especially if your environment isn’t naturally warm.
Propagation Methods
While you might find information on other methods, stem cuttings are generally the most reliable way to go for Sterculia apetala.
- Take Your Cuttings: Using your sharp pruning shears or knife, select healthy, vigorous stems from your parent plant. Aim for cuttings that are 6-8 inches long. Make your cut just below a leaf node (where a leaf attaches to the stem). This is a critical spot for root formation. Remove the lower leaves, leaving only the top couple of leaves at the very tip. If the remaining leaves are very large, you can cut them in half to reduce water loss through transpiration.
- Prepare the Cuttings: Dip the cut end of each cutting into your rooting hormone. Gently tap off any excess.
- Plant Your Cuttings: Fill your pots with the prepared potting mix. Make a hole in the center of the soil with your finger or a pencil – this prevents you from rubbing off the rooting hormone when you insert the cutting. Firmly insert the prepared cutting into the hole, ensuring the leaf nodes are buried in the soil. Gently firm the soil around the base of the cutting.
- Create a Humid Environment: Water the soil thoroughly until it drains from the bottom. Then, cover the pot with a clear plastic bag (make sure the leaves don’t touch the plastic – you can use stakes to prop it up) or place it inside a propagator with a lid. This traps humidity around the cuttings, which is vital for preventing them from drying out before roots develop.
- Provide Light: Place your pots in a bright spot, but out of direct sunlight. A north-facing window or a spot with bright, indirect light is ideal.
- Wait (and Keep it Humid!): This is where patience comes in. Check the moisture levels regularly. The soil should be consistently moist but not soggy. Mist the leaves lightly every few days, especially if you see them looking a bit droopy.
The “Secret Sauce” (Pro Tips)
Here are a few things I’ve learned over the years that make a real difference:
- Bottom Heat is Your Friend: If you can, place your pots on a gentle heat mat. This encourages root growth from the bottom up, acting like a warm bed for your baby roots. You want the soil temperature to be around 70-75°F (21-24°C).
- Don’t Disturb Too Soon: Resist the urge to tug on your cuttings to check for roots! I know it’s tempting, but you can easily damage delicate new growth. Wait at least 6-8 weeks, and even then, look for signs of new leaf growth, which usually indicates roots have formed. You can also gently try to lift the cutting; if it offers resistance, you likely have roots.
- Sterilize Everything: I can’t stress this enough. Cleanliness is paramount. Bacteria and fungi are the enemies of cuttings. Make sure your pruning shears, pots, and even your hands are clean. A quick rinse with a diluted bleach solution (1 part bleach to 9 parts water) works wonders for tools.
Aftercare & Troubleshooting
Once you see signs of new growth, congratulations! This is your cue that roots are forming.
- Gradually Acclimatize: Begin to slowly acclimate your new plant to normal room humidity. This means opening the plastic bag a little more each day, or lifting the propagator lid for longer periods. You don’t want to shock it by going from super humid to dry air too quickly.
- Watering: Continue to keep the soil consistently moist, but allow the top inch to dry out slightly between waterings.
- Signs of Trouble: The most common problem is rot. This usually happens because of overwatering or poor drainage, leading to soggy soil. If you see your cutting turning black and mushy, it’s likely too late. You might also notice leaves wilting and turning yellow, which can be a sign of too much or too little water, or just general stress. If a cutting has rotted, remove it immediately to prevent it from spreading to others.
Propagating plants is a journey, and while not every cutting will thrive, the success stories are so worth it. Think of each attempt as a learning opportunity. Be patient with your Sterculia apetala cuttings, give them a little love and the right conditions, and enjoy the magic of watching them grow roots and become a part of your green family. Happy propagating!
Resource:
https://identify.plantnet.org/k-world-flora/species/Sterculia%20apetala%20(Jacq.)%20H.Karst./data