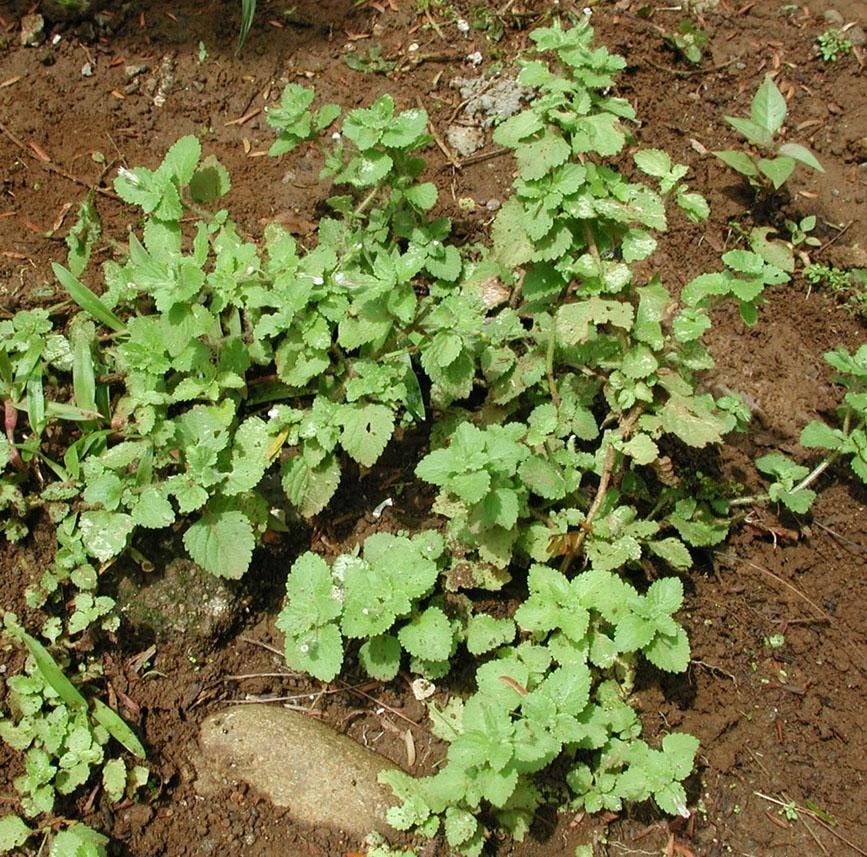
Hello fellow garden lovers! Today, we’re diving into the wonderful world of Stemodia jorullensis. You know, that charming little plant with its delicate, often purple, blooms and a habit of trailing or mounding beautifully? It’s truly a gem for adding a touch of gentle color to hanging baskets, borders, or even as a groundcover. And the best part? Propagating Stemodia jorullensis is surprisingly rewarding, and I’m here to tell you it’s a wonderfully accessible project, even for those just starting their gardening journey. Getting more of these beauties for free? That’s gardening joy right there!
The Best Time to Start
Generally, the late spring and early summer are your golden window for propagating Stemodia jorullensis. This is when the plant is in its active growing phase, meaning it’s full of vigor and ready to put out new shoots. You’ll want to select healthy, non-flowering stems for the best results. Think of it as harvesting fresh energy from a plant that’s just bursting with life!
Supplies You’ll Need
Here’s what you’ll want to have on hand before you get started. It’s a short list, which makes it even easier:
- Sharp pruning shears or a clean craft knife: For making precise cuts. No jagged edges allowed!
- Rooting hormone (optional but recommended): Dip the cut ends into this to give them a little boost.
- Small pots or propagation trays: Whatever you have that’s suitable for tiny plants.
- A well-draining potting mix: I like to use a mix of equal parts peat moss or coco coir and perlite or coarse sand. This ensures good aeration and prevents soggy soil.
- Water mister: For keeping humidity levels up.
- Clear plastic bags or domes: To create a mini-greenhouse effect.
Propagation Methods
We’ll focus on the most straightforward method for Stemodia jorullensis: stem cuttings.
-
Take Your Cuttings: Gently select a healthy, non-flowering stem. Using your sharp shears, make a clean cut just below a leaf node (that’s where the leaves attach to the stem). You’re aiming for cuttings that are about 3-4 inches long. Remove the lower leaves, leaving only the top two or three at the tip. This helps prevent rot and directs the plant’s energy towards root development.
-
Apply Rooting Hormone (Optional): If you’re using rooting hormone, gently dip the cut end of the stem into the powder or gel. Tap off any excess. This step really can speed things up!
-
Plant Your Cuttings: Fill your small pots or propagation trays with your prepared potting mix. Make a small hole in the center of each pot with your finger or a pencil. Carefully insert the cut end of the Stemodia jorullensis cutting into the hole. Gently firm the soil around the base of the cutting to ensure good contact.
-
Water and Cover: Water the soil thoroughly but gently. You want it to be moist, not waterlogged. Now, cover the pots with a clear plastic bag or place them under a propagation dome. This creates a humid environment that’s crucial for cuttings to root.
The “Secret Sauce” (Pro Tips)
Over the years, I’ve learned a few tricks that make propagation even more successful. Here are a couple of my favorites for Stemodia jorullensis:
- Don’t let the leaves touch the water: Whether you’re propagating in water (though I generally prefer soil for this plant) or have them in pots, any leaves submerged in water or sitting in consistently soggy soil are a direct invitation for rot. Pinch them off if they’re in danger of that.
- Bottom heat is your friend: If you have a bit of space, placing your pots on a gentle heating mat (specifically designed for plants) can make a huge difference. It encourages root growth from below, giving your cuttings a fantastic head start. You don’t need it blazing hot, just a gentle warmth.
Aftercare & Troubleshooting
Once your cuttings are planted and covered, place them in a bright location but out of direct sunlight. Direct sun can scorch those tender new cuttings. Keep the soil consistently moist – check it regularly and mist the inside of the plastic tent if the humidity seems to be dropping.
You should start to see signs of new growth – tiny leaves unfurling – in 2-6 weeks. If you tug gently on a cutting and feel resistance, that’s a good sign roots have formed!
Now, what if things don’t go as planned? The most common issue is rot. If your cuttings turn mushy and brown, or develop fuzzy mold, it’s usually a sign of too much moisture and not enough air circulation. Unfortunately, rotten cuttings can’t be saved, so it’s best to discard them and start again. Ensure your soil mix is airy and don’t overwater!
A Little Patience Goes a Long Way
Propagating plants is a beautiful way to connect with nature and multiply your garden’s loveliness without spending a dime. Be patient with your tiny Stemodia jorullensis cuttings. Some will root faster than others, and that’s perfectly okay. Enjoy the process of nurturing these little ones, and soon you’ll have a whole new collection to share or plant elsewhere. Happy gardening!
Resource:
https://identify.plantnet.org/k-world-flora/species/Stemodia%20jorullensis%20Kunth/data