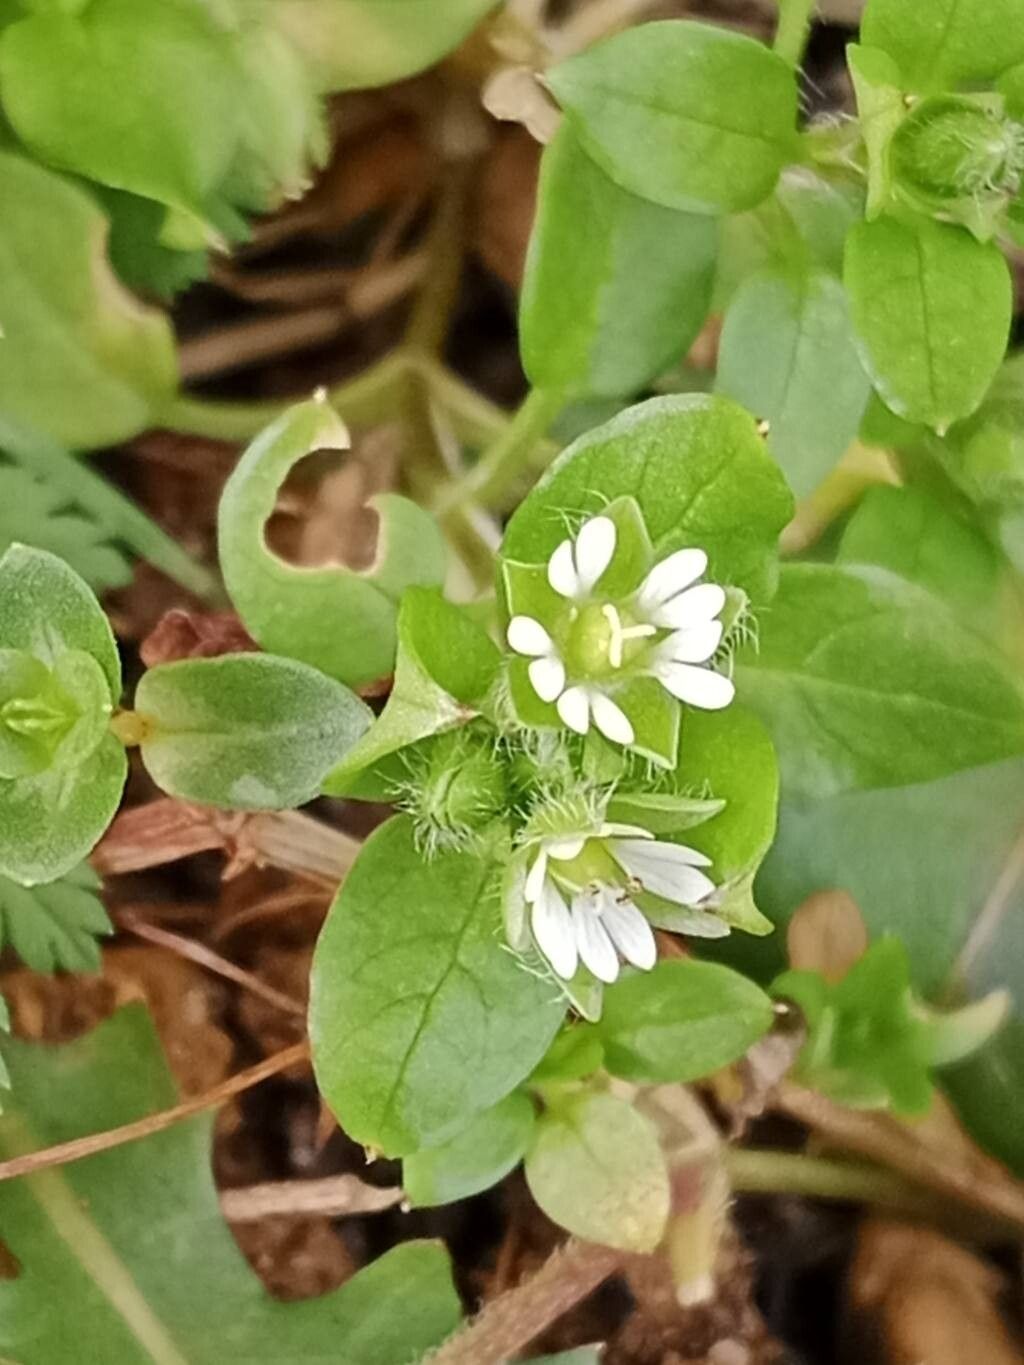
Hey there, fellow plant enthusiasts! So, you’ve fallen head over heels for Stellaria media, haven’t you? It’s just one of those plants that brings a bit of understated charm to any space. Its delicate white flowers and cheerful, sprawling habit are undeniably sweet. And the best part? Propagating this little gem is wonderfully rewarding, and I promise, it’s a breeze for beginners. You’ll be sharing cuttings with friends in no time!
The Best Time to Start
Timing is everything, as they say, and with Stellaria media, you’ll have the most success when you get started during its active growing season. Think late spring through early fall. This is when the plant is full of vigor, making it much easier to establish new roots. You can also take cuttings from healthy, vigorous plants pretty much anytime during warmer months if the conditions are right.
Supplies You’ll Need
To get your Stellaria media propagation station set up, you’ll want a few things on hand:
- Sharp, clean pruning shears or scissors: A clean cut prevents disease.
- Rooting hormone (optional but helpful): This gives your cuttings a little boost.
- Well-draining potting mix: I like a blend of peat moss and perlite, or even just a standard seed-starting mix.
- Small pots or trays: Whatever you have that will hold your cuttings securely.
- A watering can or spray bottle: For gentle watering.
- A plastic bag or propagation dome (optional): To keep humidity high.
Propagation Methods
Let’s get our hands dirty! Here are a couple of my favorite ways to multiply Stellaria media:
Stem Cuttings
This is my go-to method for Stellaria media. It’s incredibly effective!
- Take Cuttings: Look for healthy, non-flowering stems. Using your clean shears, cut a piece about 4 to 6 inches long. Make the cut just below a leaf node (where a leaf attaches to the stem).
- Prepare the Cuttings: Gently remove the leaves from the bottom half of the cutting. If the leaves are large, you can even snip those in half to reduce water loss.
- Apply Rooting Hormone (if using): Dip the cut end into your rooting hormone powder, tapping off any excess.
- Plant the Cuttings: Fill your small pots with moist potting mix. Make a small hole with your finger or a pencil and insert the cutting, ensuring at least one leaf node is buried in the soil. Gently firm the soil around the stem.
- Water Gently: Water thoroughly but gently so you don’t dislodge the cuttings.
Water Propagation
If you’re feeling a little shy about soil, this method is for you!
- Take Cuttings: Follow step 1 from the stem cutting method.
- Prepare the Cuttings: Remove the leaves from the bottom half, just like before.
- Place in Water: Fill a clean jar or glass with fresh water and place your cuttings in it. Make sure that no leaves are submerged in the water. They’ll just rot!
- Find a Spot: Place the container in bright, indirect light. Change the water every few days to keep it fresh.
The “Secret Sauce” (Pro Tips)
Now, for a few little tricks I’ve picked up over the years that really help:
- Bottom Heat is Your Friend: If you’re struggling with cuttings taking their time, consider placing your pots on a gentle heating mat. This mimics the warmth of spring soil and can significantly speed up root formation.
- Don’t Be Afraid to Prune: Even after planting, if a cutting looks a bit leggy or is putting out a lot of top growth before roots, pinch off the growing tip. This encourages the plant to put its energy into developing a strong root system.
- Humidity is Key (Especially for Water Cuttings): For both soil and water propagation, a little humidity goes a long way. Covering your pots with a clear plastic bag or a propagation dome creates a microclimate that keeps the leaves from drying out while roots develop. Just be sure to open it for a bit of air circulation every day or two to prevent mold.
Aftercare & Troubleshooting
Once you see those little roots starting to peek out from the drainage holes (or when your water cuttings have developed a good inch or two of roots), it’s time for them to graduate!
- Transplanting: If you propagated in water, carefully transplant them into pots with potting mix. If they were in soil, you can simply move them to slightly larger pots or their permanent garden spot. Continue to keep them consistently moist but not waterlogged.
- Gradual Acclimation: If you used a plastic bag or dome, gradually remove it over a few days to let your new plants adjust to the ambient humidity.
- Troubleshooting: The most common issue you might encounter is rot. This usually happens if the soil is too wet or there isn’t enough air circulation. If a cutting turns mushy or black, unfortunately, it’s likely a goner. Don’t get discouraged; just try again with fresh cuttings and ensure proper drainage. Yellowing leaves can sometimes mean too much direct sun or not enough water.
So there you have it! Propagating Stellaria media is a wonderfully simple and satisfying way to expand your plant collection or share the joy with others. Be patient with your little green babies, offer them a little TLC, and enjoy the process. Happy growing!
Resource:
https://identify.plantnet.org/k-world-flora/species/Stellaria%20media%20(L.)%20Vill./data