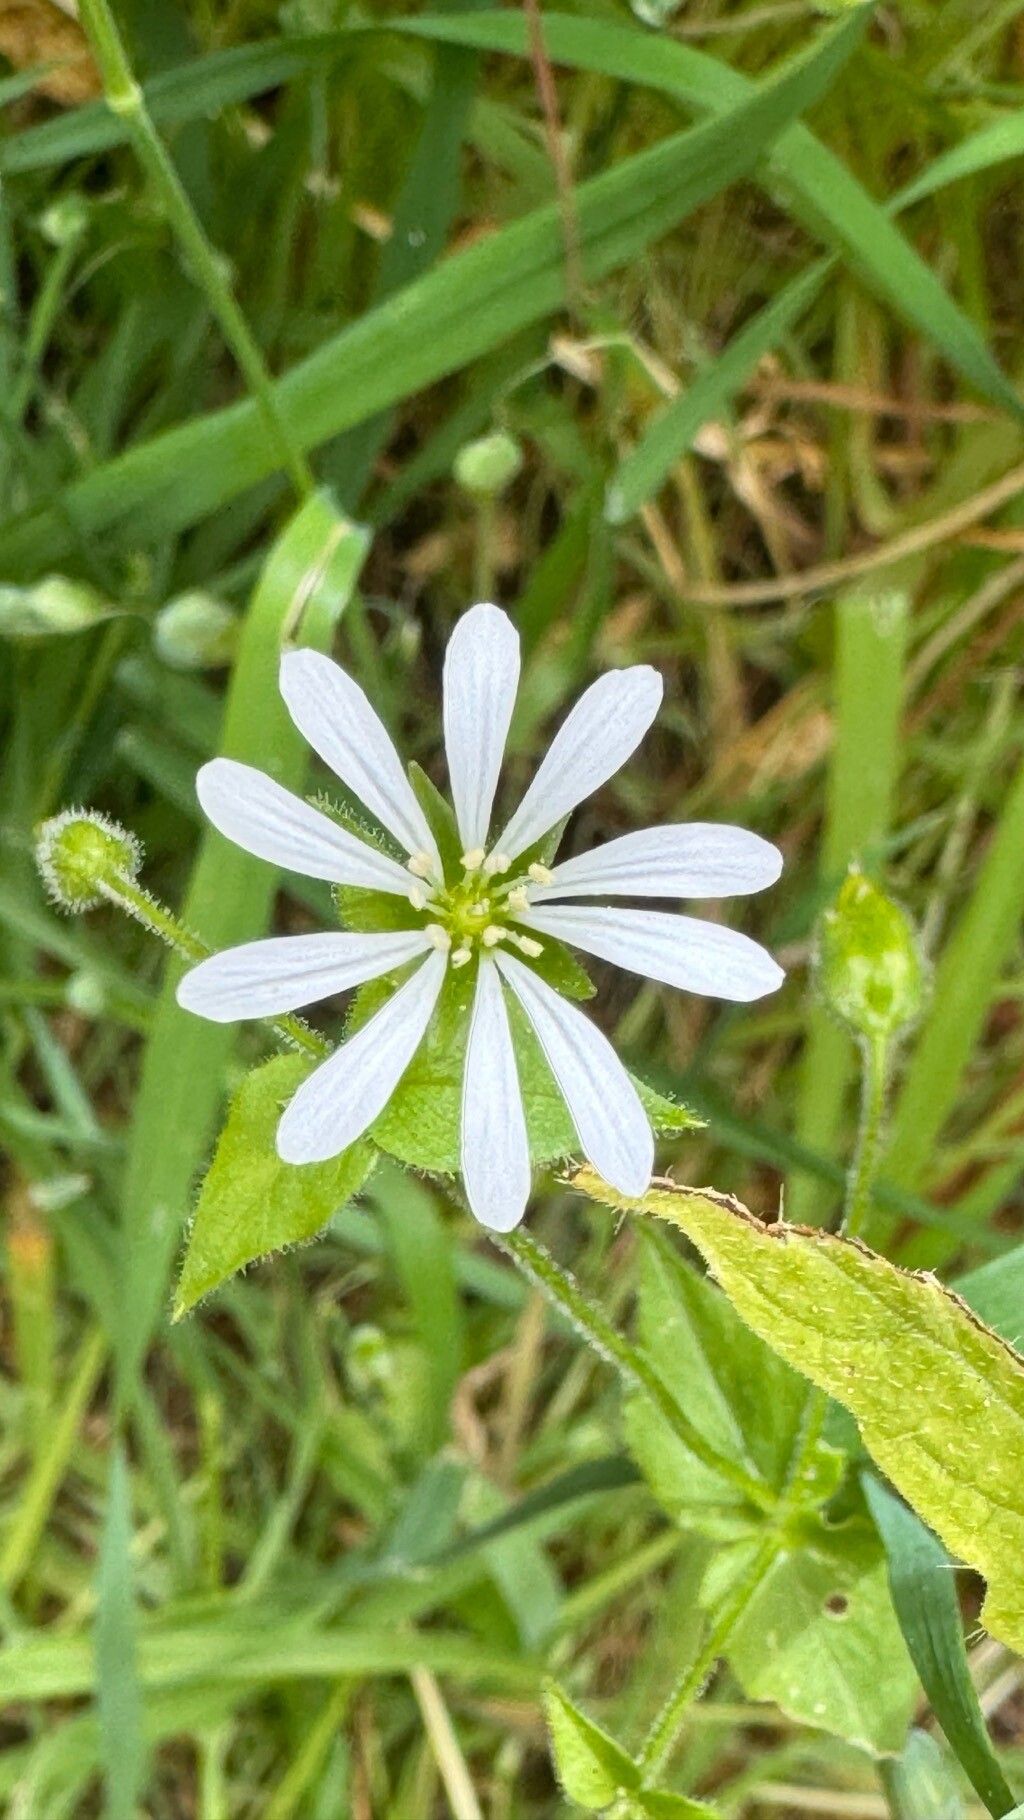
Oh, hello there! Pull up a chair and let’s chat about one of my favorite little garden gems – Stellaria chilensis, also known as Chilean Star-of-Bethlehem. Now, this isn’t some fussy diva; it’s a wonderfully adaptable plant that brings this lovely soft, feathery foliage to the garden. Its charm lies in its understated beauty, often forming lush mats that spill over edges or tuck into nooks.
Propagating it is a joy, a way to share its beauty and fill your own garden without spending a fortune. For beginners? I’d say you’ll find it quite approachable. It’s forgiving, which is always a bonus when you’re just starting out on your propagation journey.
The Best Time to Start
For the highest success rate, I always lean towards late spring or early summer. This is when the plant is actively growing and has plenty of energy to put into developing new roots. You want to grab cuttings from stems that are young and vigorous, not old and woody.
Supplies You’ll Need
Before we get our hands dirty, let’s gather our tools.
- Sharp Pruning Shears or a Craft Knife: Cleanliness is key for making neat cuts and preventing disease.
- Small Pots or Seed Trays: Whatever you have on hand will likely work. Make sure they have drainage holes!
- Rooting Hormone (Optional but Recommended): A little dab can significantly speed up root development.
- A Well-Draining Potting Mix: I like a mix of equal parts peat moss (or coco coir), perlite, and a touch of compost. This ensures good aeration and prevents waterlogging.
- A Little Water: For keeping things moist.
- Clear Plastic Bags or a Propagation Dome: To create a humid environment for your cuttings.
Propagation Methods
Stellaria chilensis is wonderfully amenable, and I find two methods work particularly well: stem cuttings and division.
Stem Cuttings
This is my go-to for quickly increasing my stock.
- Take Your Cuttings: Look for healthy, non-flowering stems that are about 4-6 inches long. Using your clean shears, make a clean cut just below a leaf node (where a leaf attaches to the stem).
- Prepare the Cuttings: Gently remove the lower leaves. You want to expose the nodes, as this is where the roots will emerge. Leave just a few leaves at the top to help the cutting photosynthesize. If a cutting is very long, you can cut it in half.
- Apply Rooting Hormone (If Using): Dip the cut end of the stem into your rooting hormone powder or gel. Tap off any excess.
- Plant Your Cuttings: Fill your small pots with your pre-moistened potting mix. Make a small hole with a pencil or your finger and gently insert the cutting, ensuring the lower nodes are buried in the soil. Gently firm the soil around the stem.
- Create a Humid Environment: Water lightly. Then, cover the pots with a clear plastic bag or place them under a propagation dome. This traps moisture and creates that essential humid microclimate.
Division
This is a fantastic way to rejuvenate an established clump and get more plants.
- Dig Up the Plant: In late spring or early summer, carefully dig up your Stellaria chilensis. Gently shake off excess soil.
- Separate the Root Ball: You’ll often see that the plant has formed a clumpy mass. Using your hands or a clean trowel, gently pull or cut apart the root ball into smaller sections. Each division should have some healthy roots and at least a few shoots.
- Replant Immediately: Plant your divisions directly into their new homes, whether that’s their final garden spot or pots. Water them in well.
The “Secret Sauce” (Pro Tips)
Here are a couple of things I’ve learned over the years that make a difference:
- The “Air Gap” Trick: For stem cuttings, and this is a good one, never let the leaves of your cuttings touch the soil surface in the pot. If they do, they can start to rot before roots even have a chance to form. Pop the leaves up if they seem too low.
- Bottom Heat is Your Friend: While Stellaria chilensis is pretty forgiving, giving your cuttings a little gentle bottom warmth can really encourage root development. A seedling heat mat placed under your pots works wonders. Keep the ambient temperature around 70-75°F (21-24°C) for the best results.
Aftercare & Troubleshooting
Once your cuttings have been planted, keep the soil consistently moist but not waterlogged. The plastic bag or dome should keep them hydrated. You’ll know they’re rooting when you see new growth appearing from the top. This can take anywhere from a few weeks to a couple of months.
If you notice yellowing leaves, mushy stems, or black spots, it’s often a sign of overwatering or poor drainage, which can lead to rot. Don’t panic! You can try gently loosening the soil, removing any affected parts, and letting things dry out a bit more. Sometimes, a cutting just doesn’t make it, and that’s okay. It’s part of the learning process!
A Encouraging Closing
See? Not so daunting, is it? Propagating Stellaria chilensis is a rewarding dance with nature. Be patient with your new little plants, offer them consistent care, and you’ll soon be enjoying their delicate charm in multiple spots in your garden. Happy propagating!
Resource:
https://identify.plantnet.org/k-world-flora/species/Stellaria%20chilensis%20Pedersen/data