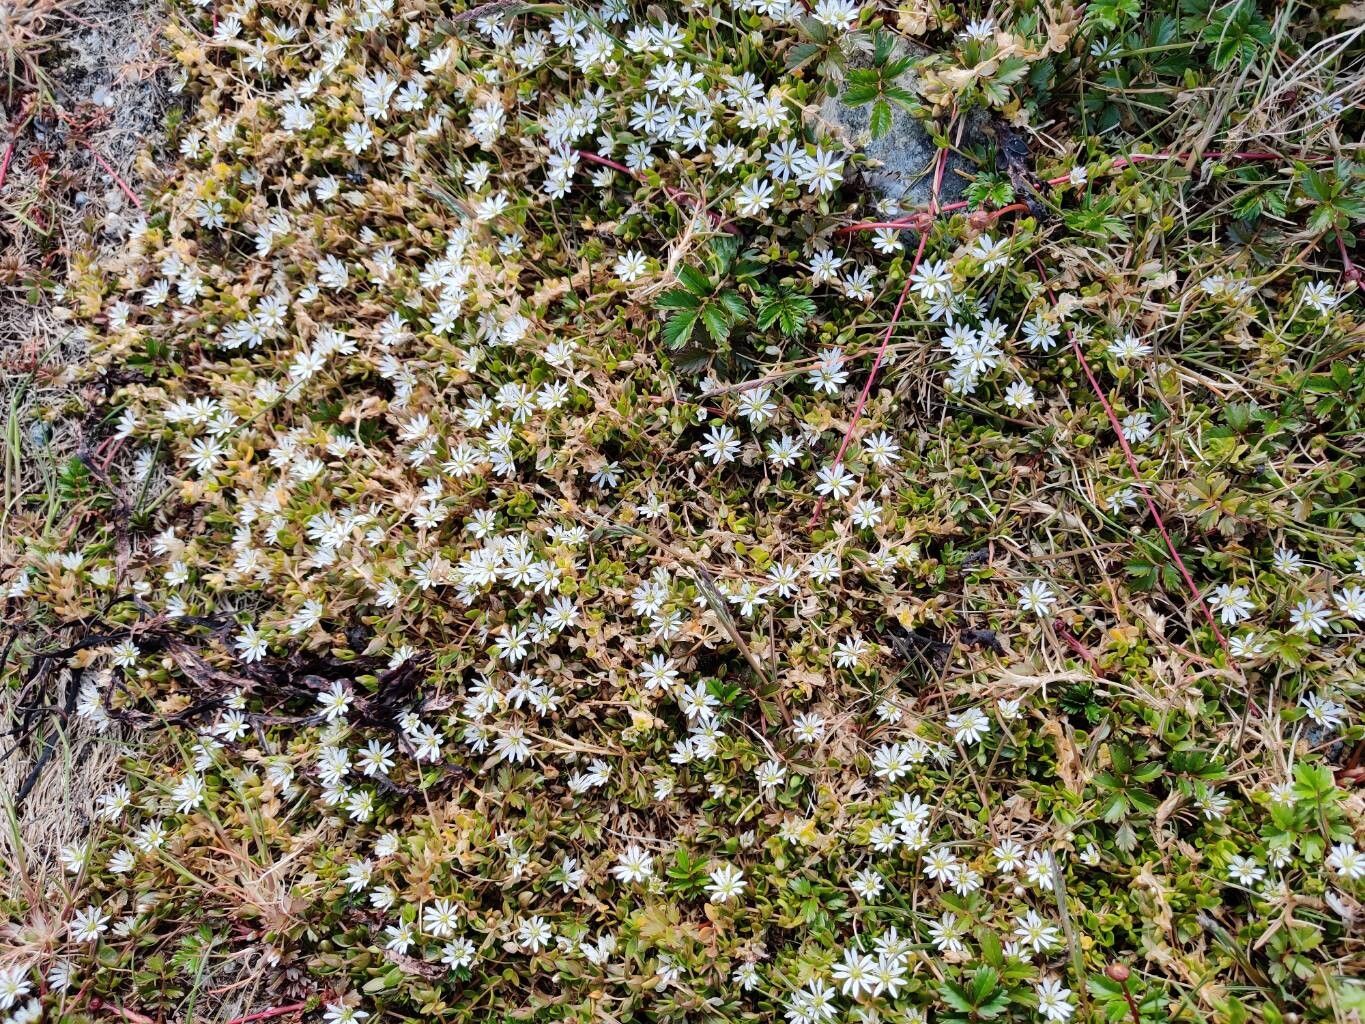
Hello fellow garden lovers! Today, we’re diving into the delightful world of Stellaria borealis, also known as Northern Starwort or boreal chickweed. If you’ve ever admired its charming, star-like white flowers that put on a dainty display, you’re in for a treat. Propagating this lovely little plant yourself is incredibly rewarding, offering you more of that delicate beauty to fill your garden beds or brighten your windowsills.
Now, if you’re new to the propagation game, I like to tell people that Stellaria borealis is a wonderfully beginner-friendly plant. It’s quite forgiving, which makes the whole process even more enjoyable and less daunting. Getting to watch a tiny cutting transform into a thriving new plant is pure magic, and with this one, you’ll be successful in no time!
The Best Time to Start
For the absolute highest success rate with Stellaria borealis, I always recommend working with it in the late spring to early summer. This is when the plant is actively growing and has plenty of energy to put into developing new roots. You’ll be taking cuttings from healthy, vigorous stems that are neither too soft and new nor too old and woody. Look for stems that have a bit of firmness to them.
Supplies You’ll Need
Here’s what you’ll want to have on hand before you get started:
- Sharp Pruning Shears or a Craft Knife: Clean tools are essential to prevent the spread of disease.
- Rooting Hormone (Optional but Recommended): A powder or gel can significantly speed up root development.
- Well-Draining Potting Mix: I usually use a blend of equal parts peat moss and perlite, or a good quality seed starting mix.
- Small Pots or Seedling Trays: Choose containers with drainage holes.
- Watering Can with a Fine Rose or Spray Bottle: Gentle watering is key.
- Plastic Bag or Clear Dome: To create a humid environment for your cuttings.
Propagation Methods: Let’s Get Our Hands Dirty!
Stellaria borealis is quite adaptable, but the stem cutting method is my go-to for a reason – it’s efficient and yields great results.
- Select Your Cuttings: In late spring or early summer, find a healthy, non-flowering stem on your Stellaria borealis. You want a piece that’s about 4-6 inches long. Using your clean shears or knife, make a clean cut just below a leaf node (where a leaf attaches to the stem).
- Prepare the Cuttings: Gently remove the lower leaves from your cutting, leaving just a few at the top. This prevents them from rotting when buried or submerged.
- Apply Rooting Hormone (If Using): Dip the cut end of the stem into your rooting hormone powder or gel, tapping off any excess. This step is like giving your cutting a little boost to get those roots going.
- Plant Your Cuttings: Fill your small pots or seedling trays with your prepared potting mix. Make a small hole with a pencil or your finger, and gently insert the cut end of the stem. Firm the soil gently around the base of the cutting.
- Water Gently: Water your cuttings thoroughly but gently. You don’t want to dislodge them, so a watering can with a fine rose or a light misting from a spray bottle is perfect.
- Create a Humid Environment: Cover the pots with a clear plastic bag or a propagation dome. This keeps the humidity high, which is crucial for preventing the cuttings from drying out before they can root. Make sure the leaves don’t touch the sides of the plastic if possible.
The “Secret Sauce” (Pro Tips)
Here are a couple of little tricks I’ve learned over the years that really help boost your propagation success:
- Bottom Heat is Your Friend: If you have them, placing your pots on a gentle heat mat can make a world of difference. It encourages root development from below, much like the warmth of the soil in spring. Just a gentle warmth, not hot!
- Don’t Be Afraid to Mist: Even with the plastic cover, I like to lightly mist the cuttings every few days, especially if the weather is warm. This ensures consistent moisture without waterlogging the soil.
Aftercare & Troubleshooting
Once your cuttings are planted, place them in a bright spot with indirect light. Avoid direct sunlight, which can scorch the delicate new growth. Keep the soil consistently moist, but not waterlogged. You’ll know your cuttings are rooting when you see new leaf growth appearing, or when you gently tug on a cutting and feel resistance. This usually takes anywhere from 3 to 6 weeks.
Occasionally, things don’t go as planned. The most common issue is rot. If you notice your cutting turning black and mushy, it’s likely a sign of too much moisture and poor air circulation. If this happens, discard the affected cutting and ensure your other cuttings have good drainage and a bit more air movement. If a cutting simply doesn’t root and looks dry and withered, it might not have had enough moisture or the conditions weren’t quite right. Don’t be discouraged; just try again!
A Encouraging Closing
So there you have it – a simple way to bring more of that sweet Stellaria borealis charm into your garden. Be patient with your little plants; they’re on their own timeline. The joy of seeing them establish and grow is truly the best reward. Happy propagating, and here’s to a garden filled with your own homegrown beauties!
Resource:
https://identify.plantnet.org/k-world-flora/species/Stellaria%20borealis%20Bigelow/data