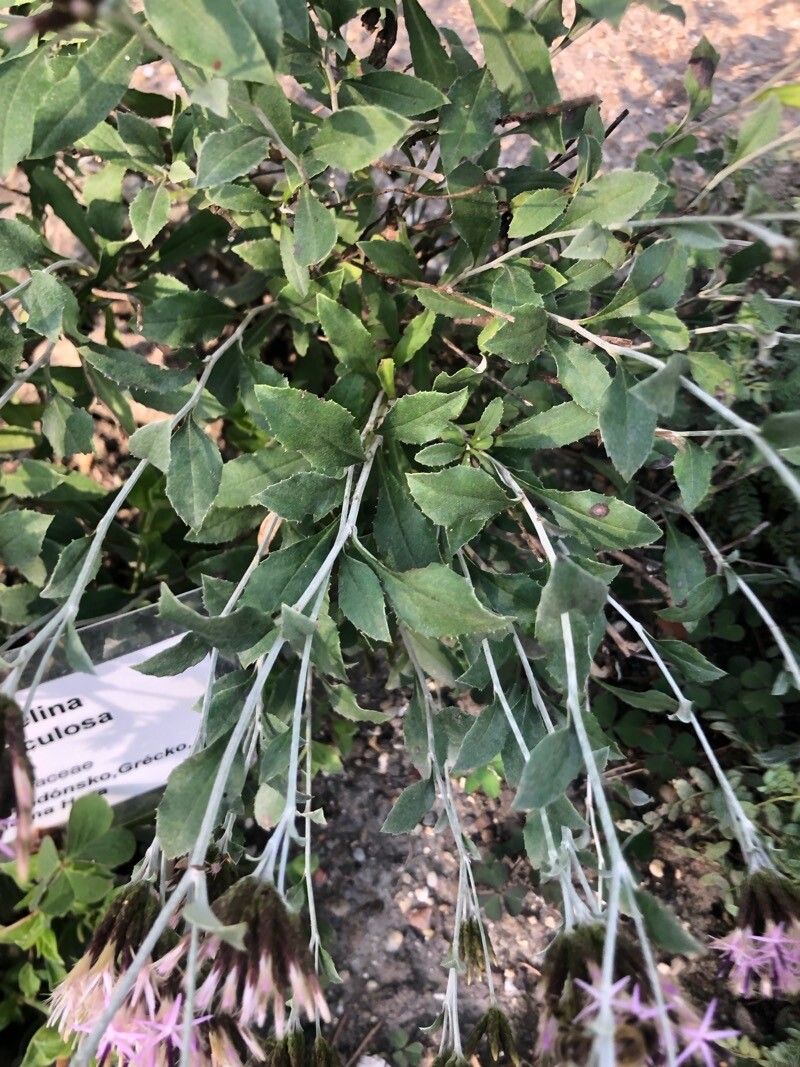
Hello, fellow plant lovers! I’m so excited to chat with you today about a little gem I’ve come to adore: Staehelina uniflosculosa. If you’re looking for a plant that adds a touch of wild, Mediterranean charm to your garden, this is it. Its delicate, daisy-like blooms with their unique, almost spiky centers are just captivating. And the best part? Bringing more of these beauties into your life through propagation is quite rewarding. Now, if you’re relatively new to the gardening world, don’t you worry! While it has a few quirks, propagating Staehelina uniflosculosa is achievable with a little patience and the right approach.
The Best Time to Start
For the highest success rate with Staehelina uniflosculosa, I’ve found that the late spring or early summer is your sweet spot. This is when the plant is actively growing and has plenty of energy to put into developing new roots. Aim for a time when temperatures are consistently warm but not scorching hot.
Supplies You’ll Need
Here’s what I always have on hand for this kind of project:
- Pruning shears or sharp knife: Clean and sterilized is key to preventing disease.
- Rooting hormone: A good quality powder or gel makes a significant difference.
- Potting mix: A well-draining mix is crucial. I like a blend of peat moss, perlite, and a bit of sand. You can also find specialty seed-starting mixes.
- Small pots or trays: Clean ones, of course!
- Clear plastic bags or a propagator: To create a humid environment.
- Watering can with a fine rose: For gentle watering.
- Labels: Don’t forget to label your babies!
Propagation Methods
The most successful method I’ve found for Staehelina uniflosculosa is through stem cuttings. It’s straightforward and gives you a great chance of success.
- Take Your Cuttings: In late spring or early summer, select healthy, non-flowering stems from your mature plant. Look for stems that are about 4-6 inches long. Using your sterilized shears, make a clean cut just below a leaf node (where a leaf attaches to the stem).
- Prepare the Cuttings: Gently remove the lower leaves from the cutting, leaving just a few at the top. This helps direct the plant’s energy towards root development. If your cuttings are quite long, you can even trim the remaining leaves in half to reduce water loss.
- Apply Rooting Hormone: Dip the cut end of the stem into your rooting hormone, tapping off any excess. This stuff really gives your cuttings a boost.
- Plant the Cuttings: Fill your small pots or trays with your well-draining potting mix. Make a small hole in the center of the mix with your finger or a pencil. Insert the prepared cutting into the hole, ensuring the part with the rooting hormone is in contact with the soil. Gently firm the soil around the cutting.
- Create a Humid Environment: Water the soil lightly. Then, cover the pots or trays with a clear plastic bag or place them inside a propagator. This traps moisture and creates the humid conditions that cuttings love. Make sure the leaves aren’t directly touching the plastic if you can help it.
- Provide the Right Conditions: Place your cuttings in a bright spot with indirect light. Avoid direct sun, which can scorch them. Keep the soil consistently moist but not waterlogged.
The “Secret Sauce” (Pro Tips)
Here are a couple of tricks I’ve learned along the way that really help:
- My absolute favorite trick? Bottom heat! If you can, use a gentle heat mat under your propagation trays. This encourages root development from the bottom up and makes a world of difference, especially in cooler spaces.
- Don’t be tempted to overwater! While cuttings need moisture, soggy soil is a root rot disaster waiting to happen. Only water when the top inch of the soil feels dry to the touch. You’ll get a feel for it.
Aftercare & Troubleshooting
Once you notice new growth emerging, or if you gently tug on a cutting and feel resistance (a sign of roots!), congratulations! It’s time for your new plant to start acclimatizing.
- Gradually Reduce Humidity: Slowly open up the plastic bag or propagator over a week or two to allow the plant to adjust to normal humidity levels.
- Transplant Carefully: Once your cuttings have a good root system, you can carefully transplant them into individual pots filled with your regular potting mix.
- Watch for Rot: The most common sign of failure is rot, where the cutting turns mushy and brown, often with a foul smell. This is usually due to overwatering or poor drainage. If you see this, unfortunately, it’s usually best to discard the affected cutting and reassess your watering and soil.
- Wilting: A bit of wilting initially is normal, especially as they adjust to lower humidity. However, if they stay severely wilted and don’t perk up after watering, the cuttings may not have taken.
Happy Planting!
So there you have it – a little guide to coaxing more Staehelina uniflosculosa into your garden. Remember, gardening is a journey, and propagation is a wonderful way to learn and experiment. Be patient, observe your little charges, and most importantly, enjoy the process of creating new life. Happy propagating!
Resource:
https://identify.plantnet.org/k-world-flora/species/Staehelina%20uniflosculosa%20Sm./data