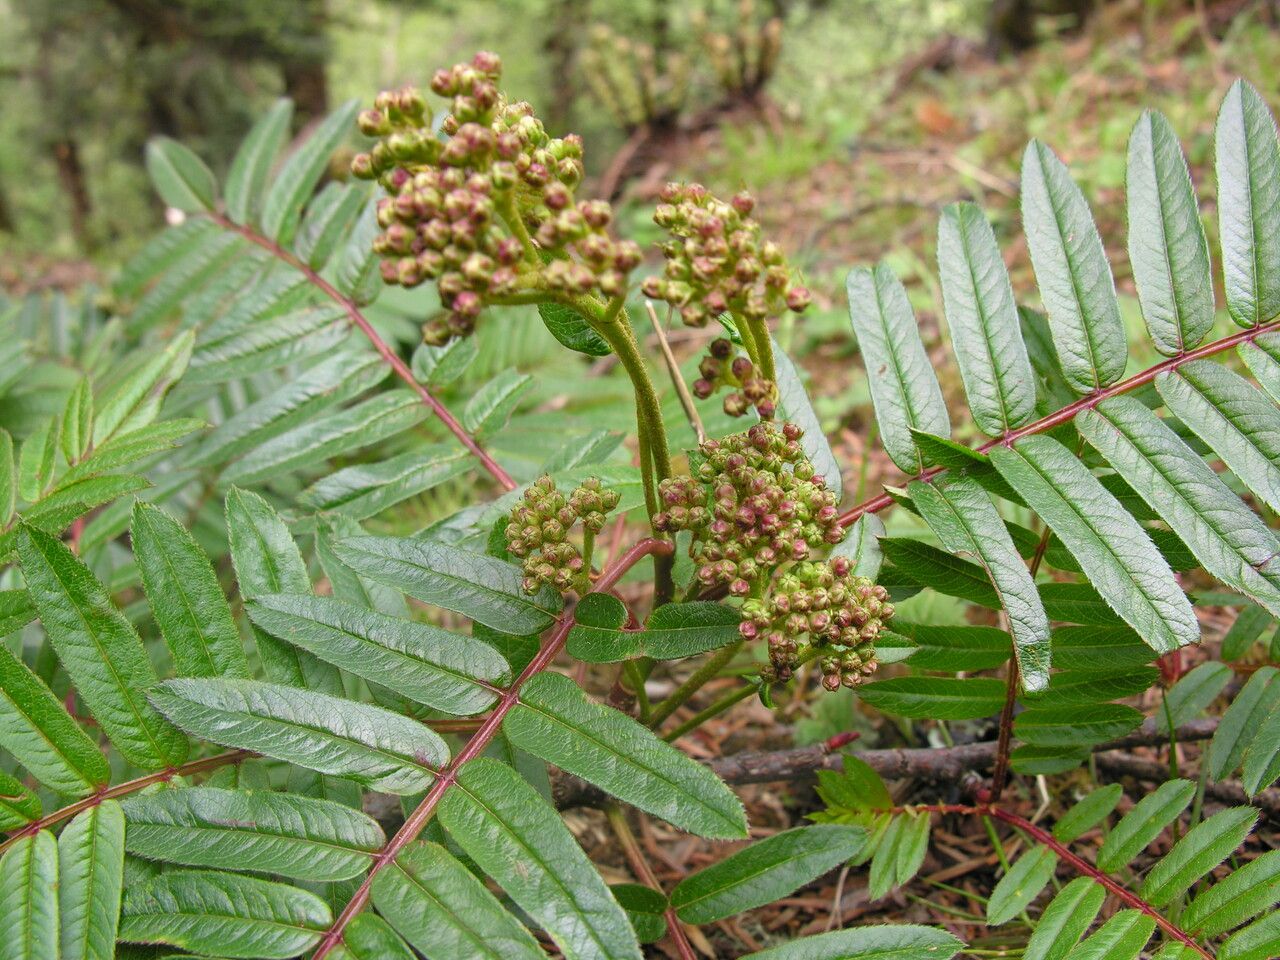
Hello, fellow garden enthusiasts! I’m so glad you stopped by. Today, we’re going to talk about a plant that truly stole my heart years ago: Sorbus wallichii, often called the Himalayan Rowan.
There’s something utterly magical about Sorbus wallichii. Its delicate, compound leaves unfurl in spring, and then come autumn, it’s simply drenched in the most stunning coral-pink berries. They hang in generous clusters, a vibrant splash of color that lasts well into winter. For any garden, it’s an absolute showstopper. And the best part? You can propagate it yourself! Now, is it a walk in the park for complete beginners? Honestly, it can be a tad more challenging than, say, a succulent, but with a little know-how and patience, it’s absolutely achievable. Think of it as a rewarding project that really makes you feel connected to your plants.
The Best Time to Start
For Sorbus wallichii, the sweet spot for propagation is usually late spring to early summer. This is when the plant is actively growing, and its stems are usually semi-hardened – not too soft and floppy, but not woody and stubborn either. Look for new growth that has started to firm up a bit.
Supplies You’ll Need
Here’s what I always have on hand when I’m propagating shrubs like this:
- Sharp, clean pruning shears or a sharp knife: Sterilize them with rubbing alcohol before each use.
- Rooting hormone: A powdered or gel form works well.
- Potting mix: I like a mix that’s light and drains well. A blend of peat moss or coir, perlite, and a little bit of compost is my go-to.
- Small pots or propagation trays: Make sure they have drainage holes.
- Polyethylene bags or a clear plastic dome: To create a humid environment.
- Watering can with a fine rose nozzle: For gentle watering.
- Labels and a marker: So you don’t forget what you planted where!
Propagation Methods
While you can try them from seed, getting Sorbus wallichii to grow true to its parent can be tricky. For that beautiful berry color and form, stem cuttings are usually your best bet. Here’s how I do it:
- Select Your Cuttings: In late spring or early summer, choose healthy, vigorous stems from your parent plant. Look for sideshoots that are about 4-6 inches long. Gently snap or cut one just below a leaf node (where a leaf meets the stem).
- Prepare the Cutting: Carefully remove the lower leaves from the cutting, leaving just a few at the very top. This prevents them from rotting once you plant the cutting.
- Apply Rooting Hormone: Dip the cut end of the stem into your rooting hormone. Tap off any excess. I like to apply it liberally to ensure good coverage.
- Plant Your Cuttings: Fill your small pots or trays with your prepared potting mix. Make a hole with a pencil or your finger, then gently insert the cutting into the hole. Press the soil lightly around the stem to ensure good contact.
- Create a Humid Environment: Water the soil gently. Then, cover the pots with a plastic bag, making sure it doesn’t touch the leaves, or place them under a clear plastic dome. This is crucial for keeping the humidity high, which helps prevent the cuttings from drying out before they can root.
- Provide the Right Conditions: Place the pots in a bright spot out of direct sunlight. A greenhouse, a bright windowsill, or even under grow lights works perfectly.
The “Secret Sauce” (Pro Tips)
Over the years, I’ve learned a few little tricks that really boost my success rates:
- Bottom Heat is Your Friend: If you have a heated propagator or can place your pots on a seed-starting heat mat, do it! A little bit of bottom warmth encourages root development significantly. Just keep it around 70-75°F (21-24°C).
- Don’t Drown Them! While humidity is key, soggy soil is the enemy. Make sure your potting mix is well-draining and only water when the top inch feels dry to the touch. Overwatering leads to rot, and that’s a heartbreaker.
- Patience with Pruning Shears: When taking cuttings, use your sharpest tools. A clean cut heals faster and is less prone to disease than a ragged one. I often wipe mine down with a bit of hydrogen peroxide for good measure.
Aftercare & Troubleshooting
Once your cuttings are planted, the waiting game begins. You should start to see signs of rooting in 4-8 weeks, sometimes longer. You can gently tug on a cutting – if there’s resistance, it’s likely started to form roots.
Once roots have formed, you can gradually acclimate your new plants to normal humidity. Remove the plastic covering for increasing periods each day. Continue to water them when the soil surface feels dry.
The most common problem you’ll encounter is rot. If you see your cutting wilting and turning mushy, especially at the base, it’s usually a sign of too much moisture or not enough air circulation. If you catch it early, you might be able to save it by removing it from the pot, trimming off any rotted parts, and repotting into fresh, drier mix.
A Encouraging Closing
Propagating plants is a journey, and Sorbus wallichii is a beautiful one to embark on. Don’t be discouraged if your first attempt isn’t perfect. Every gardener has their share of learning curves, and that’s where the joy really lies. Be patient, observe your cuttings, and celebrate every little bit of progress. Happy propagating!
Resource:
https://identify.plantnet.org/k-world-flora/species/Sorbus%20wallichii%20(Hook.f.)%20T.T.Yu/data