Hello fellow garden enthusiasts! Today, we’re diving into the wonderful world of Sonchus oleraceus, commonly known as common sowthistle. Now, I know what you might be thinking – a weed? But trust me, this plant has a certain charm, and it’s surprisingly rewarding to bring more of it into your garden. Its delicate, airy flowers are a magnet for pollinators, and honestly, there’s a quiet satisfaction in coaxing new life from an existing plant. For beginners, I’m happy to report that Sonchus oleraceus is exceptionally easy to propagate. You’ll be amazed at how quickly you can expand your sowthistle patch.
The Best Time to Start
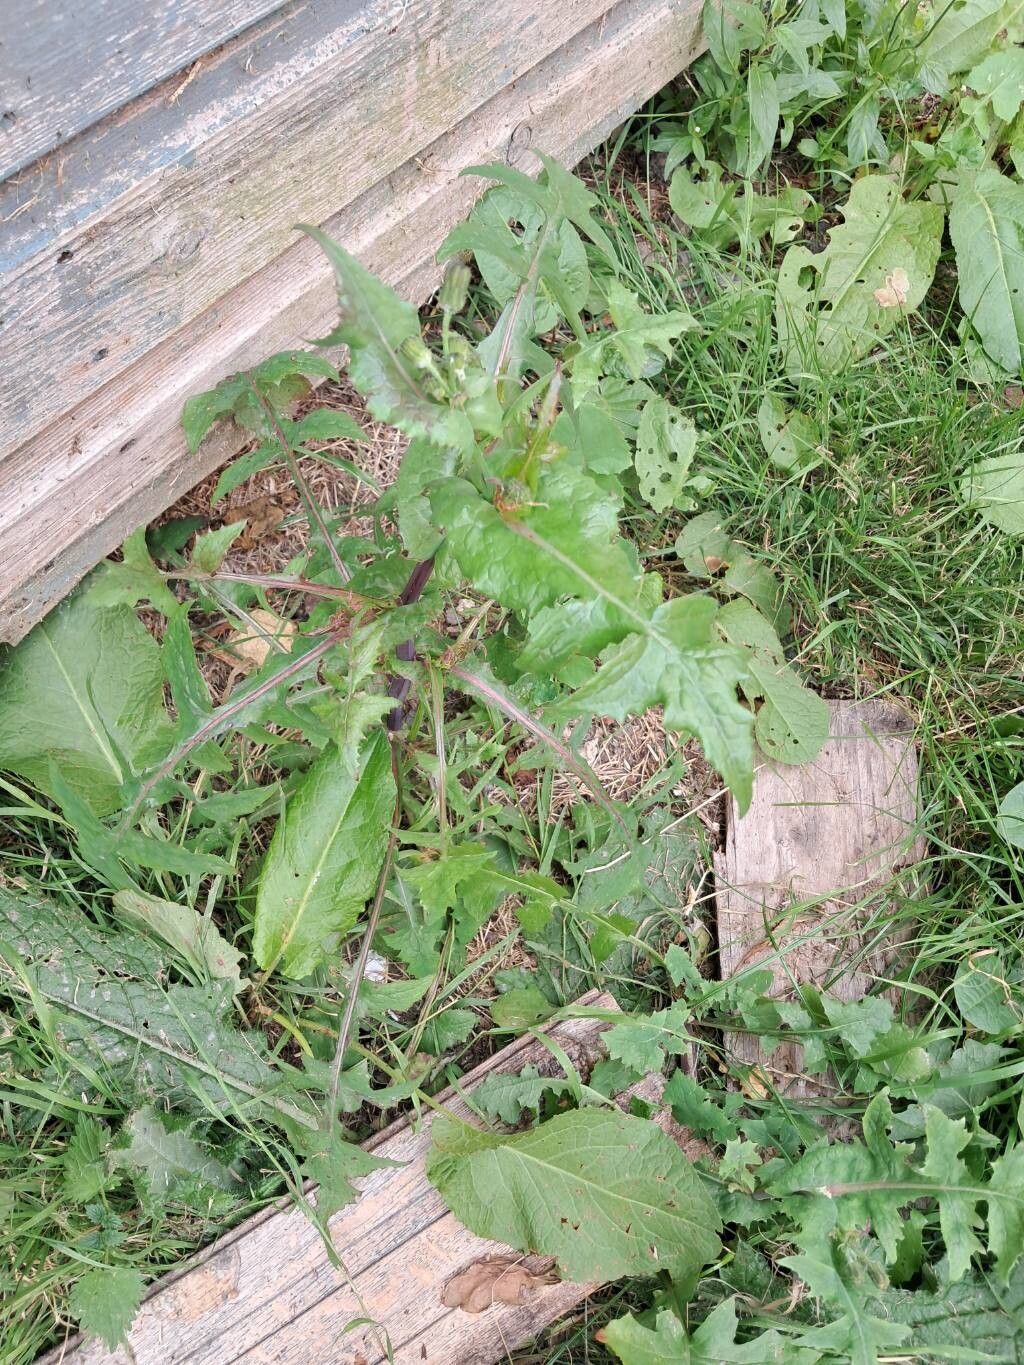
The sweet spot for propagating Sonchus oleraceus is during its active growing season, which generally runs from spring through early autumn. You’re looking for vigorous, healthy plants that are putting on new growth. Avoid trying to propagate from plants that are stressed, flowering heavily, or showing signs of disease. A young, developing shoot is your best bet for quick and successful rooting.
Supplies You’ll Need
Gathering your supplies beforehand always makes the process smoother. You won’t need much, and most of it is probably already in your shed:
- Clean, sharp pruning shears or scissors: Essential for making clean cuts.
- Small pots or trays: Anything from recycled yogurt cups with drainage holes to professional seed trays will do.
- Well-draining potting mix: A good all-purpose potting mix is fine, or you can create your own by mixing equal parts peat moss (or coco coir) and perlite.
- Small stakes or labels: For marking your new cuttings and their identities.
- Watering can or spray bottle: For gentle watering.
- Optional: Rooting hormone: While often not strictly necessary for sowthistle, it can give an extra boost.
Propagation Methods
Sonchus oleraceus is a champion at multiplying itself, and we can learn from its natural tendencies. Here are a couple of my favorite, most effective methods:
Stem Cuttings
This is my go-to for a quick return.
- Select your donor plant: Find a healthy, actively growing Sonchus oleraceus.
- Take cuttings: Using your clean shears, snip off pieces of stem that are about 4-6 inches long. Look for stems that have at least two sets of leaves and are a nice, healthy green – not woody.
- Prepare the cuttings: Gently remove the lower leaves from the bottom inch or two of the cutting. This prevents them from rotting when buried in soil or submerged in water. If you’re using rooting hormone, dip the cut end into it now.
- Plant them: Fill your small pots with your prepared potting mix. Make a small hole with your finger or a pencil, and insert the cut end of the stem. Gently firm the soil around it to ensure good contact.
- Water gently: Water the soil well, but avoid waterlogging. A good soak will help settle the soil.
Water Propagation
This method is fantastic because you can actually see the roots forming, which I find incredibly satisfying!
- Prepare the cuttings: Follow steps 1 and 2 from the stem cutting method.
- Place in water: Find a clean jar or glass. Fill it with fresh water.
- Submerge the stems: Place the prepared cuttings into the water, ensuring that the leaf nodes (where you removed the leaves) are submerged. Crucially, make sure the remaining leaves are NOT touching the water. This is a common pitfall that leads to rot.
- Find a bright spot: Place the jar in a bright location but out of direct, harsh sunlight.
- Change the water: Refresh the water every few days to keep it clean and oxygenated.
The “Secret Sauce” (Pro Tips)
Over the years, I’ve picked up a few tricks that really make a difference.
- Use bottom heat: If you’re propagating indoors, especially in cooler weather, placing your pots on a gentle heat mat can significantly speed up root development. It mimics the warmth of spring soil and gives those roots a much-needed nudge.
- Don’t rush to pot up: With water propagation, resist the urge to pot up your cuttings the moment you see a bit of root. Wait until the roots are at least an inch long and have started to branch out. This makes them much more robust and less prone to transplant shock.
- A light misting helps: While you don’t want to drown your cuttings, a gentle misting of the leaves with water occasionally can help keep them turgid and reduce stress, especially if they’re in a warm, dry environment.
Aftercare & Troubleshooting
Once you see those beautiful new roots forming – hurray!
For cuttings in soil: Continue to keep the soil consistently moist but not soggy. You’ll know they’ve rooted when you feel a gentle tug when you lightly pull on the stem (don’t pull too hard, of course!) or when you see new leaf growth emerging. Gradually introduce them to more sunlight if they’ve been in a shadier spot.
For cuttings in water: Once your roots are a good inch or so long, carefully transplant them into small pots filled with your well-draining potting mix. Water them thoroughly, then treat them as established young plants.
Troubleshooting: The most common issue you’ll encounter is rot. This usually happens if the cuttings are kept too wet, or if leaves are left submerged in water. If you see a cutting turning yellow and mushy, it’s probably best to discard it and try again with a fresh one, paying closer attention to moisture levels. Yellowing leaves on an otherwise healthy cutting might just be the plant shedding its lower leaves – keep an eye on the stem and any new growth.
A Little Patience Goes a Long Way
There you have it! Propagating Sonchus oleraceus is a simple pleasure that adds so much to the garden. Don’t get discouraged if your first attempt isn’t perfect – gardening is all about learning and trying. Be patient, enjoy the process of nurturing these new plants, and soon you’ll have a lovely patch of these cheerful, pollinator-friendly blooms. Happy gardening!
Resource:
https://identify.plantnet.org/k-world-flora/species/Sonchus%20oleraceus%20L./data