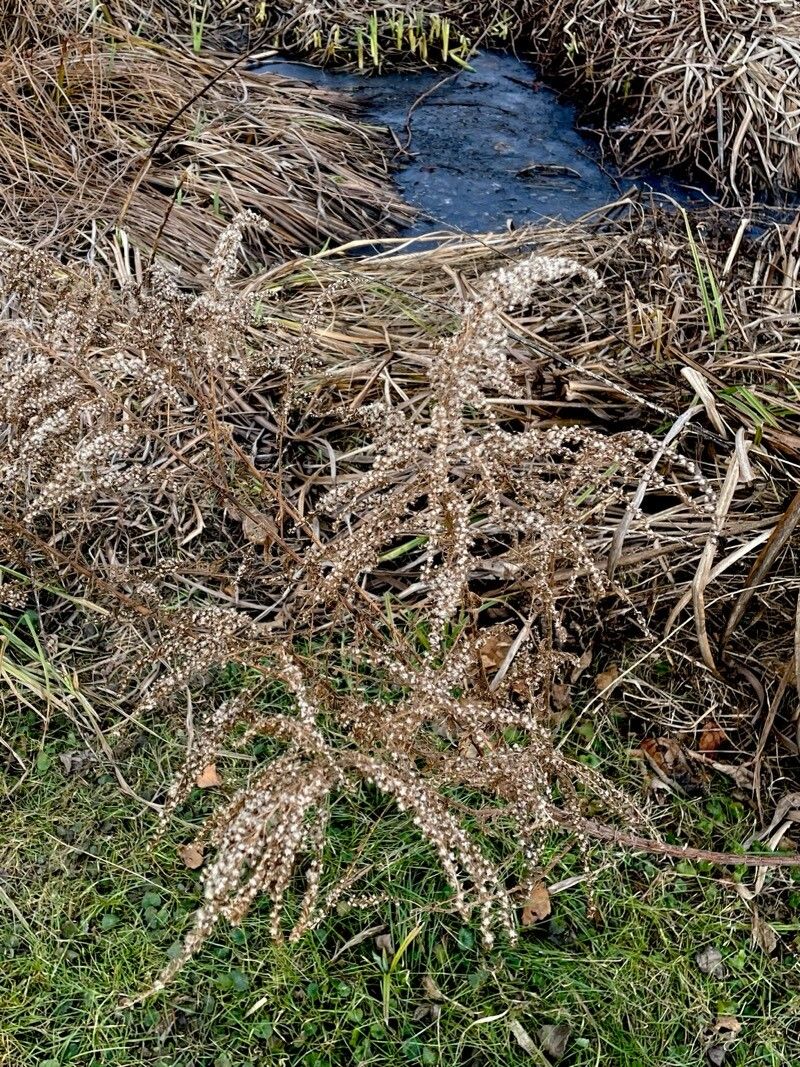
Oh, Solidago sempervirens! If you’re looking for a splash of sunshine for your garden, my friend, you’ve found it. Also known as seashore goldenrod, this beauty is tough as nails and a magnet for pollinators. I’ve spent years coaxing new life from my established clumps, and let me tell you, it’s incredibly satisfying to see those little sprouts emerge. For beginners? Absolutely doable! Solidago is a forgiving soul.
The Best Time to Start
For Solidago, I always find spring to be the sweet spot. As soon as the ground is workable and the risk of hard frost has passed, you’re good to go. You can also often take cuttings later in summer, but spring offers the longest growing season for your new babies to establish themselves before winter. Waiting until the plant is actively growing is key.
Supplies You’ll Need
Gathering your tools is half the fun, right? Here’s what I keep handy:
- Sharp pruning shears or a clean knife: For making clean cuts.
- Small pots or seed trays: With drainage holes, of course!
- Well-draining potting mix: I like a 50/50 blend of my regular potting soil and perlite. This prevents soggy feet.
- Rooting hormone (optional but helpful): A powder or gel works wonderfully.
- Watering can or mister: For gentle hydration.
- Small labels and a marker: To keep track of what’s what!
- A sunny windowsill or a bright, indirect light spot: For your new propagations.
Propagation Methods
Solidago is a plant that’s happy to share itself! Here are my go-to methods:
Division (The Easiest Route!)
This is my absolute favorite for Solidago. It’s like getting extra plants for free!
- Dig it up: In early spring, carefully dig around the base of your mature goldenrod clump. Try to get as much of the root system as you can.
- Gently separate: You can do this with your hands or a trowel. You’re looking to divide the clump into sections, each with its own healthy roots and at least one or two shoots. Don’t be afraid to be a little firm, but avoid tearing the roots unnecessarily.
- Replant: Immediately replant your divisions in their new homes. Give them a good watering and tucker them in with a light mulch. They’ll bounce back in no time.
Stem Cuttings (For When You Want More!)
This method is great for increasing your stock or moving a favorite variety.
- Take cuttings: In late spring or early summer, select healthy, non-flowering stems. Using your clean shears, make a cut about 4-6 inches long, just below a leaf node (where a leaf attaches to the stem).
- Prepare the cuttings: Gently remove the lower leaves, leaving just a couple at the top. If you’re using rooting hormone, dip the cut end into it now.
- Plant them: Fill your pots with your well-draining mix. Make a hole with a pencil or your finger and insert the cutting, ensuring the leaf nodes are below the soil surface. Gently firm the soil around it.
- Water and cover: Water thoroughly but gently. You can pop these into a plastic bag or cover them with a clear plastic dome to create a mini-greenhouse. This keeps humidity high.
- Keep them happy: Place them in a bright spot out of direct sun. Keep the soil consistently moist but not waterlogged.
Water Propagation (A Fun Experiment!)
This is a visually rewarding way to propagate, though I’ve found division and cuttings to be more robust for Solidago.
- Select and cut: Similar to stem cuttings, choose healthy, non-flowering stems and cut them 4-6 inches long. Remove lower leaves.
- Into the water: Place the cuttings in a clean jar or vase filled with fresh water. Make sure no leaves are submerged in the water.
- Watch and wait: Change the water every few days to keep it fresh. You should start to see little white roots forming in a few weeks.
- Pot them up: Once the roots are about an inch long, carefully transplant them into your well-draining potting mix. Treat them as you would a stem cutting.
The “Secret Sauce” (Pro Tips)
After years of nurturing these plants, I’ve picked up a few tricks:
- Don’t drown your cuttings: When you’re water propagating, submerged leaves will rot. Keep them high and dry above the water line. It’s a simple rule that makes a world of difference.
- Bottom heat is your friend: For stem cuttings, especially if your house is a bit on the cool side, placing your pots on a gentle heat mat can significantly speed up root development. It mimics the warmth of spring soil beautifully.
- Patience with division: Sometimes divided plants look a bit stressed for a week or two. Don’t panic! As long as the roots are moist and they’re in a protected spot, they’re busy establishing themselves below the surface.
Aftercare & Troubleshooting
Once you see signs of new growth or roots poking out of the drainage holes, your propagation is well on its way!
Continue to keep the soil consistently moist but not soggy. As they grow stronger, you can gradually acclimate them to more direct sunlight. Gradually removing the plastic cover from cuttings will help them adjust.
The most common issue you might encounter is rot. This is usually due to overwatering or poor drainage. If you see a cutting turning black and mushy, it’s likely a lost cause. Remove it immediately to prevent it from affecting others. Yellowing leaves can sometimes mean too much direct sun right away, or simply that the plant is settling in.
A Little Encouragement
Propagating Solidago is a journey, and like any good gardening endeavor, it’s about observation and a bit of gentle nurturing. Don’t get discouraged if something doesn’t work out the first time. Each plant is a learning experience, and the reward of seeing your own little goldenrods thrive is truly wonderful. So, get your hands dirty and enjoy the process! Happy planting!
Resource:
https://identify.plantnet.org/k-world-flora/species/Solidago%20sempervirens%20L./data