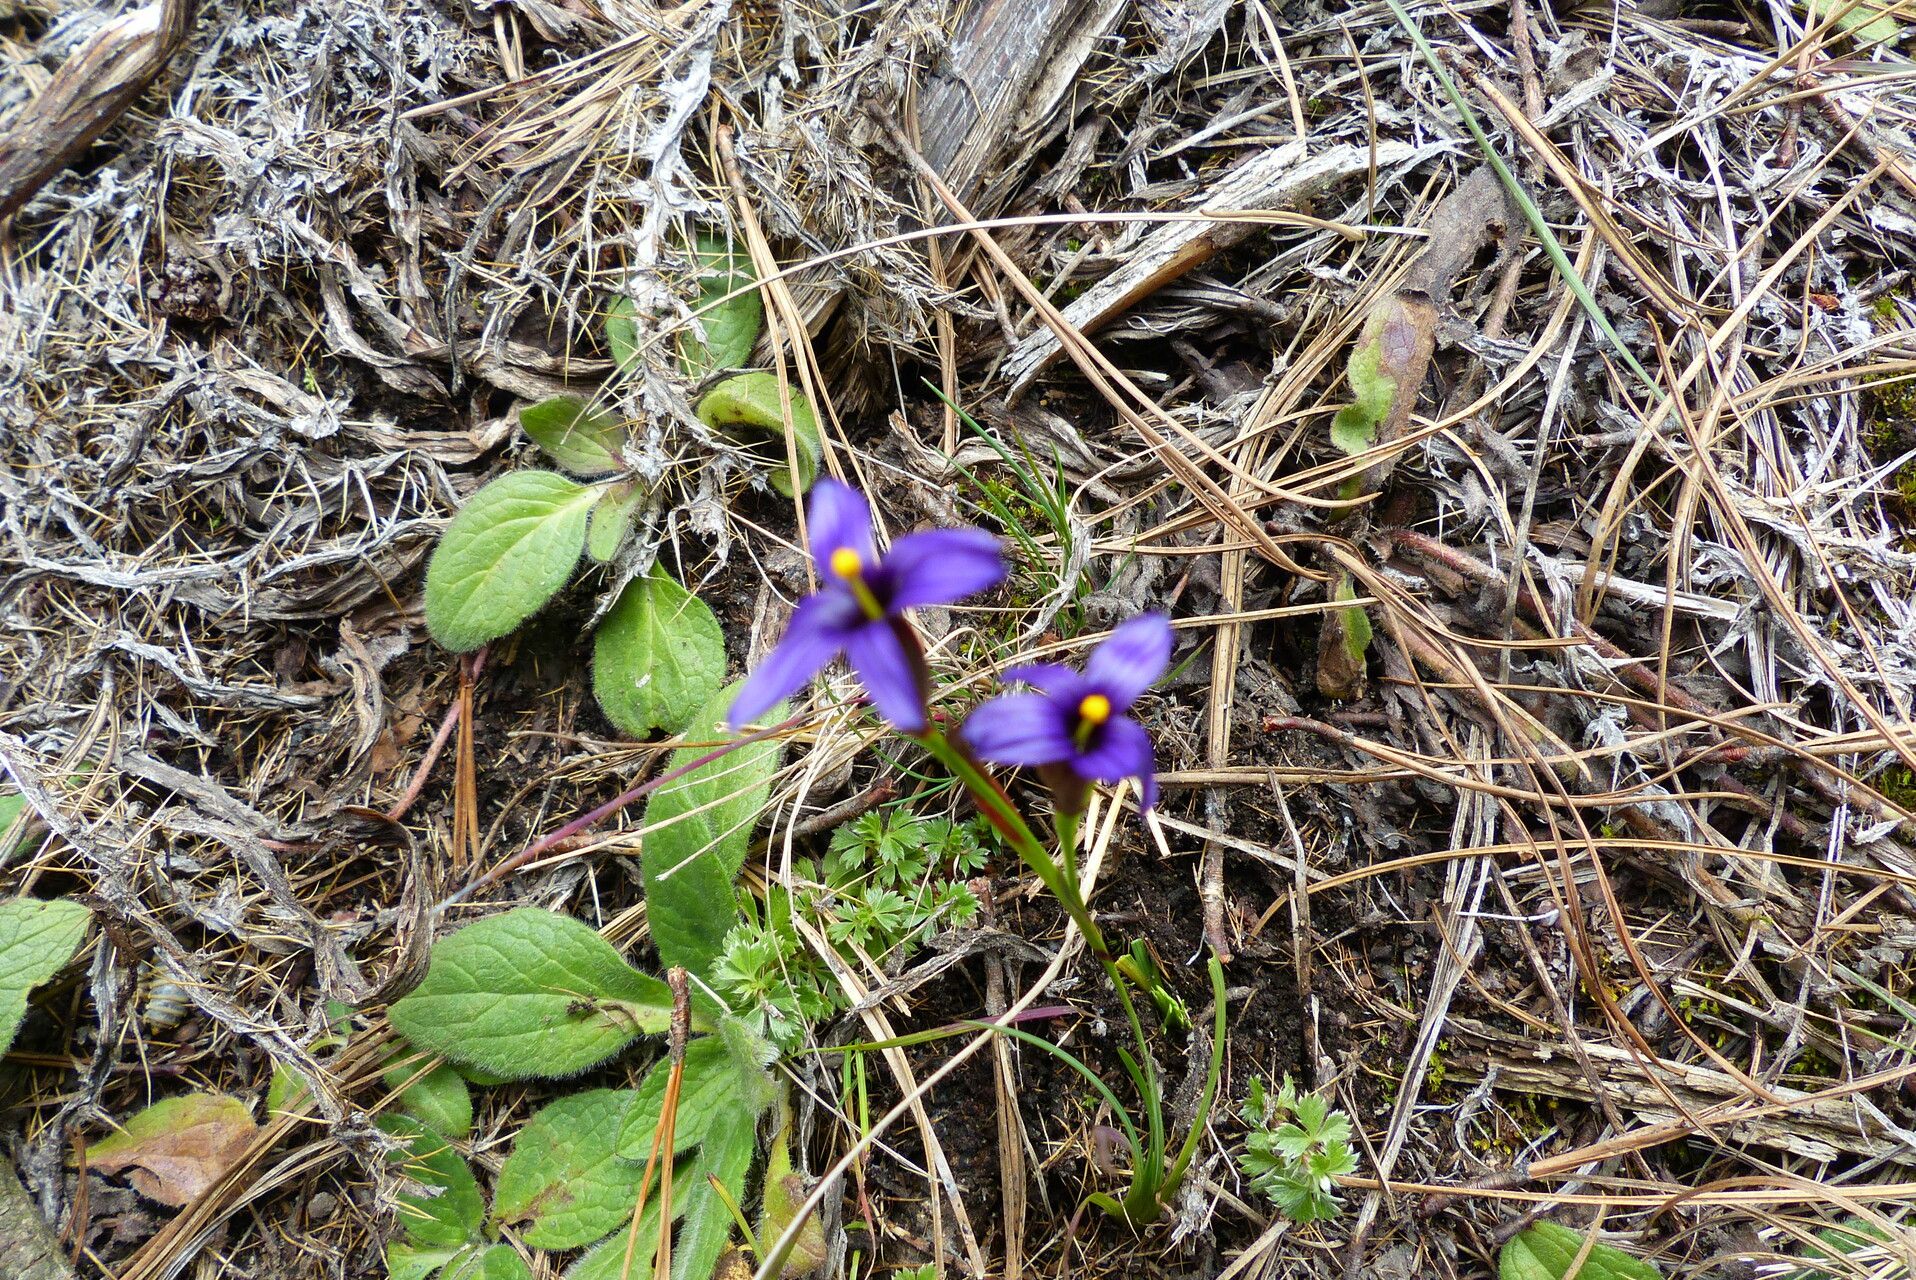
Hello, fellow garden lovers! I’m so excited to chat with you today about a plant that has captured my heart over the years: Sisyrinchium halophilum. If you’re not familiar, imagine tiny, star-shaped flowers, often in shades of cheerful violet or crisp white, blooming abundantly in sunny spots. They’re wonderfully low-maintenance once established, bringing a touch of delicate beauty to borders, rock gardens, or even containers.
The real joy? Propagating Sisyrinchium halophilum. Watching a tiny division or a promising cutting transform into a thriving new plant is incredibly rewarding. For beginners, I’d say this little gem is quite forgiving. It’s not overly fussy, making it a fantastic plant to try your hand at multiplication.
The Best Time to Start
When you’re eager to get more Sisyrinchium in your life, timing is key. I find the late spring to early summer is your golden window. This is when the plant is actively growing after its spring bloom, and has plenty of energy to put into forming new roots. Waiting until after the main flowering flush means you’re not taking away from its showy display.
Supplies You’ll Need
Gathering your tools beforehand makes the whole process smoother. Here’s what I usually have on hand:
- Sharp Pruning Shears or a Craft Knife: For clean cuts.
- A Well-Draining Potting Mix: I often use a blend of compost, perlite, and coarse sand. The key is avoiding anything that holds too much moisture.
- Small Pots or Seed Trays: Enough for your cuttings or divisions.
- Rooting Hormone (Optional but Recommended): A powder or gel can really give your cuttings a boost.
- Watering Can with a Fine Rose: Gentle watering is crucial.
- Labels: Don’t forget to label your creations!
Propagation Methods
Sisyrinchium halophilum is wonderfully amenable to a couple of straightforward propagation techniques.
Division
This is often the easiest and most reliable method for Sisyrinchium.
- Gently Unearth: In late spring or early summer, carefully dig up your established Sisyrinchium plant. You want to lift the entire clump.
- Separate the Roots: Gently tease apart the root ball. You’ll often find clumps of new growth already forming their own roots. Use your fingers or a trowel to carefully divide the plant into smaller sections, ensuring each section has at least a few stems and some healthy roots.
- Replant Immediately: Pot up your divisions into pots filled with your well-draining mix. Water them gently but thoroughly.
- Give Them Space: If you’re planting them back in the garden, give them a little room to thrive.
Stem Cuttings
While division is my go-to, you can also try stem cuttings.
- Take the Cuttings: In late spring or early summer, select healthy, non-flowering stems from your mature plant. Using your sharp shears, make a clean cut just below a leaf node (where a leaf attaches to the stem). Aim for cuttings that are 3-4 inches long.
- Prepare the Cuttings: Remove the lower leaves from the cutting, leaving only the top few intact. This prevents them from rotting in the soil.
- Dip in Rooting Hormone: If you’re using it, dip the cut end of each stem into rooting hormone, tapping off any excess.
- Plant the Cuttings: Insert the cut end of each cutting into your prepared potting mix. Make a small hole first with a pencil or skewer so you don’t rub off the hormone. Plant them about 1-2 inches deep, firming the soil gently around them.
- Water Lightly: Water the soil thoroughly but gently.
The “Secret Sauce” (Pro Tips)
I’ve learned a few tricks over the years that can really make a difference.
One of my top tips is for cuttings: avoid overcrowding. Give your cuttings a bit of space in their pots. They need good air circulation to prevent fungal issues, which is their biggest enemy. If they’re too squished together, damp air can get trapped, leading to rot.
Also, for both divisions and cuttings, don’t be tempted to overwater. It’s so tempting to coddle new plants, but Sisyrinchium prefers to be slightly drier than constantly soggy. Let the top inch of soil dry out between waterings. This encourages those roots to search for moisture, making them stronger.
Aftercare & Troubleshooting
Once your divisions or cuttings are settled in their new pots, keep them in a bright, indirect light location. Avoid harsh, direct sun for the first few weeks, as it can scorch delicate new growth.
Check your new plants regularly. You’ll know they’re happy when you start to see new leaf growth emerge. This is the sign that roots are forming!
The most common issue you might encounter is rot. If you see stems turning mushy and black, or if your cuttings simply refuse to perk up after a couple of weeks, it’s usually a sign of too much moisture. Unfortunately, if rot sets in, it’s often difficult to save them. Learn from it, adjust your watering, and try again!
A Little Patience Goes a Long Way
So there you have it – a simple guide to propagating your beloved Sisyrinchium halophilum. Remember that gardening is a journey, and every season brings new lessons. Be patient with your new plants, celebrate every bit of success, and most importantly, enjoy the process of creating more beauty for your garden. Happy planting!
Resource:
https://identify.plantnet.org/k-world-flora/species/Sisyrinchium%20halophilum%20Greene/data