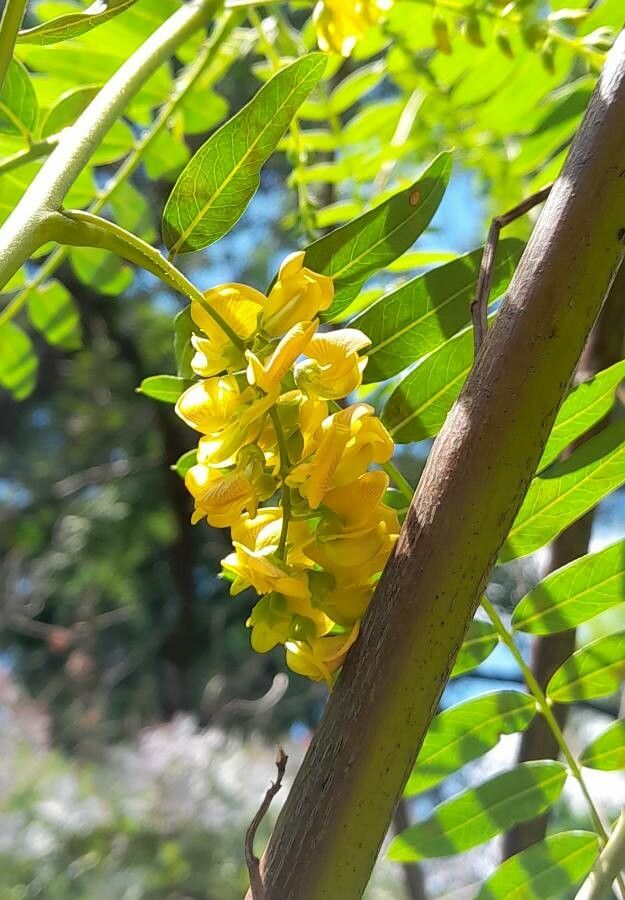
Hello there, fellow garden enthusiasts! I’m so thrilled you’re interested in bringing more of the beautiful Sesbania virgata into your life. You know, that delightful shrub with its airy, fern-like foliage and bursts of yellow flowers? It’s such a joy to have twinkling in the garden. And the best part? It’s surprisingly easy to propagate! If you’re just dipping your toes into the world of plant reproduction, this is a wonderful place to start. You’ll be amazed at how quickly you can fill up a garden bed or share these beauties with friends.
The Best Time to Start
For Sesbania virgata, timing is everything. The absolute sweet spot for taking cuttings is during the active growing season, typically from late spring through summer. You’re looking for stems that are firm but not quite woody. Think of it as the “teenager” stage of the stem – not a floppy seedling, but not an old, rigid branch either. This is when the plant has plenty of energy to put into growing new roots.
Supplies You’ll Need
To get your Sesbania virgata off to a great start, here’s what I like to have on hand:
- Sharp pruning shears or a clean knife: For making nice, clean cuts.
- Rooting hormone (optional but recommended): This little boost can really speed things up.
- A well-draining potting mix: I usually combine equal parts peat moss, perlite, and a bit of compost.
- Small pots or seedling trays: With drainage holes, of course!
- A clear plastic bag or a propagation dome: To keep humidity high.
- Watering can with a fine rose: For gentle watering.
Propagation Methods
The most successful and straightforward way to propagate Sesbania virgata is through stem cuttings. It’s a tried-and-true method that rarely fails.
- Select Your Cuttings: Find those healthy, semi-hardwood stems I mentioned. Look for pieces that are about 6 to 8 inches long. Make sure each cutting has at least a few sets of leaves.
- Make the Cut: Using your sharp shears or knife, make a clean cut just below a leaf node (where a leaf attaches to the stem). This node is where the magic of root formation often begins.
- Prepare the Cuttings: Gently remove the lower leaves from the cutting, leaving just the top few. This prevents them from rotting in the soil. If your leaves are quite large, I sometimes even cut them in half horizontally to reduce water loss through transpiration.
- Apply Rooting Hormone: Dip the cut end of each stem into your rooting hormone powder, tapping off any excess. This step is like giving your cutting a little pep talk, encouraging it to branch out with roots.
- Plant Your Cuttings: Fill your pots or trays with the well-draining mix. Make a small hole in the center with your finger or a pencil, and carefully insert the cutting. Gently firm the soil around the stem to ensure good contact.
- Water and Cover: Water the soil thoroughly but gently. Then, cover the pots with a clear plastic bag or place them under a propagation dome. This creates a mini-greenhouse environment, keeping the humidity high, which is crucial for new root development.
The “Secret Sauce” (Pro Tips)
Here are a couple of little tricks I’ve picked up over the years that really make a difference:
- Don’t Let the Leaves Touch the Water (If Water Propagating): While I mostly stick to soil cuttings for Sesbania, if you do try water propagation, ensure no leaves are submerged. Submerged leaves are a one-way ticket to rot. Just the cut stem should be in the water.
- Bottom Heat is Your Friend: If you can, place your pots on a heated propagation mat. This gentle warmth from below mimics ideal soil temperatures and encourages roots to form much faster. It’s like a cozy spa day for your cuttings!
Aftercare & Troubleshooting
Once your cuttings are planted, place them in a spot that receives bright, indirect light. Avoid harsh, direct sun, as it can scorch those tender new stems. Keep the soil consistently moist, but never soggy. You can check this by gently poking your finger into the soil – it should feel like a wrung-out sponge.
You’ll know your cuttings have taken root when you see new leaf growth emerging from the tip, or if you gently tug on the cutting and feel some resistance. This usually takes anywhere from 3 to 6 weeks, sometimes longer depending on conditions.
The most common issue you might encounter is rot. If you see your cuttings turning black and mushy, it’s usually a sign of too much moisture and not enough air circulation. Ensure your soil drains well and consider removing the plastic covering for a few hours a day if things seem too damp. If a cutting rots, don’t be disheartened; just try again with a fresh one!
A Little Encouragement
Propagating plants is all about patience and observation. Don’t get discouraged if your first few attempts aren’t perfect. Each cutting is a learning experience, and soon enough, you’ll be a Sesbania virgata propagation pro. Enjoy the process, and embrace the joy of creating new life in your garden! Happy planting!
Resource:
https://identify.plantnet.org/k-world-flora/species/Sesbania%20virgata%20(Cav.)%20Poir./data