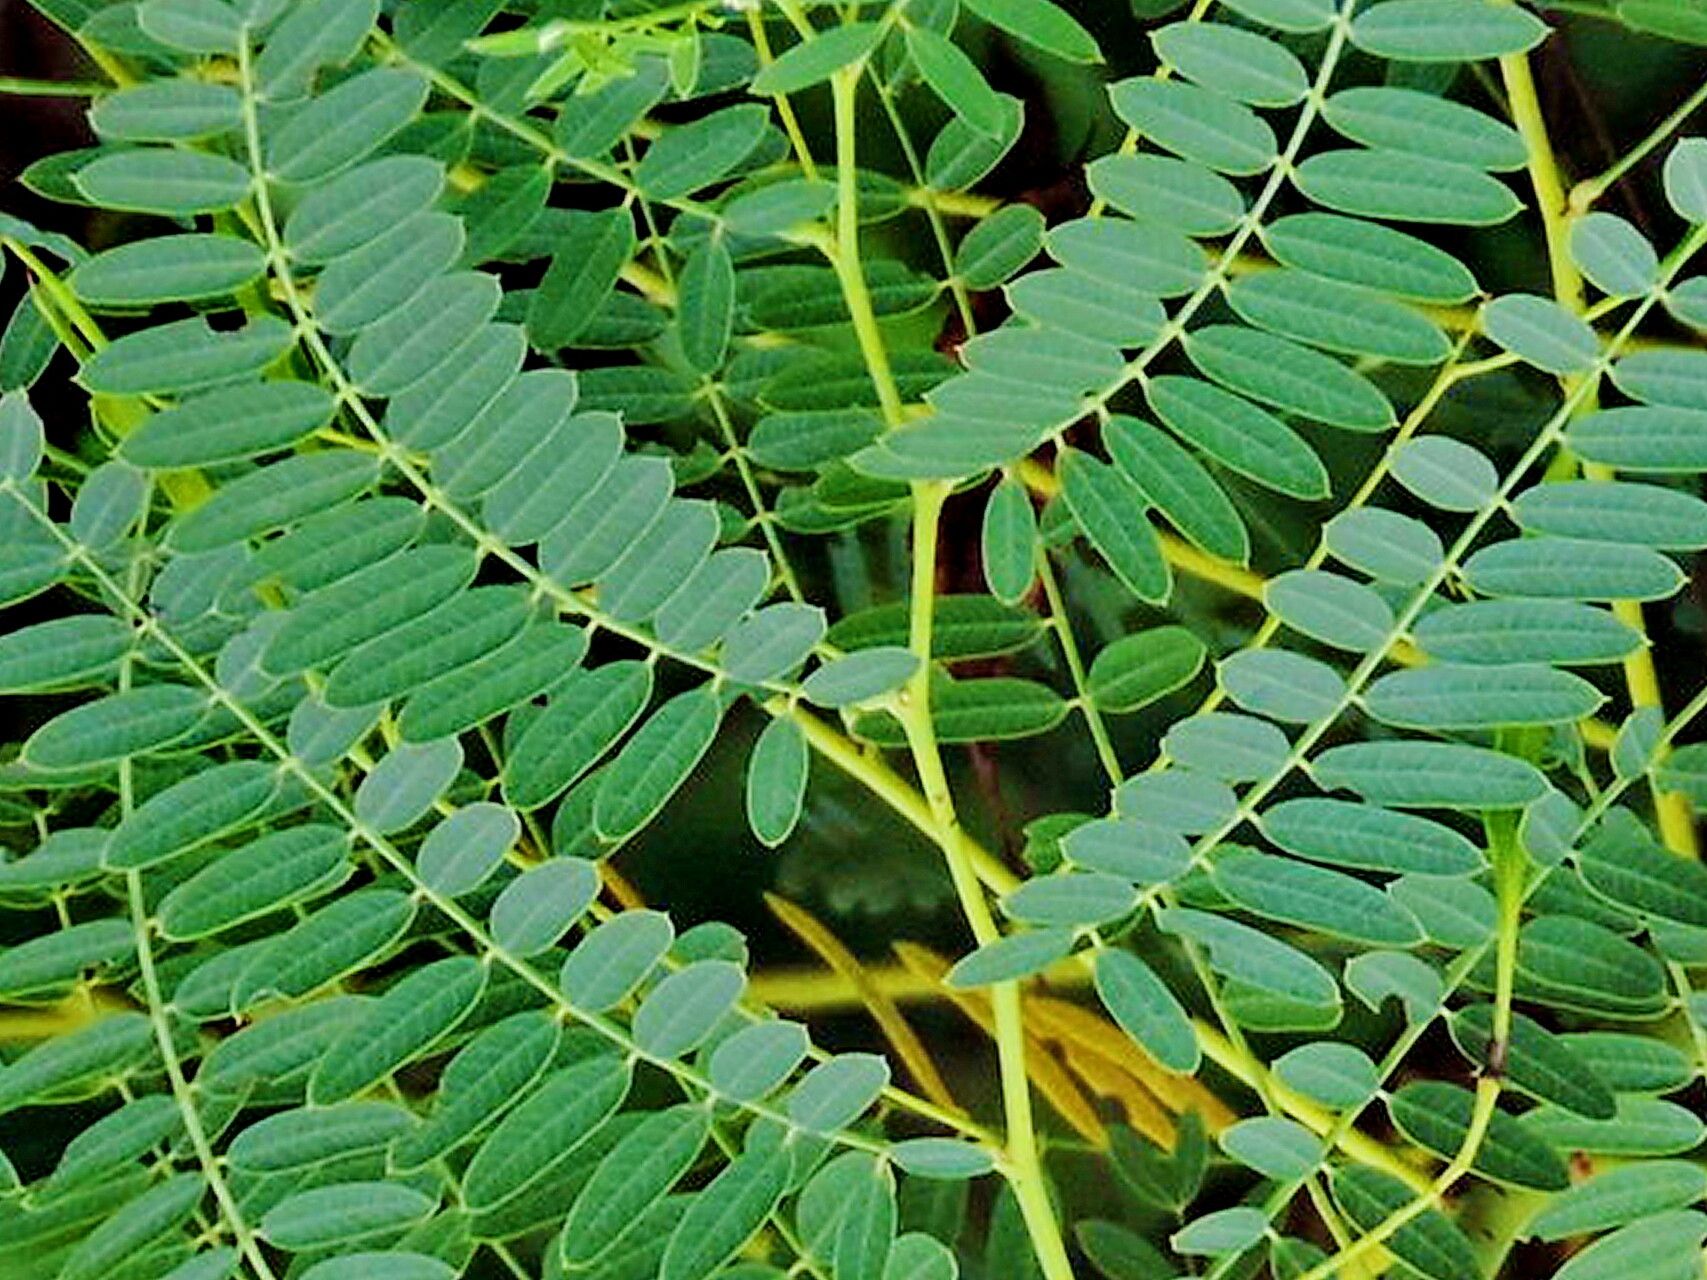
Hello, fellow plant lovers! Today, we’re diving into the wonderful world of propagating Sesbania drummondii, often called Drummond’s Sesbania. This lovely legume is a treasure for any garden, offering beautiful, pea-like flowers and acting as a nitrogen-fixer for your soil, which is a huge bonus! Plus, the satisfaction of growing your own from a tiny cutting or seed is truly special.
Now, for our beginners out there, I’d say Sesbania drummondii is moderately easy to propagate. It’s not a guaranteed win on your first try, but with a little attention and following these steps, you’ll be well on your way to success.
The Best Time to Start
For the highest success rates, I like to start my Sesbania drummondii propagation in late spring or early summer. This is when the plant has good, strong growth after winter and before the intense heat of mid-summer sets in. You’re essentially catching it at its peak vigor.
Supplies You’ll Need
Here’s a handy list of what you’ll want to have on hand:
- Sharp pruning shears or a clean, sharp knife: For making clean cuts.
- Rooting hormone (optional but recommended): Powder or liquid form.
- A well-draining potting mix: I usually use a 50/50 blend of perlite and peat moss or a commercially available seed-starting mix.
- Small pots or seed trays: With drainage holes, of course!
- Plastic bags or a clear plastic dome: To create a humid environment.
- Watering can with a fine rose: For gentle watering.
- A small trowel or dibber: For making holes in the soil.
Propagation Methods
While you can grow Sesbania drummondii from seed, I find stem cuttings to be quite reliable and a bit more rewarding for getting a head start.
Stem Cuttings:
- Select your stem: Look for a healthy, semi-hardwood stem from a mature plant. This means it’s not brand new and floppy, but not old and woody either. Aim for a stem that’s about 4-6 inches long.
- Make the cut: Using your clean shears or knife, make a clean cut just below a leaf node. The leaf node is where a leaf attaches to the stem; this is where roots are most likely to form.
- Prepare the cutting: Gently remove the lower leaves, leaving just a couple of leaves at the very top. This helps the cutting conserve energy. If the remaining leaves are very large, I sometimes lightly trim them in half to reduce water loss.
- Apply rooting hormone (optional): Dip the bottom of the cutting into water, then into your rooting hormone powder. Tap off any excess.
- Plant the cutting: Fill your pots with your prepared mix. Make a small hole with your trowel or dibber, then carefully insert the cutting. Gently firm the soil around the base.
- Water gently: Give the cuttings a light watering to settle the soil.
- Create humidity: Cover the pots with a plastic bag secured with a rubber band or use a clear plastic dome. This traps moisture, which is crucial for cuttings.
- Placement: Place the pots in a bright location out of direct sunlight. A warm spot is best.
The “Secret Sauce” (Pro Tips)
Now, for a little insider knowledge to boost your success rate:
- “Don’t let the leaves touch the water”: If you’re tempted to water propagate (which you can do with Sesbania, though I prefer soil), make sure the leaves of your cutting aren’t submerged. Rot sets in quickly if they are!
- “Use bottom heat”: Investing in a heat mat designed for seedlings and cuttings can make a world of difference. It encourages root development from the bottom up, significantly speeding up the process. Just place your pots on top of the mat.
Aftercare & Troubleshooting
Once your cuttings have been in their humid homes for a few weeks, you might start to see signs of life!
- Rooting: To check for roots, very gently tug on the cutting. If you feel resistance, it’s a good sign! You can also look for new leaf growth at the top.
- Acclimatizing: Once you see good root development (or new growth), it’s time to gradually acclimatize your new plants. Start by opening the plastic bag or dome for a few hours each day, slowly increasing the time over a week or two. This prevents shock.
- Signs of trouble: The most common issue is rot. If your cutting turns black and mushy, it’s usually a sign of too much moisture and not enough air circulation, or potentially a fungal issue. Unfortunately, there’s usually no coming back from rot, so it’s best to discard it and start fresh. If you see wilting without any sign of rot, it might just need more consistent moisture or humidity.
A Little Patience Goes a Long Way
Propagating Sesbania drummondii is a wonderfully rewarding process. It takes a bit of care and observation, but watching those first tiny roots emerge is a true joy. Be patient with yourself and your new little plants. Happy gardening!
Resource:
https://identify.plantnet.org/k-world-flora/species/Sesbania%20drummondii%20(Rydb.)%20Cory/data