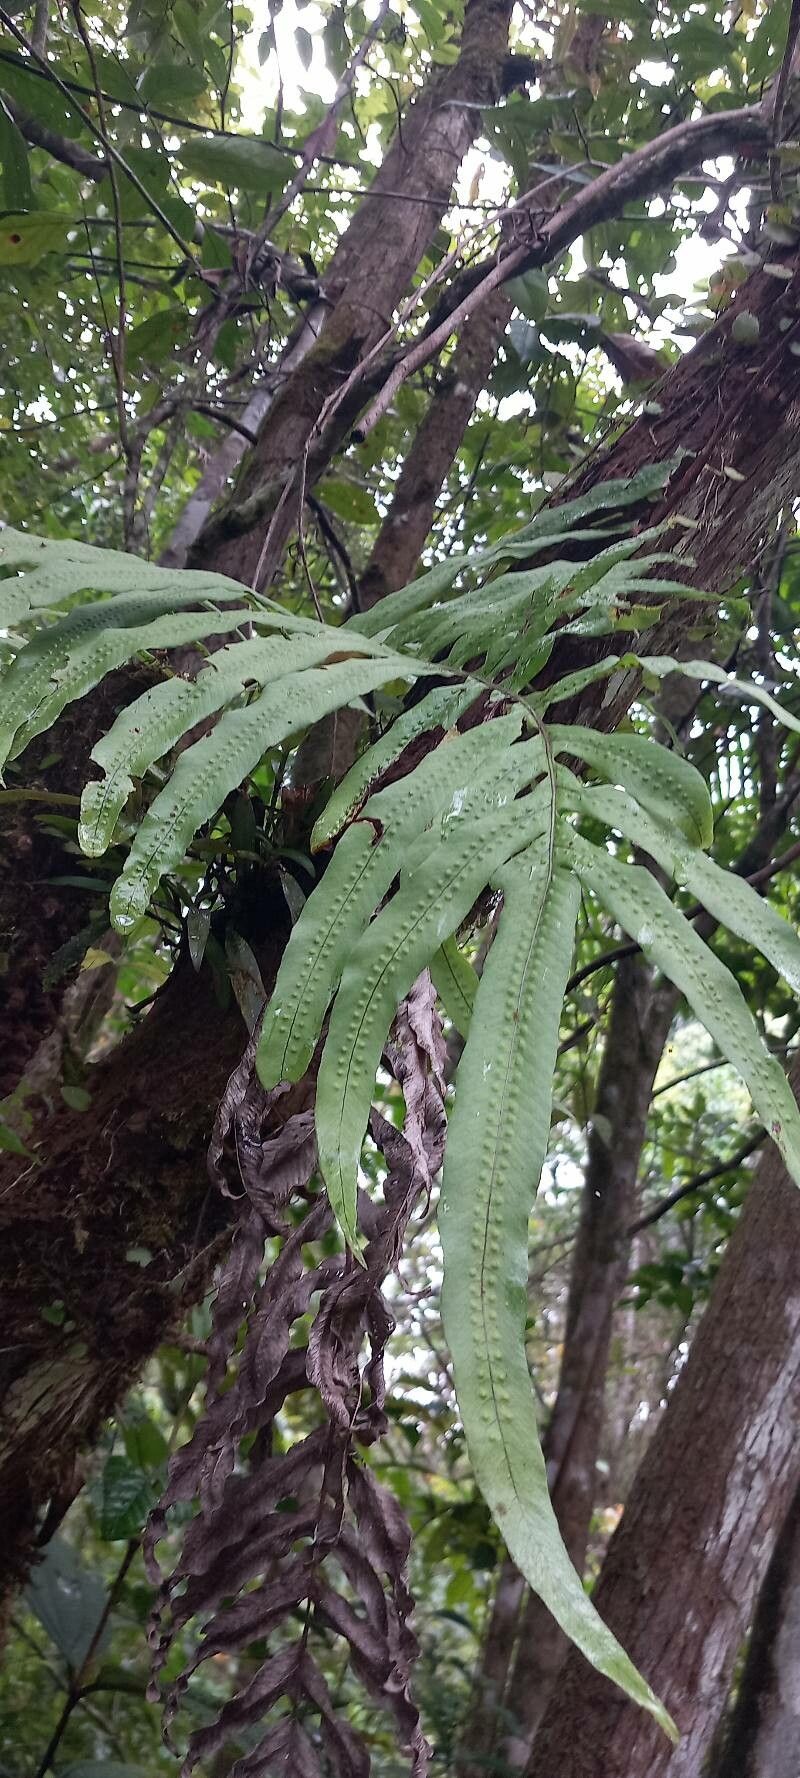
Hey there, fellow plant enthusiasts! Today, we’re diving into the wonderful world of a truly special fern: Serpocaulon attenuatum. If you’ve ever admired its delicate, shimmering fronds, you know exactly why I’m so excited to talk about it. Propagating this beauty isn’t just about getting more plants; it’s about connecting with nature and creating more of that leafy magic in your own space. While it might seem a little intimidating at first glance, I promise you, with a little guidance, you’ll be well on your way to success! And if you’re new to propagating, this is a fantastic plant to cut your teeth on.
The Best Time to Start
For Serpocaulon attenuatum, the sweet spot for propagation is definitely when the plant is actively growing. Think late spring through summer. You know, when things are really buzzing in the garden and your plants are just bursting with life. This vigorous growth gives your cuttings or divisions the best chance to establish themselves quickly.
Supplies You’ll Need
Before we get our hands dirty, let’s gather our toolkit. You won’t need anything too fancy, just some thoughtful essentials:
- Sharp pruning shears or a clean knife: For taking nice, clean cuts.
- A quality potting mix: I like a blend of peat moss, perlite, and a touch of orchid bark for excellent drainage and aeration.
- Small pots or trays: Whatever you have available, just make sure they have drainage holes.
- Rooting hormone (optional but recommended): This can give your cuttings a nice boost. Willow water is also a great natural alternative if you prefer.
- A spray bottle: For misting.
- Clear plastic bags or domes: To create a humid environment.
Propagation Methods
Serpocaulon attenuatum is a pretty adaptable plant, and I’ve had success with a couple of key methods.
1. Stem Cuttings (Division is often the easiest for this fern!):
While true stem cuttings aren’t the most common for ferns, the technique we’ll use here is essentially dividing the crown. This is like giving the mother plant a haircut that results in new babies!
- Gently unpot your Serpocaulon attenuatum. I like to do this when the soil is slightly dry, making it easier to work with.
- Examine the base of the plant. You’re looking for distinct clumps or new growth points that have their own roots.
- Carefully tease apart the sections. Use your fingers or a clean, sharp knife to separate these new growths. Don’t be afraid to get in there! You want to ensure each division has a good amount of roots and at least one healthy frond or growth bud.
- Pot up your divisions. Place each new piece into its own pot with your prepared potting mix. Plant them so the top of the root ball is just at the soil surface.
2. Water Propagation (for younger, softer shoots):
This method works best if you can find smaller, softer shoots that have already developed some visible root nubs.
- Take a cutting. Select a healthy shoot that has a few inches of length and ideally some tiny white root primordia showing at the base.
- Remove any lower fronds. This helps prevent them from rotting in the water.
- Place the cutting in a clean jar or vase filled with fresh, room-temperature water. Make sure the cut end is submerged.
The “Secret Sauce” (Pro Tips)
Here are a few things I’ve learned over the years that can really make a difference:
- Humidity is King: Ferns absolutely adore moisture. After dividing or taking cuttings, immediately place the pots or jars into a humid environment. A clear plastic bag tented over the pot or a clear dome works wonders. Just make sure to open it for a bit of air exchange daily to prevent mold.
- Don’t Drown Your Cuttings: If you’re going the water propagation route, change the water every few days. Stagnant water is a recipe for disaster. Also, ensure no leaves are touching the water as this can lead to rot.
- Bottom Heat Can Be a Game-Changer: If you have a propagation mat or can place your pots on top of a gently warm appliance (like a router), consistent warmth from below can significantly speed up root development.
Aftercare & Troubleshooting
Once you see signs of new growth, congratulations! That’s your cue that roots are forming.
- For divisions: Keep the soil consistently moist but not waterlogged. Continue with the high humidity until you see the plant actively unfurling new fronds. Gradually ease it out of the plastic tent over a week or so.
- For water propagation: Once you have a decent root system (at least an inch or two long), carefully pot your new fern into its own small pot with the suggested potting mix. Water it in thoroughly.
Now, what if things go sideways? The most common culprit for propagation failure is rot. You’ll see mushy, black stems or fronds. This usually comes down to too much moisture and not enough air circulation. If you spot it early, you might be able to salvage a healthy part of the cutting, but often, it’s best to start again and be more mindful of drainage and air.
A Note of Encouragement
Propagating plants is a journey of patience and observation. You’ll learn so much by watching your new fern take hold. Don’t get discouraged if your first attempt isn’t perfect. Every cutting, every division, is a chance to deepen your understanding and connection with these green wonders. Keep practicing, enjoy the process, and soon you’ll have a whole collection of Serpocaulon attenuatum to delight in! Happy growing!
Resource: