Hello, fellow garden enthusiasts! Today, we’re diving into the wonderful world of propagating Senegalia polyphylla, also known as the Acacia polyphylla. This elegant tree, with its delicate, fern-like foliage and graceful, weeping habit, is a true showstopper. And the joy of creating more of these beauties from your existing plants? Well, that’s just pure gardening bliss. Now, I won’t lie and say it’s the absolute easiest plant for a complete beginner to propagate, but with a little patience and these tips, you’ll be well on your way to success.
The Best Time to Start
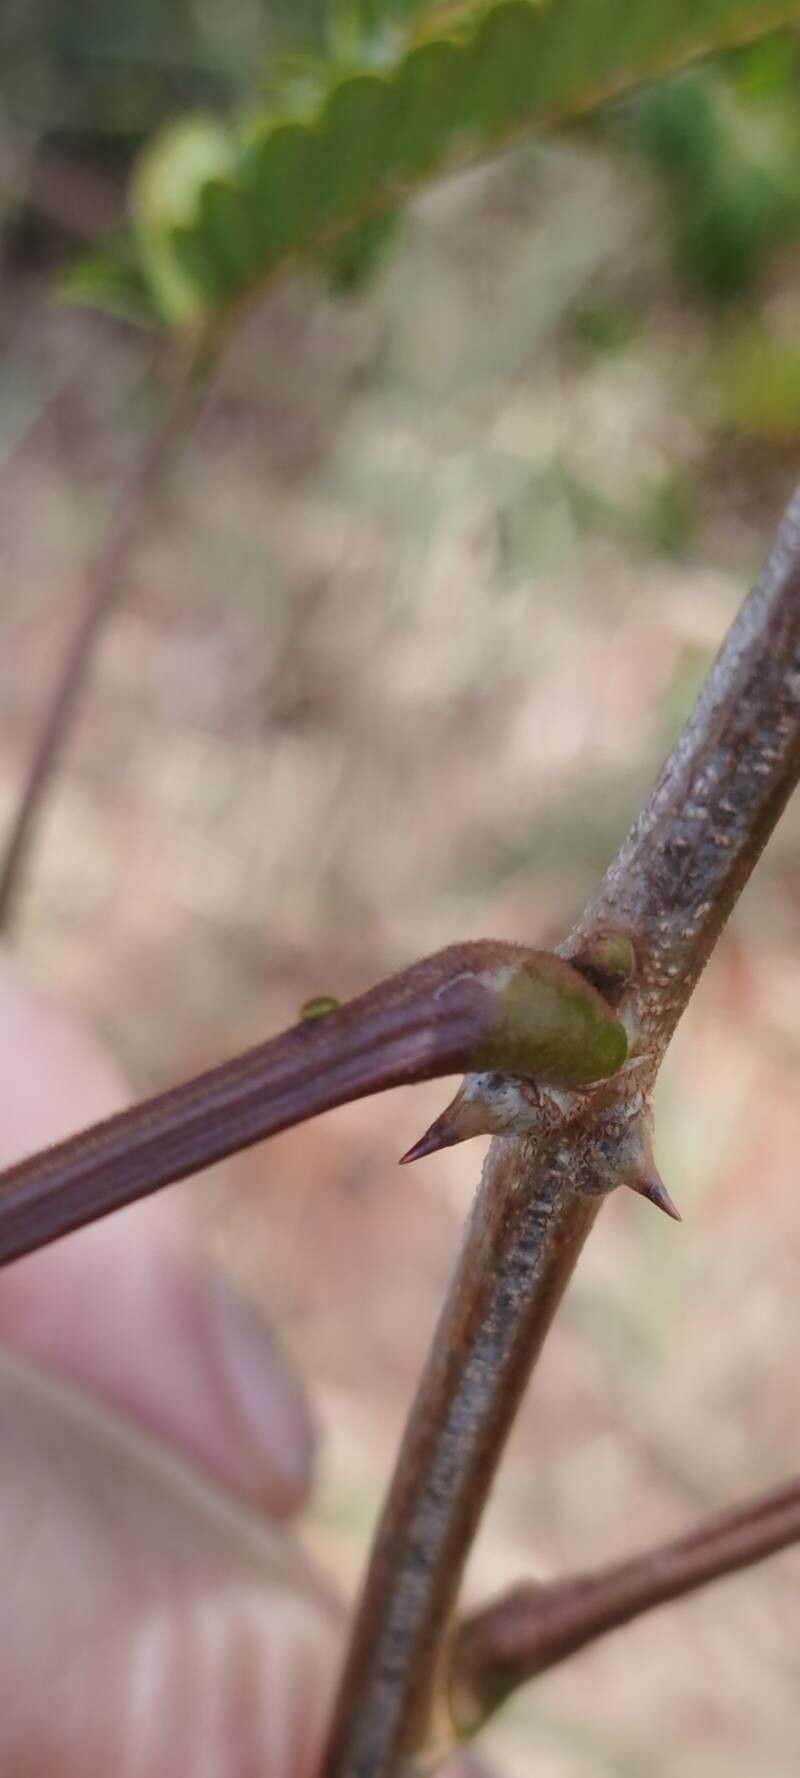
Timing is everything in the garden, and for Senegalia polyphylla, the late spring to early summer is your sweet spot. This is when the plant is actively growing and has plenty of energy reserves to put into root development. You’ll want to take cuttings from new, semi-hardwood growth. This means the stems are no longer floppy and green, but they haven’t yet become completely woody and stiff. Think of a pencil – about that consistency.
Supplies You’ll Need
Gathering your tools beforehand makes the whole process much smoother. Here’s what I always have on hand:
- Sharp pruning shears or a clean knife: For making precise cuts without crushing the stem. Sterilize them with rubbing alcohol between cuts!
- Rooting hormone: While not always strictly necessary, it can give your cuttings a significant boost. Look for one formulated for semi-hardwood cuttings.
- A well-draining potting mix: I like to use a blend of perlite, coco coir, and a bit of peat moss. You want something that holds moisture but doesn’t stay waterlogged. A cactus mix can also work in a pinch if you add more perlite.
- Small pots or trays: With drainage holes, of course! 3-4 inch pots are usually a good size.
- A plastic bag or humidity dome: To create a mini-greenhouse effect.
- Watering can with a fine rose: For gentle watering.
Propagation Methods
For Senegalia polyphylla, stem cuttings are by far the most reliable method. Here’s how I do it:
- Take Your Cuttings: On a bright, mild morning, select healthy stems from your mature plant. Make clean cuts just below a leaf node. You’re looking for cuttings that are about 4-6 inches long. Remove the lower leaves, leaving just a few at the very top. This prevents them from rotting once they’re in the soil.
- Prepare the Cuttings: Dip the cut end of each stem into your rooting hormone, tapping off any excess.
- Plant Your Cuttings: Fill your pots with your prepared potting mix. Make a small hole in the center of each pot with a pencil or your finger. Gently insert the cut end of a cutting into the hole, then firm the soil around it.
- Water Gently: Water the soil thoroughly until water drains from the bottom of the pot.
The “Secret Sauce” (Pro Tips)
Over the years, I’ve learned a few tricks that really make a difference.
- The Bottom Heat Trick: Senegalia polyphylla loves a little warmth from below when it’s trying to root. If you have a heating mat designed for seedlings, place your pots on it. This “bottom heat” encourages those roots to form much faster. If you don’t have a mat, just placing them in a consistently warm spot will help.
- Don’t Over-Mist: It’s tempting to keep the leaves constantly moist, but too much humidity without good airflow can lead to fungal issues. Use your clear plastic bag or dome to maintain humidity, but open it up for a few minutes each day to allow fresh air circulation.
- Patience is Key with Leaf Nodes: The magic happens at the leaf nodes. When you’re taking your cutting, make sure you have at least one or two nodes below the soil line. That’s where the roots will emerge from.
Aftercare & Troubleshooting
Once your cuttings are planted, it’s time for ongoing care.
- Keep them Moist, Not Soaked: The potting mix should feel like a wrung-out sponge – moist to the touch but not soggy. Water when the top inch of soil begins to feel dry.
- Bright, Indirect Light: Place your pots in a location that receives bright, indirect sunlight. Direct sun can scorch those delicate new cuttings.
- Rooting Time: Be patient! It can take anywhere from 4 to 8 weeks for roots to develop. You can gently tug on a cutting; if there’s resistance, you likely have roots. You might also start to see new leaf growth.
- Troubleshooting Rot: The most common problem you might encounter is rot. If a cutting turns black and mushy, it’s usually a sign of too much moisture and poor air circulation. Discard any rotting cuttings immediately and check your watering and ventilation.
A Encouraging Closing
Watching a new plant sprout from a seemingly dormant cutting is one of the most satisfying experiences a gardener can have. Don’t be discouraged if your first attempt isn’t a roaring success. Every gardener has had their share of failures! Keep trying, observe your plants, and enjoy the journey of bringing more of these beautiful Senegalia polyphylla into your world. Happy propagating!
Resource: