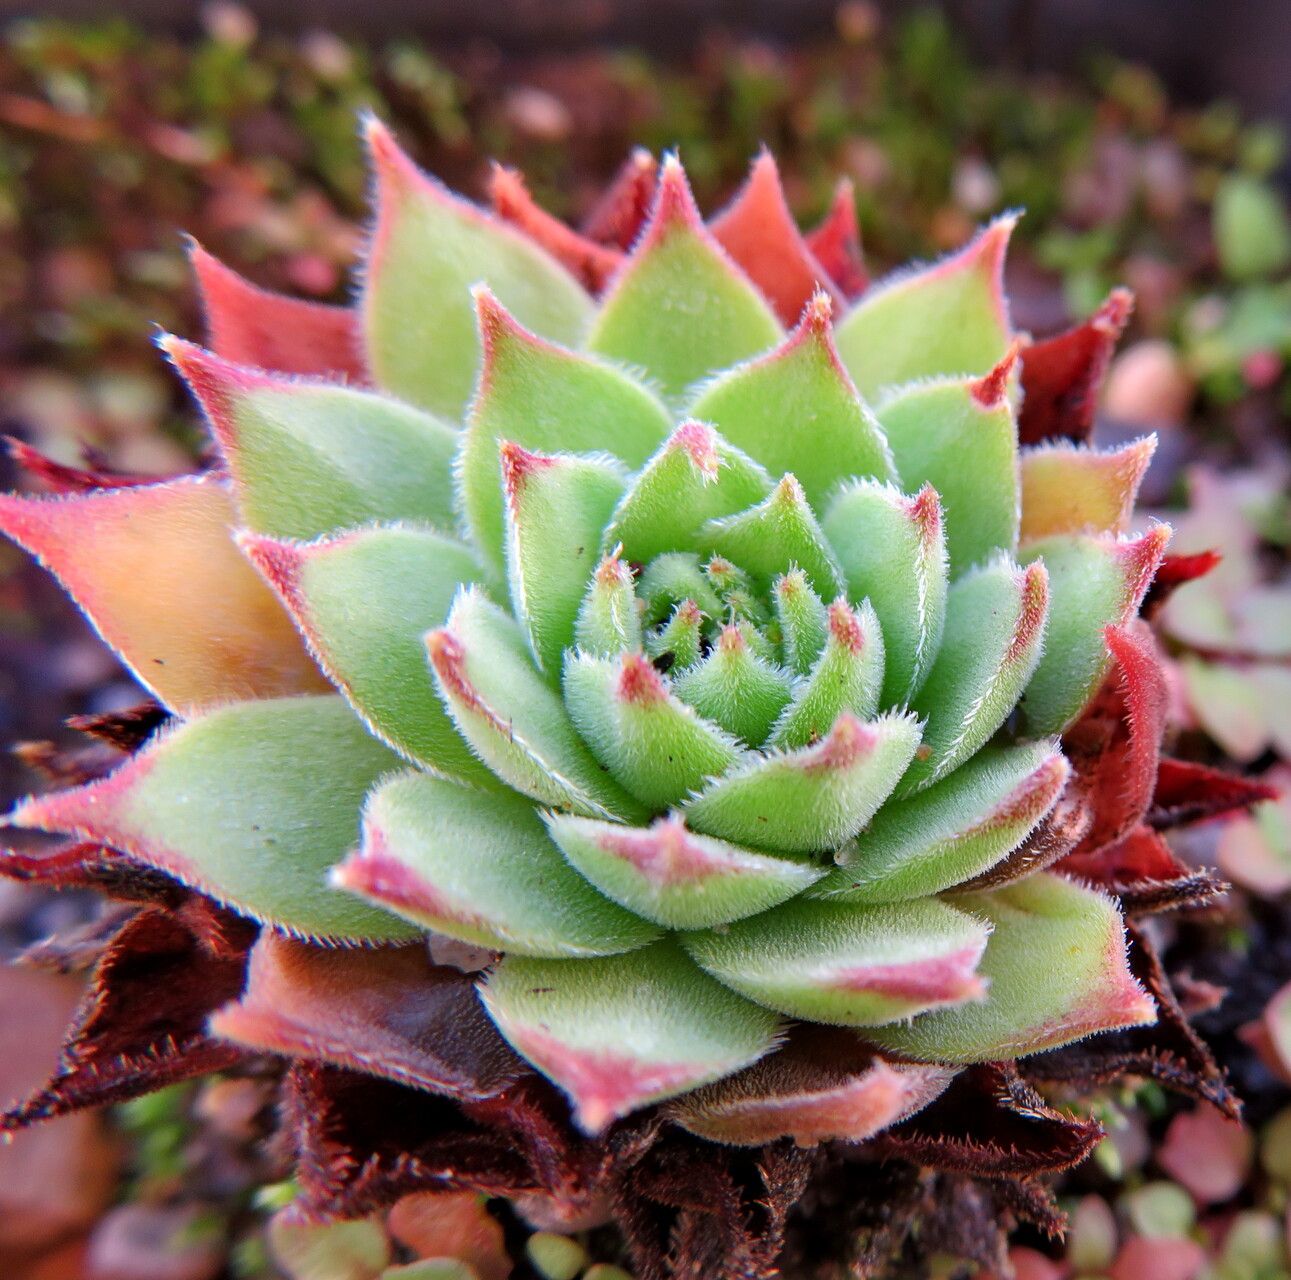
Hello, fellow garden enthusiasts! I’m so glad you’re here. Today, we’re diving into the delightful world of Sempervivum brevipilum, often called the “Woolly Hens and Chicks.” If you’ve ever admired these charming, fuzzy succulents, you’re in for a treat. They have such a unique texture, and creating more of them is surprisingly rewarding, even for those just starting out. Trust me, these little fuzzballs are quite forgiving.
The Best Time to Start
For Sempervivum brevipilum, my favorite time to get propagating is when the plant is actively growing. This usually means late spring through summer. You’ll see lots of little offsets, or “chicks,” forming around the “hen,” and the stems will be plump and full of promise. Trying to propagate when the plant is dormant in winter is much less likely to succeed.
Supplies You’ll Need
Here’s what you’ll want to have on hand before you get started:
- Sharp pruning shears or a clean knife: For making precise cuts.
- Well-draining potting mix: A cactus or succulent mix is perfect. You can also make your own with potting soil, perlite, and coarse sand.
- Small pots or trays: Whatever you have that is clean and allows for good drainage.
- Rooting hormone (optional but helpful): A powder formulation works well.
- A watering can with a fine rose or a spray bottle: For gentle watering.
- Labels: So you don’t forget what you’ve planted!
Propagation Methods
Let’s get our hands dirty! There are a couple of easy ways to multiply your Sempervivum.
1. Offsets (Chicks): This is by far the easiest and most common method for Hens and Chicks.
- Look for the small baby plants, the “chicks,” that grow on longish stems from the mother plant, the “hen.”
- When a chick is about the size of a dime or a bit larger and has started to form its own tiny roots at the base, it’s ready. You can often see these roots peeking out.
- Gently twist or carefully cut the offset away from the mother plant. Make sure you get a clean separation.
- Allow the cut end to callus over for a day or two. This is crucial! Just leave it in a dry, airy spot out of direct sun. This prevents rot.
- Once callused, you can press the cut end directly into your prepared well-draining soil in a small pot. You don’t need to bury it deeply, just enough to keep it upright.
- Water very sparingly after a few days. You just want to keep the soil slightly moist, not wet.
2. Stem Cuttings (Less Common, but doable): If your plant gets leggy, you can take cuttings.
- Using your clean shears, cut a healthy stem that has at least a few leaves on it.
- Remove the lower leaves from the stem.
- Just like with offsets, let the cut end callus over for a day or two in a dry, airy place.
- Once callused, you can either lay the cutting on top of the soil or insert the callused end about half an inch into the soil.
- Water very sparingly, only when the soil is completely dry.
The “Secret Sauce” (Pro Tips)
Here are a few little tricks I’ve picked up over the years that really boost success:
- Don’t overwater newbies! This is the number one killer of succulent propagations. A slightly dry spell is much better than too much moisture, which leads to rot. Wait until the soil is just starting to dry out before watering lightly.
- Bottom heat can be a game-changer. If you’re propagating in cooler conditions, placing your pots on a seedling heat mat set to a low temperature (around 70-75°F) can significantly speed up root development. It mimics the warmth of summer soil.
- Give them space. When planting multiple offsets or cuttings in a tray, allow them some breathing room. Good air circulation is vital to prevent fungal issues and encourages strong root growth.
Aftercare & Troubleshooting
Once your little Sempervivums have started to root – you’ll notice new growth or a slight tug resistance when you gently pull – you can start to water them a bit more regularly, but still, allow them to dry out between waterings. Gradually move them to a spot with bright, indirect sunlight.
What to watch out for?
- Mushy, discolored bases: This is a clear sign of rot. If you see this, remove the affected offshoot or cutting immediately to prevent it from spreading. You might be able to save a healthy part if you catch it early.
- Shriveling: If the leaves start to look deflated and wrinkly, it might mean they need a little more water, or perhaps they haven’t rooted yet and are just using up their stored moisture.
- No growth: Sometimes, it just takes patience! Don’t give up too quickly. Some of my trickiest propagations have eventually surprised me.
A Encouraging Closing
Propagating Sempervivum brevipilum is a wonderful way to fill your garden or share the joy of these unique plants. Don’t be discouraged if your first few attempts aren’t perfect. Gardening is all about learning and experimenting! Enjoy the process, celebrate every tiny new leaf, and soon you’ll have a whole army of fluffy Hens and Chicks to admire. Happy propagating!
Resource:
https://identify.plantnet.org/k-world-flora/species/Sempervivum%20brevipilum%20Muirhead/data