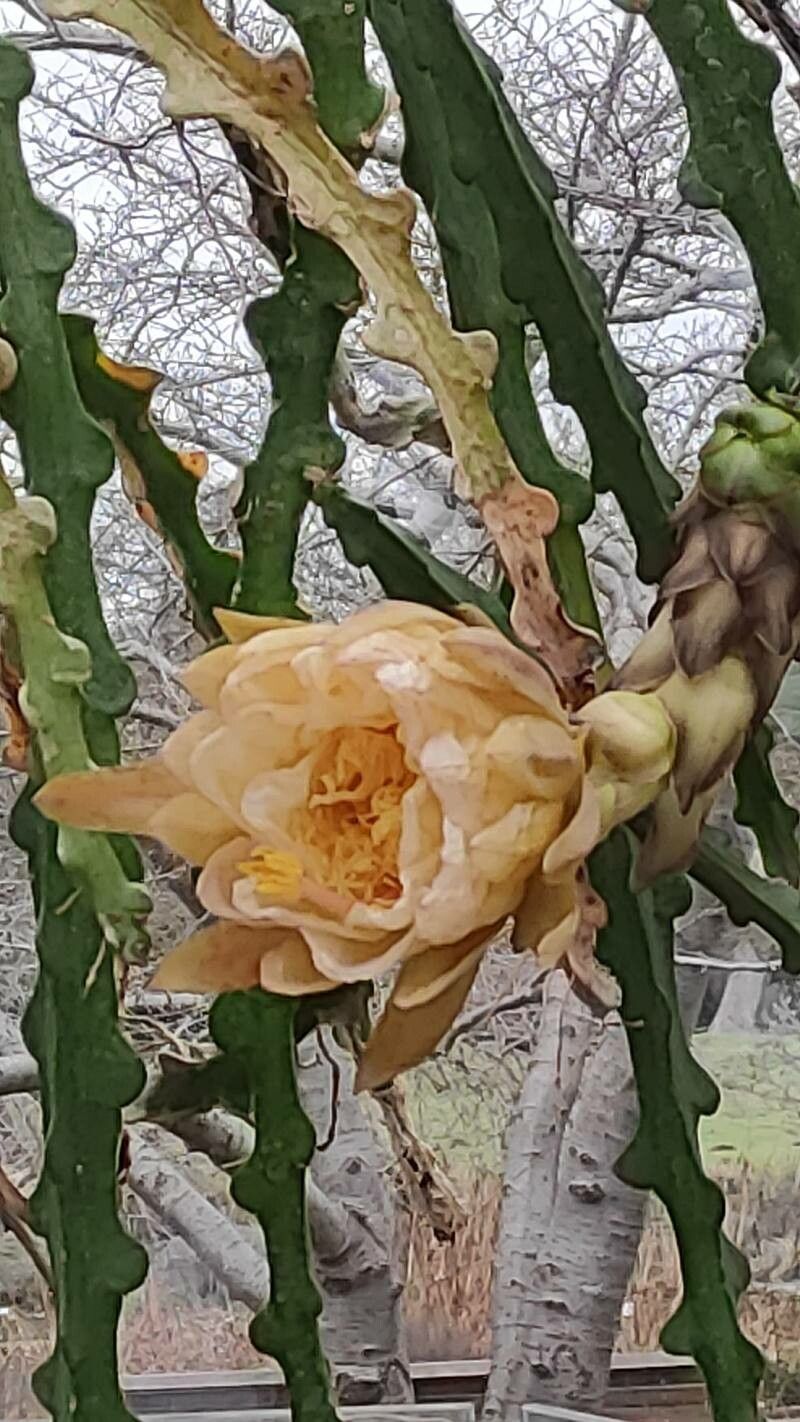
Oh, hello there! Let’s talk about a plant that truly steals the show: Selenicereus calcaratus. You know, the one with those magnificent, often night-blooming flowers that smell like pure magic? I’ve spent years with these beauties, and I can tell you, coaxing a new one into existence from an existing plant is one of the most satisfying gardening experiences. For newcomers, it might seem a bit daunting at first, but stick with me; I promise it’s more approachable than you think.
The Best Time to Start
My go-to time for propagating Selenicereus calcaratus is late spring or early summer. This is when the plant is actively growing and has plenty of energy to put into developing new roots. After the initial burst of spring growth, you’ll find the stems are sturdy enough to take cuttings from, and the warmth of the season really encourages them to take off.
Supplies You’ll Need
Here’s what I always have on hand when I’m about to get my hands dirty:
- Sharp Pruning Shears or a Clean Knife: For making those precise cuts. Sterilize them first!
- Rooting Hormone: A little dash goes a long way to encourage root development. Look for one formulated for cuttings.
- Well-Draining Potting Mix: I like a mix of cactus/succulent soil with some perlite or pumice added. Good drainage is key for these guys.
- Small Pots or Trays: For the cuttings to get their start. Make sure they have drainage holes.
- Optional: A Small Spade or Dibber: For making a hole in the soil to insert the cutting.
- Optional: A Mist Bottle: For keeping things humid if needed.
Propagation Methods: Stem Cuttings
This is by far the most common and successful way I propagate Selenicereus calcaratus. It’s straightforward and yields great results.
- Take Your Cutting: Select a healthy, mature stem that’s at least 6-10 inches long. Using your sterilized shears or knife, make a clean cut. Try to choose a stem that doesn’t have any flowers or developing buds–we want all that energy to go into roots!
- Let it Callus: This is a crucial step! Before planting, you need to let the cut end of the stem dry out and form a callus. Place the cutting in a dry, well-ventilated spot, away from direct sunlight, for a few days to a week. You’ll see the cut end start to look dry and a bit hardened. This prevents rot when you plant it.
- Apply Rooting Hormone: Once callused, lightly dip the cut end into your rooting hormone, tapping off any excess. This gives your cutting a little boost.
- Plant the Cutting: Fill your chosen pot with your well-draining potting mix. Make a small hole in the center with your finger or a dibber, deep enough to accommodate about an inch or two of the stem.
- Insert and Firm: Gently insert the callused end of the cutting into the hole. Firm the soil gently around the base of the cutting to ensure it’s stable. Don’t pack it too tightly.
- Water Sparingly: Give the soil a very light watering. You want it moist, not soggy. Overwatering at this stage is the fastest way to invite trouble.
The “Secret Sauce” (Pro Tips)
Here are a few things I’ve learned over the years that make a real difference:
- Don’t Rush the Callus: I know it’s tempting to plant that cutting right away, but patience with the callusing process is your best friend. A well-callused cutting is far less likely to rot in the soil.
- Bottom Heat is Your Buddy: If you’re propagating in a cooler environment or during early spring, a little bottom heat can seriously speed things up. A simple seedling heat mat placed under your pots will encourage root development beautifully.
- Consider the “Mother Plant”: When taking cuttings, I often choose stems that have grown laterally or are a bit older. These tend to have more stored energy than brand new, tender growth, giving them a better chance of success.
Aftercare & Troubleshooting
Once your cutting is planted, place it in a bright spot with indirect light. Avoid direct, hot sun, which can scorch the cutting. Continue to water very sparingly, only when the soil feels dry to the touch. Patience is key here; it can take several weeks, even months, for roots to develop.
Common Signs of Failure: The most common issue is rot. If your cutting turns mushy, black, or starts to fall apart, it’s likely succumbed to rot. This usually happens from overwatering or not allowing it to callus properly. If you spot this, unfortunately, it’s best to discard the cutting and try again. You might also notice wilting, which can be a sign of dehydration or, conversely, rot setting in.
A Encouraging Closing
Propagating Selenicereus calcaratus is a journey, not a race. There will be times when cuttings don’t make it, but don’t let that discourage you. Each attempt teaches you something new. Enjoy the process of nurturing these fascinating plants, and soon you’ll have a whole new collection to admire. Happy gardening!
Resource: