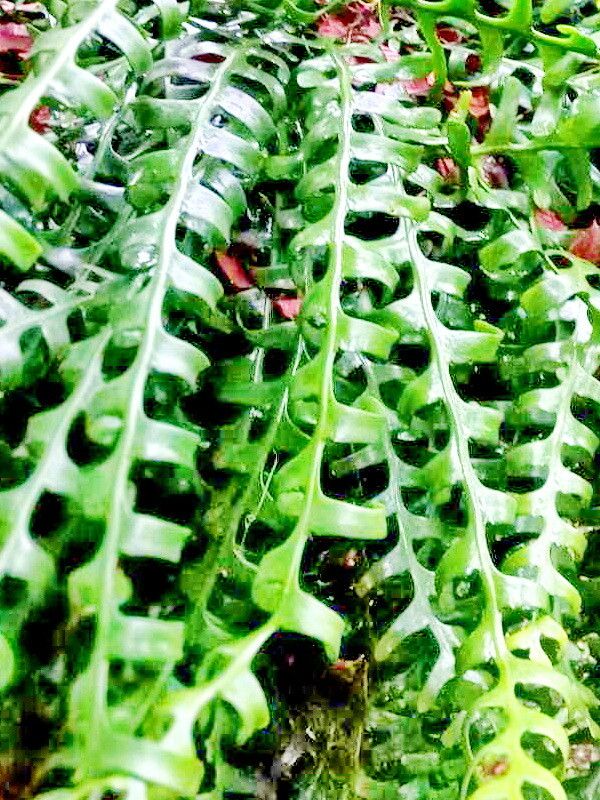
Oh, hello there, fellow plant enthusiast! Grab a cup of your favorite brew, because today we’re diving into the wonderful world of reproducing one of my absolute favorites: the dissected cactus, also known as Selenicereus anthonyanus. If you’ve ever marveled at its incredibly lacy, almost fern-like leaves spilling over the edge of a pot, you know exactly why it captures our hearts. It’s a showstopper!
For me, the sheer joy of taking a small piece of a beloved plant and coaxing it into a whole new life is one of gardening’s greatest satisfactions. And the Selenicereus? It’s surprisingly generous. While some cacti can be a bit finicky, Selenicereus anthonyanus is quite forgiving, making it a fantastic candidate for those new to propagation. You’ve got this!
The Best Time to Start
When it comes to getting the best results, timing is everything. For Selenicereus anthonyanus, your sweet spot is during its active growing season. Think late spring through summer. This is when the plant has the most energy to put into developing new roots. You can certainly try in early fall, but success rates tend to dip as the plant heads towards dormancy. Look for healthy, mature stems that are firm and not yet flowering.
Supplies You’ll Need
Gathering your tools before you begin makes the whole process much smoother. Here’s what I always have on hand:
- Sharp Pruning Shears or a Clean Knife: For making clean cuts.
- Rooting Hormone (Optional but Recommended): A powder or gel that encourages root development.
- Well-Draining Potting Mix: I like a blend of cactus/succulent mix with added perlite and maybe a touch of coco coir. More drainage is always better!
- Small Pots or Propagation Trays: Clean pots about 3-4 inches in diameter are perfect.
- Gloves (Optional): While not spiky, some find it nice for handling cuttings.
- Watering Can or Spray Bottle: For gentle watering.
Propagation Methods
Fortunately, Selenicereus anthonyanus is a superstar when it comes to propagating from stem cuttings. This is by far the easiest and most dependable method.
- Take the Cutting: Using your sharp shears or knife, select a healthy stem segment. Aim for a piece that’s at least 4-6 inches long. Make a clean cut, just above a node (where a leaf emerges).
- Let it Callus: This is a crucial step! You want the cut end to dry and seal over, forming a protective callus. This can take anywhere from a few days to a week or more. Place the cutting in a dry, well-ventilated spot, out of direct sun. You’ll know it’s ready when the cut surface looks dry and a bit leathery. This prevents rot once it’s in the soil.
- Apply Rooting Hormone (Optional): If you’re using rooting hormone, lightly dip the callused end into the powder or gel. Tap off any excess.
- Plant the Cutting: Fill your small pots with your well-draining potting mix. Make a small hole in the center with your finger or a pencil. Insert the callused end of the cutting about 1-2 inches deep into the soil. Firm the soil gently around the stem.
- Water Sparingly: Give the soil a light watering – just enough to moisten it. Avoid saturation. You want the soil to be slightly damp, not waterlogged.
Another method, though I find it a bit trickier for this particular plant, is water propagation:
- Prepare the Cutting: Take a healthy stem cutting (steps 1 and 2 above are still important!). You can allow it to callus for a day or two, or some people skip this step if they’re careful with water levels.
- Place in Water: Put the cutting in a clean jar or vase with fresh water. Ensure that no leaves are submerged in the water. Just the cut stem should be in contact.
- Change Water Regularly: Change the water every few days to keep it fresh and prevent bacterial growth.
- Observe Root Development: You should start to see tiny white roots emerging from the cut end within a few weeks. Once the roots are about an inch long, you can transplant the cutting into soil as described above.
The “Secret Sauce” (Pro Tips)
After years of coaxing plants into new life, a few little tricks I’ve learned can make a big difference.
- Bottom Heat is Your Friend: If you have the ability, placing your potted cuttings on a gentle heating mat significantly speeds up root formation. It mimics the warmth of summer soil and gives those roots a real boost. Just ensure the mat isn’t too hot – a gentle warmth is all you need.
- Don’t Rush the Water: When you first plant your cuttings in soil, it’s tempting to water them generously. Resist that urge! Err on the side of too dry rather than too wet. The callused stem has stored resources, and it only needs enough moisture to begin the rooting process. Overwatering at this stage is the fastest route to rot.
- Patience with Leaves: I’ve seen people get impatient and try to root individual leaves. For Selenicereus anthonyanus, this is rarely successful. The plant propagates best from stem sections. Focus your efforts there!
Aftercare & Troubleshooting
Once your cutting has developed roots – you’ll know because it will feel anchored and might even show signs of new growth – it’s time to treat it like any other small Selenicereus.
Gradually increase watering as the plant establishes itself, always allowing the soil to dry out somewhat between waterings. Keep it in bright, indirect light.
What if things go wrong? The most common culprit is rot. If you see your cutting turning mushy and black, especially at the cut end, it’s likely succumbing to too much moisture. Unfortunately, in this case, it’s usually best to discard it and start again. Prevention is key here: ensure good drainage, a well-ventilated environment, and don’t overwater. Wilting can also occur if the cutting hasn’t rooted, but if you’ve let it callus properly and aren’t overwatering, this is usually a sign it’s simply waiting for roots to form.
A Encouraging Closing
Propagating plants is a journey, and every gardener, no matter how experienced, has had their share of cuttings that didn’t make it. Don’t be discouraged if your first attempt isn’t a runaway success! Keep at it, pay attention to those tiny cues your plant is giving you, and celebrate each little victory. The joy of watching a new plant emerge from a simple stem cutting is truly a rewarding experience. Happy propagating!
Resource: