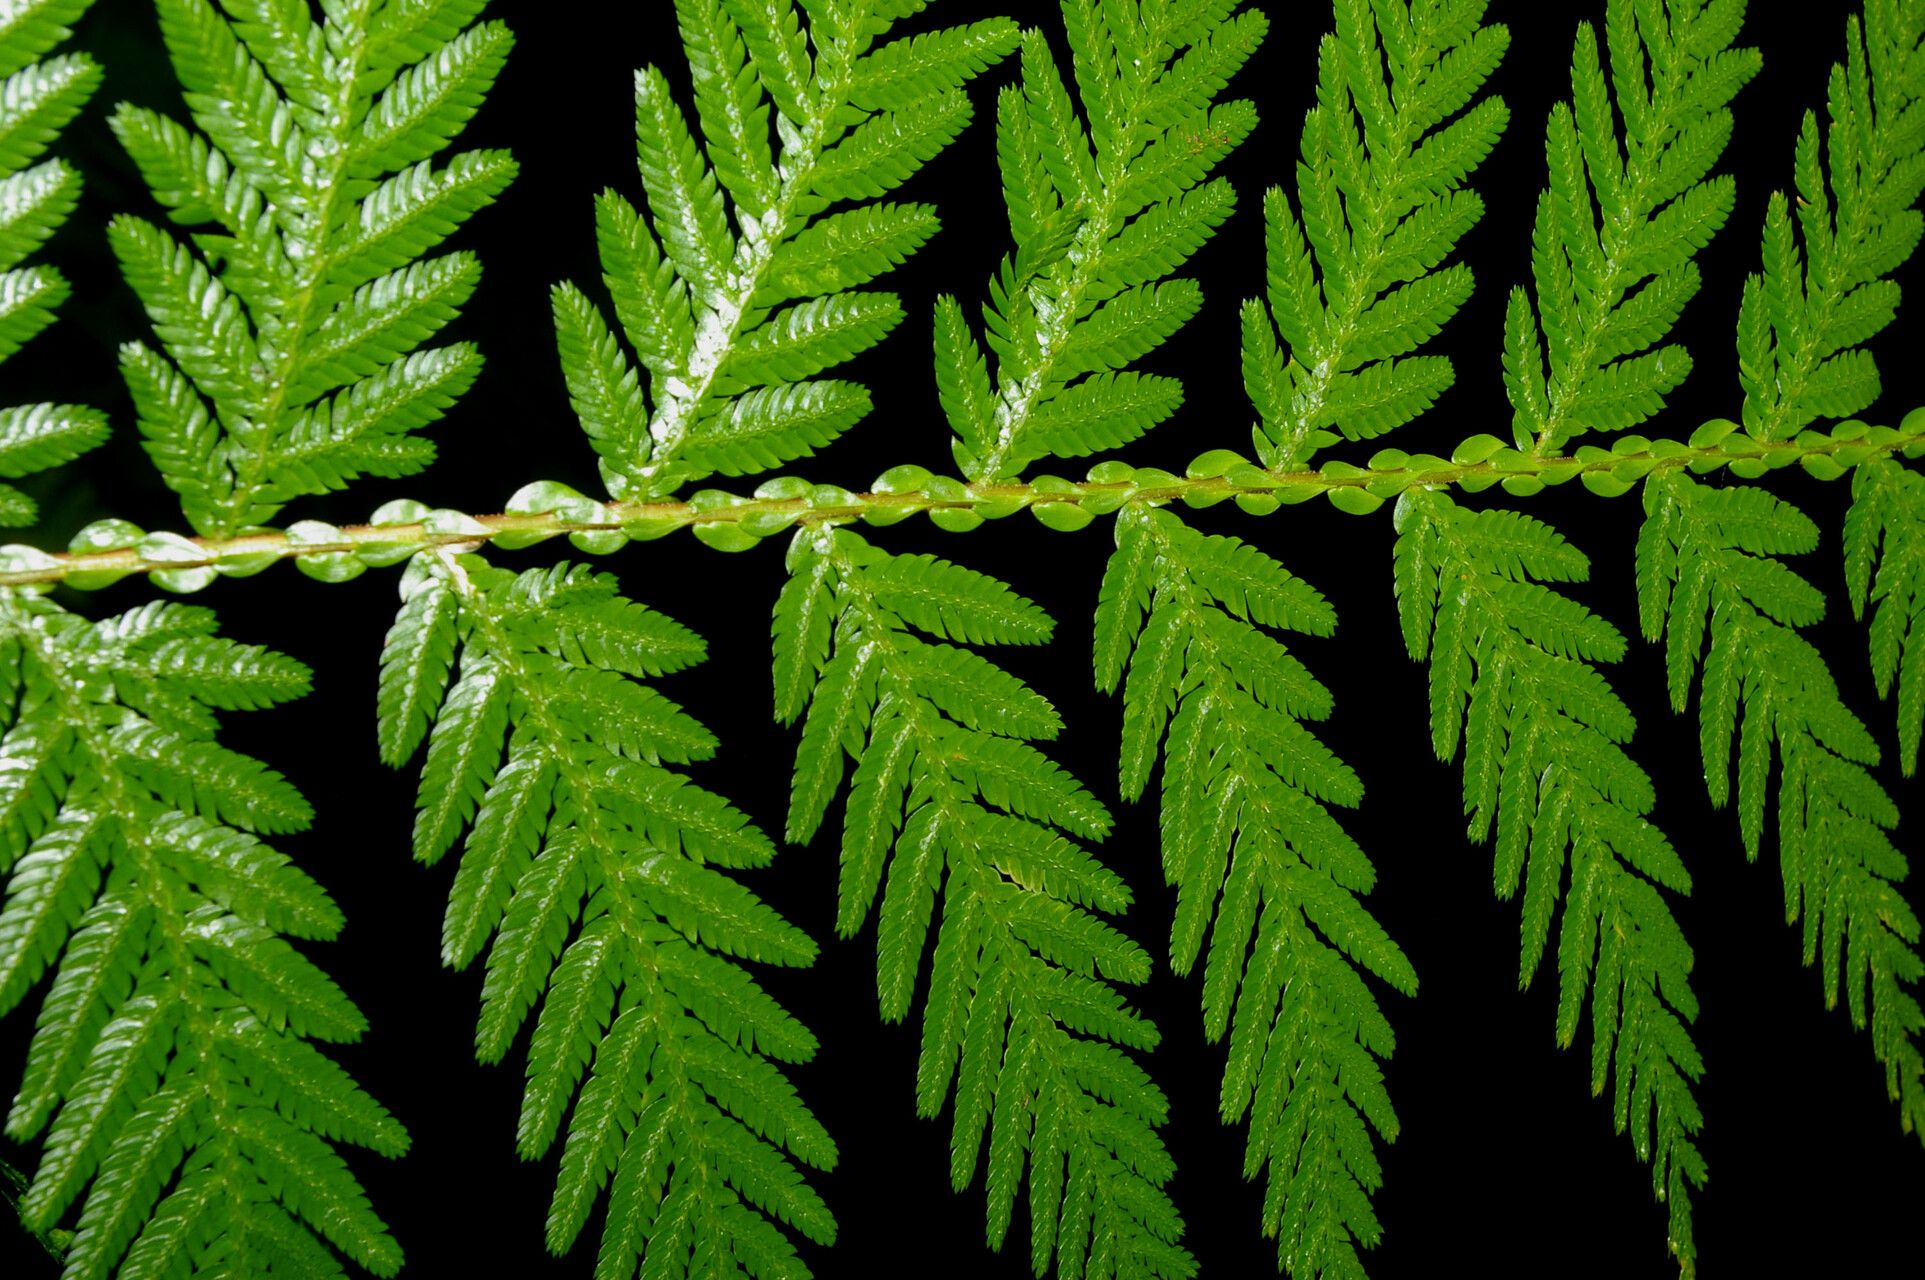
Hello fellow plant enthusiasts! Today, we’re diving into the wonderful world of Selaginella exaltata, also known as the Peacock Fern. If you’ve ever been captivated by its intricate, feathery foliage, resembling a miniature, verdant fern, then you’re in for a treat. Propagating these beauties is incredibly rewarding, and while they can be a little fussy, they’re not at all out of reach for most home gardeners. Seeing a tiny cutting unfurl its first new leaves is a moment of pure garden joy!
The Best Time to Start
Honestly, the best time to get your Selaginella propagation party started is during its active growing season. For most of us, this means late spring through early summer. The warmer temperatures and longer days give those cuttings the energy they need to root and establish themselves quickly. You can attempt it at other times, but you might see slower progress.
Supplies You’ll Need
Before we get our hands dirty, let’s gather our goodies. Here’s what I always have on hand:
- Sharp, clean pruning shears or a sharp knife: For making clean cuts. Dull tools can damage the stems.
- Well-draining potting mix: I like a blend of equal parts peat moss or coco coir and perlite or coarse sand. A bit of orchid bark can also be a nice addition for aeration.
- Small pots or propagation trays: Clean containers are crucial to prevent disease.
- Rooting hormone (optional but helpful): A powdered or gel form can speed things up.
- Plastic bags or a clear plastic dome: To create a humid environment. A repurposed clear plastic container with a lid works wonders.
- Watering can or spray bottle: For gentle watering.
- A warm spot: This is key!
Propagation Methods
Selaginella exaltata is surprisingly amenable to a couple of easy propagation methods. My favorites are stem cuttings and division.
Stem Cuttings
This is my go-to for increasing my stock. It’s straightforward and often gives me multiple new plants from one parent.
- Select your cutting: Look for healthy, vigorous stems on your mature Selaginella. You want stems that are actively growing but not leggy or old. Aim for cuttings about 3-4 inches long.
- Make the cut: Using your sharp, clean shears or knife, make a cut just below a leaf node. A leaf node is where a leaf attaches to the stem. This is where the magic happens – the plant will form roots here.
- Prepare the cutting: Gently remove the lower leaves from your cutting. This prevents them from rotting once you stick it in the soil. You want at least one or two nodes exposed at the bottom.
- (Optional) Dip in rooting hormone: If you’re using rooting hormone, dip the cut end of the stem into the powder or gel. Gently tap off any excess.
- Plant your cutting: Fill your small pots or trays with your prepared potting mix. Moisten the mix thoroughly so it’s damp but not soggy.
- Insert the cutting: Make a small hole in the soil with your finger or a pencil, then gently insert the cut end of the stem, ensuring at least one submerged leaf node is buried. Firm the soil gently around the stem to keep it upright.
- Create humidity: Water lightly from the top to settle the soil. Then, cover the pot or tray with a clear plastic bag or dome. This traps humidity, which is vital for Selaginella. If using a bag, you might need to prop it up with small sticks to keep it from touching the leaves.
Division
This method is perfect when your Selaginella has become quite large and dense. It’s like giving your plant a haircut and getting new plants in return!
- Gently remove the plant from its pot.
- Inspect the root ball. You’re looking for natural breaks in the root structure where you can carefully separate clumps of stems and roots.
- Gently tease apart the sections. You can use your fingers for this. If it’s very dense, a clean knife might be needed to cut through the roots and stems. Aim for sections that have a good amount of roots attached and several healthy stems.
- Pot up the divisions: Plant each division in its own pot filled with your well-draining potting mix, as described for stem cuttings. Water gently.
- Maintain humidity: Just like with cuttings, cover the newly potted divisions to keep humidity high.
The “Secret Sauce” (Pro Tips)
Over the years, I’ve learned a few tricks that really boost my Selaginella propagation success.
- Warmth is king: Selaginella absolutely thrives on warmth. Placing your propagation container on a heat mat, like those used for seedlings, can make a huge difference. It encourages root development much faster.
- Avoid waterlogged leaves: If you’re water propagating (though I find soil propagation more reliable for Selaginella), make sure no leaves are touching the water. Immerse only the stem below the nodes, or the leaves will rot before roots even have a chance.
- Misting is your friend: While we want high humidity, daily misting of the leaves inside the humidity dome can really keep them plump and happy, signaling to the plant that it’s safe to put energy into rooting.
Aftercare & Troubleshooting
Once you start seeing new growth or feel resistance when gently tugging the cutting, you know roots are forming! This is usually after a few weeks for cuttings.
- Gradual acclimatization: For cuttings, once they’ve rooted, gradually introduce them to normal room humidity by opening the plastic bag or dome a little more each day over a week or two.
- Watering: Keep the soil consistently moist but never soggy. Water when the top ½ inch of soil feels dry to the touch.
- Light: Place your new Selaginella in bright, indirect light. Avoid direct sunlight, which can scorch their delicate leaves.
Troubleshooting: The most common issue you’ll encounter is rot. This usually happens due to overwatering or poor air circulation. If you see stems turning black and mushy, or leaves yellowing and dropping quickly, it’s likely rot. Sadly, a rotted cutting is usually a goner. To prevent it, ensure good drainage, don’t overwater, and provide adequate air circulation once they start establishing.
A Encouraging Closing
So there you have it! Propagating Selaginella exaltata is a journey of patience and observation. Don’t get discouraged if your first few attempts aren’t perfect. Every plant, and every cutting, is a learning experience. Enjoy the process of nurturing these little green wonders, and soon you’ll have a whole jungle of Peacock Ferns to share (or keep all to yourself!). Happy growing!
Resource:
https://identify.plantnet.org/k-world-flora/species/Selaginella%20exaltata%20(Kuntze)%20Spring/data