Hello, fellow garden enthusiasts! Today, we’re diving into the wonderful world of Sedum cepaea propagation. If you’re looking for a rewarding project that brings a smile to your face every time you see a new little plant sprout, you’ve come to the right place.
Why Grow More Sedum cepaea?
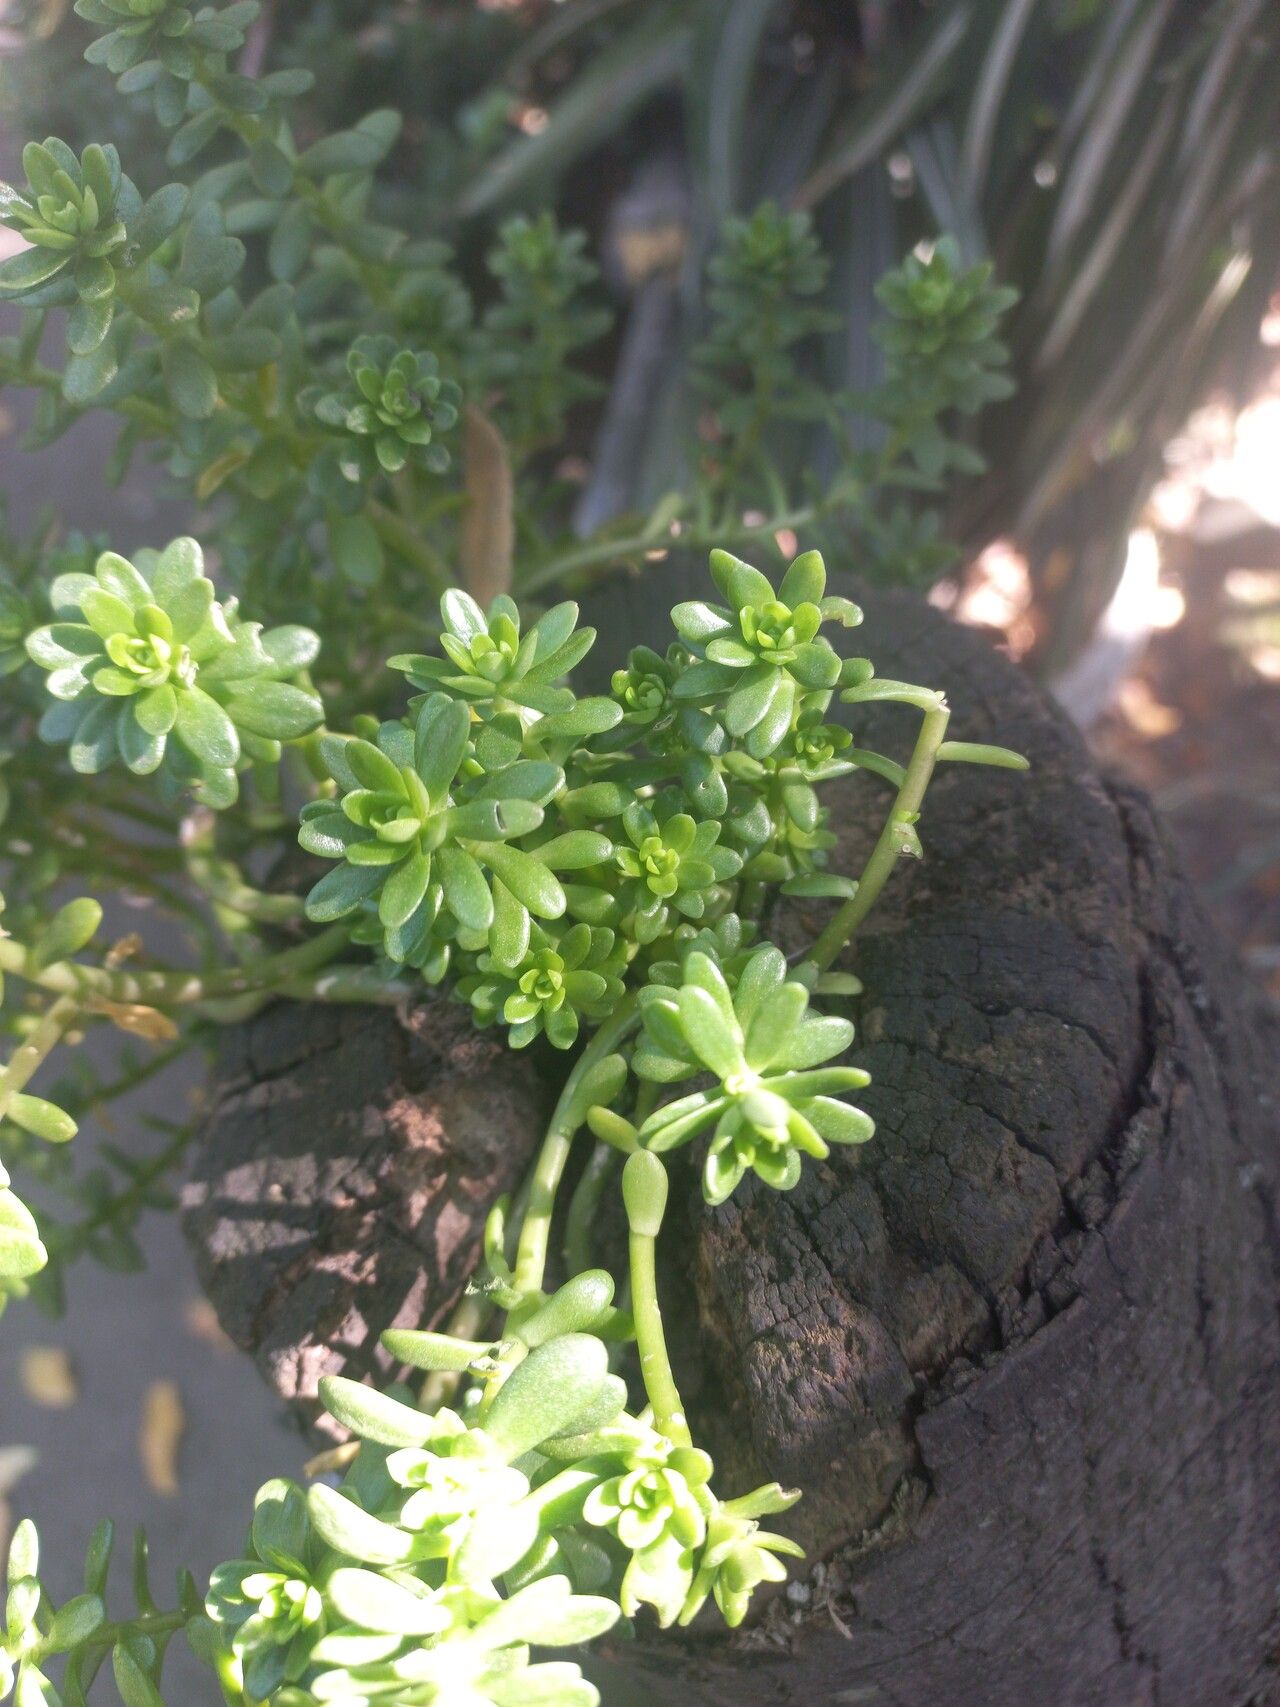
Sedum cepaea, also known as the little forgotten stonecrop, is a charming succulent that deserves a spot in every sunny garden. Its delicate, star-shaped flowers are a magnet for pollinators, and its plump, slightly fuzzy leaves add delightful texture. Propagating these beauties isn’t just about getting more plants; it’s about sharing the joy of gardening. And happily for us, Sedum cepaea is wonderfully easy to propagate, even for those just dipping their toes into the world of plants. You’ll be amazed at how readily they take to new beginnings!
When is the Best Time to Start?
The absolute best time to start propagating Sedum cepaea is during its active growing season. Think late spring through summer. This is when the plant has plenty of energy to put into developing new roots. You’ll have the highest success rate, and your new babies will establish themselves quickly before the cooler weather sets in.
What You’ll Need for Success
Gathering your supplies beforehand makes the whole process smoother. Here’s what I always have on hand:
- Clean, sharp pruning shears or a sharp knife: For making clean cuts.
- Well-draining potting mix: A cactus and succulent mix is ideal. You can also make your own by combining equal parts potting soil, perlite, and coarse sand.
- Small pots or trays: Terracotta pots are great because they breathe.
- Optional: Rooting hormone: While not strictly necessary for Sedum cepaea, it can give an extra boost, especially if you’re propagating in less-than-perfect conditions.
- A spray bottle: For gentle watering.
- Labels: To remind yourself what you planted and when!
Let’s Get Propagating: Simple Methods
Sedum cepaea is quite forgiving, and two methods I find consistently work wonders are stem cuttings and division.
Method 1: Stem Cuttings – Quick and Easy
This is my go-to method for Sedum cepaea. It’s so satisfying!
- Take your cuttings: With your clean shears, snip off healthy stems that are at least 3-4 inches long. Try to get a bit below a leaf node (where leaves attach to the stem).
- Let them calluse: This is a crucial step! Lay your cuttings on a dry surface, away from direct sun, for 2-5 days. You’ll see the cut end begin to dry and form a protective callus. This prevents rot when you plant them.
- Plant your cuttings: Once callused, gently insert the callused end of each cutting into your prepared well-draining soil. You can put a few in the same pot, leaving a little space between them.
- Wait and watch: Keep the soil barely moist – don’t drench it! A light misting with your spray bottle every few days is usually enough. Place the pot in a bright spot with indirect sunlight. Avoid direct sun, which can scorch the tender cuttings.
Method 2: Division – For Established Plants
If you have a mature clump of Sedum cepaea that’s getting a bit crowded, dividing is a fantastic way to get multiple new plants and refresh the parent.
- Dig up the plant: Gently dig up the entire plant. You might need to loosen the soil around it first.
- Separate the crowns: Once out of the soil, you can usually see natural divisions where new growth is emerging from the base. Carefully pull or use your knife to separate these sections. Each section should have roots and some healthy stems.
- Prepare for planting: If the roots are very long, you can trim them back a bit. Let the divided pieces calluse for a day or two if they seem very wet, similar to stem cuttings.
- Replant: Plant each division into its own pot with well-draining soil. Water lightly and place in a bright location, out of direct sun initially.
My “Secret Sauce” for Stellar Success
Here are a couple of tricks I’ve picked up over the years that really make a difference:
- Don’t let the leaves touch the water: If you opt for water propagation (which is possible but I find cuttings in soil easier for this variety), make sure only the very bottom of the stem is submerged. Any leaves in the water will rot and can take over your whole cutting.
- Bottom heat works wonders: If you’re propagation early in the season or live somewhere cooler, placing your pots on a seedling heat mat can significantly speed up root development. It’s like a cozy warm hug for your little cuttings!
Aftercare and What to Watch For
Once you see new growth, or gently tug on a cutting and feel resistance (meaning roots have formed!), you’re in business!
- Gradually introduce to more sun: As your new plants get stronger, you can slowly move them into brighter light.
- Watering: Continue to water sparingly. It’s always better to underwater succulents than overwater them. Let the soil dry out fairly well between waterings.
- Signs of trouble: The most common issue is rot, which is usually caused by too much moisture. If you see mushy, brown stems, it’s likely rot. Unfortunately, badly rotted cuttings or divisions are usually lost. Prevention is key here – ensure excellent drainage and a light hand with the watering can.
Go Forth and Propagate!
Isn’t it amazing how much life we can nurture from just a small piece of a plant? Propagating Sedum cepaea is a simple, satisfying journey. Be patient, enjoy the process, and soon you’ll have a whole collection of these delightful little stonecrops to enjoy, share, or plant out in your garden. Happy growing!
Resource:
https://identify.plantnet.org/k-world-flora/species/Sedum%20cepaea%20L./data