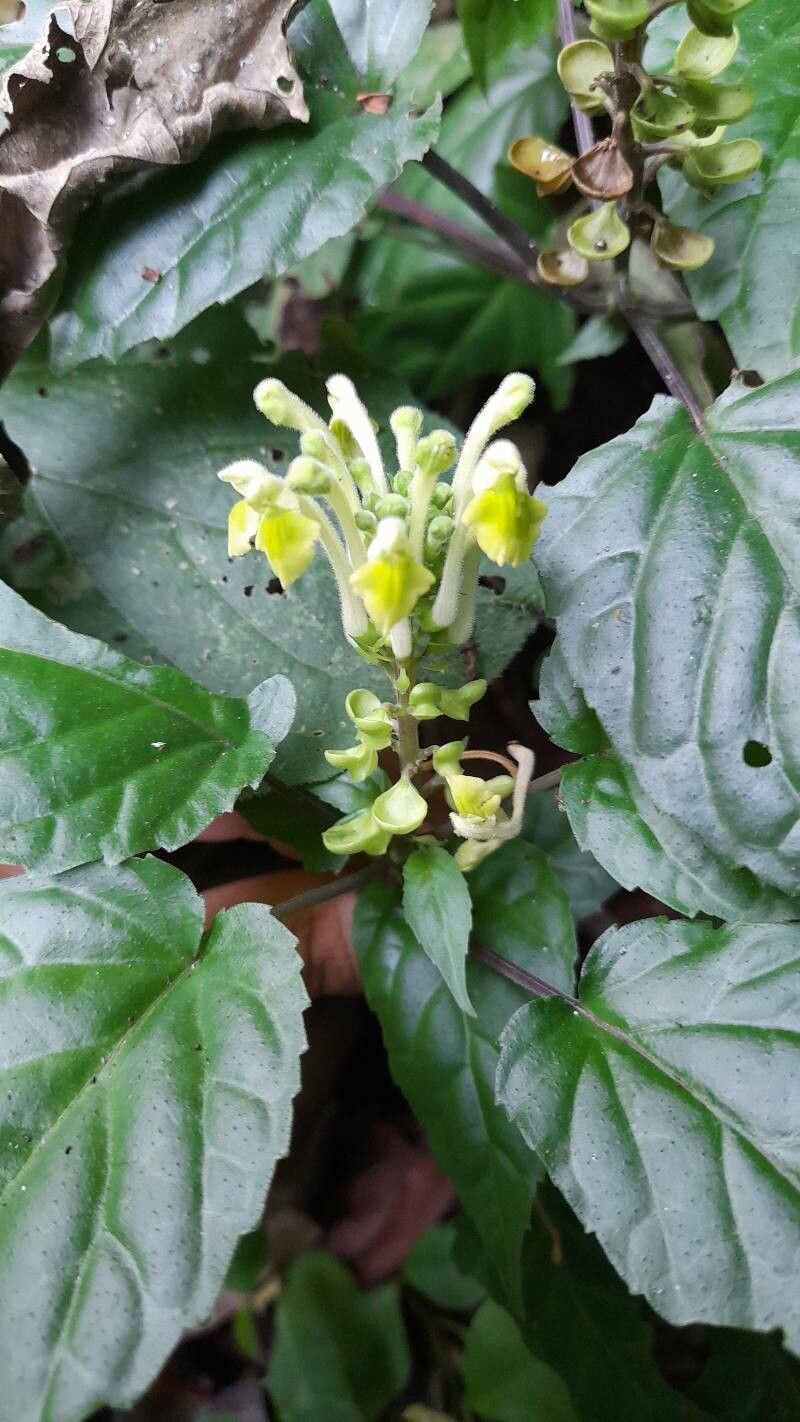
Hello fellow garden enthusiasts! It’s so lovely to chat with you today about a plant that holds a special place in my heart: Scutellaria orichalcea. You might know it by its common name, perhaps something delightful like “Golden Skullcap.” Its vibrant, almost metallic gold blooms are an absolute showstopper, unfurling in a way that just brightens any corner of the garden. And the best part? Growing more of these beauties from existing plants is incredibly rewarding. I’d say for most gardeners, this particular Scutellaria is quite forgiving, making propagation a joy rather than a chore.
The Best Time to Start
For the most part, I find that late spring to early summer, just as the plant is getting into its full swing of growth, is your golden window for propagation. You want to work with healthy, vigorous material. This is when the stems are plump and ready to root, and the days are getting longer and warmer, which really helps things along.
Supplies You’ll Need
To get your Scutellaria off to a great start, here’s what I always have on hand:
- Sterile potting mix: A blend of peat moss and perlite works wonders. I often use a 50/50 mix.
- Rooting hormone: This is really helpful, especially for stem cuttings. Clonex or a similar powder is my go-to.
- Clean, sharp pruning shears or a craft knife: For making clean cuts.
- Small pots or propagation trays: Whatever you have that can drain well.
- Plastic bags or a propagation dome: To create a humid environment.
- Watering can with a fine rose: For gentle watering.
- Labels: To keep track of what you’ve propagated!
Propagation Methods
There are a couple of ways to go about coaxing more Scutellaria orichalcea into life. I’ll walk you through the ones I have the most success with.
1. Stem Cuttings: My Top Choice
This is my favorite method for Scutellaria orichalcea. It’s reliable and you can get quite a few new plants from one healthy specimen.
- First, go out on a nice day and select a few healthy, non-flowering shoots. You’re looking for stems that are flexible but not too soft – think of young, vibrant growth.
- Using your sterilized pruning shears, cut a piece about 4-6 inches long. Make your cut just below a leaf node (where a leaf attaches to the stem). This is where the magic happens for rooting.
- Remove the lower leaves from your cutting, leaving just a couple of leaves at the very top. If the top leaves are very large, you can even trim them in half to reduce water loss.
- Dip the cut end of the stem into your rooting hormone. Tap off any excess.
- Gently insert the treated end into your prepared potting mix. Make sure the leaves at the top aren’t touching the soil.
- Water thoroughly until the soil is moist but not soggy.
- Cover the pot with a clear plastic bag or place it in a propagation dome. This creates a mini-greenhouse effect for humidity. You can support the bag with stakes so it doesn’t touch the leaves.
- Place your cuttings in a bright spot, but out of direct sunlight. We don’t want to bake them!
2. Division: For Established Plants
If you have a more mature Scutellaria orichalcea plant that’s looking a little crowded, division is a great way to give it a refresh and get new plants.
- The best time for division is usually in early spring, just as new growth is starting. It can also be done in early fall if you have a mild climate.
- Carefully dig up the entire plant. Try to disturb the roots as little as possible.
- Gently shake off excess soil. You should be able to see where the plant naturally divides into sections, each with its own roots and shoots.
- Using your hands or a clean trowel (or even a garden fork for tougher root balls), carefully pull or cut the plant into smaller sections. Aim for each division to have at least a few healthy roots and some above-ground growth.
- Replant the divisions into your garden or into pots filled with good quality potting soil.
- Water them well and keep them consistently moist for the first few weeks as they establish.
The “Secret Sauce” (Pro Tips)
Over the years, I’ve picked up a few little tricks that seem to make all the difference.
- When doing stem cuttings, don’t let the leaves touch the water if you’re using a water propagation method. They’ll rot before they root! Keep them elevated.
- Bottom heat is a game-changer for cuttings. If you have a heat mat designed for seedlings, placing your pots on it can significantly speed up the rooting process. It encourages root development from below.
- For divisions, don’t be afraid to trim back the foliage on the new divisions. This helps the plant focus its energy on root establishment rather than leaf growth.
Aftercare & Troubleshooting
Once roots have formed (you can usually gently tug on a cutting – if there’s resistance, roots are forming!), it’s time to give your new plants a little extra TLC.
- Gradually acclimate your cuttings to normal room conditions. Start by opening the plastic bag for a few hours each day.
- Continue to water consistently, but let the top inch of soil dry out between waterings.
- Once your new plants are established and looking strong, you can transplant them into their own pots or into their permanent garden spot.
Now, what if things go wrong? The most common culprit for propagation failure is rot. You might see stems turning brown and mushy, or a fuzzy grey mold appearing. This is usually a sign of too much moisture and not enough air circulation. Make sure your potting mix is well-draining and don’t let your cuttings sit in soggy conditions. If you see rot, it’s best to discard those cuttings and start again, ensuring cleaner tools and better drainage this time. Another sign of trouble is wilting that doesn’t recover. This can be due to dehydration, too much sun, or simply the cutting not being viable.
A Little Patience Goes a Long Way
Growing new plants from cuttings or divisions is a beautiful process that connects you more deeply with your garden. It might take a little patience, and you might have a few failures along the way (we all do!), but the thrill of seeing those tiny roots emerge and a new plant thrive is simply unmatched. So grab your tools, enjoy the process, and get ready to expand your golden Scutellaria collection! Happy gardening!
Resource:
https://identify.plantnet.org/k-world-flora/species/Scutellaria%20orichalcea%20J.D.Sm./data