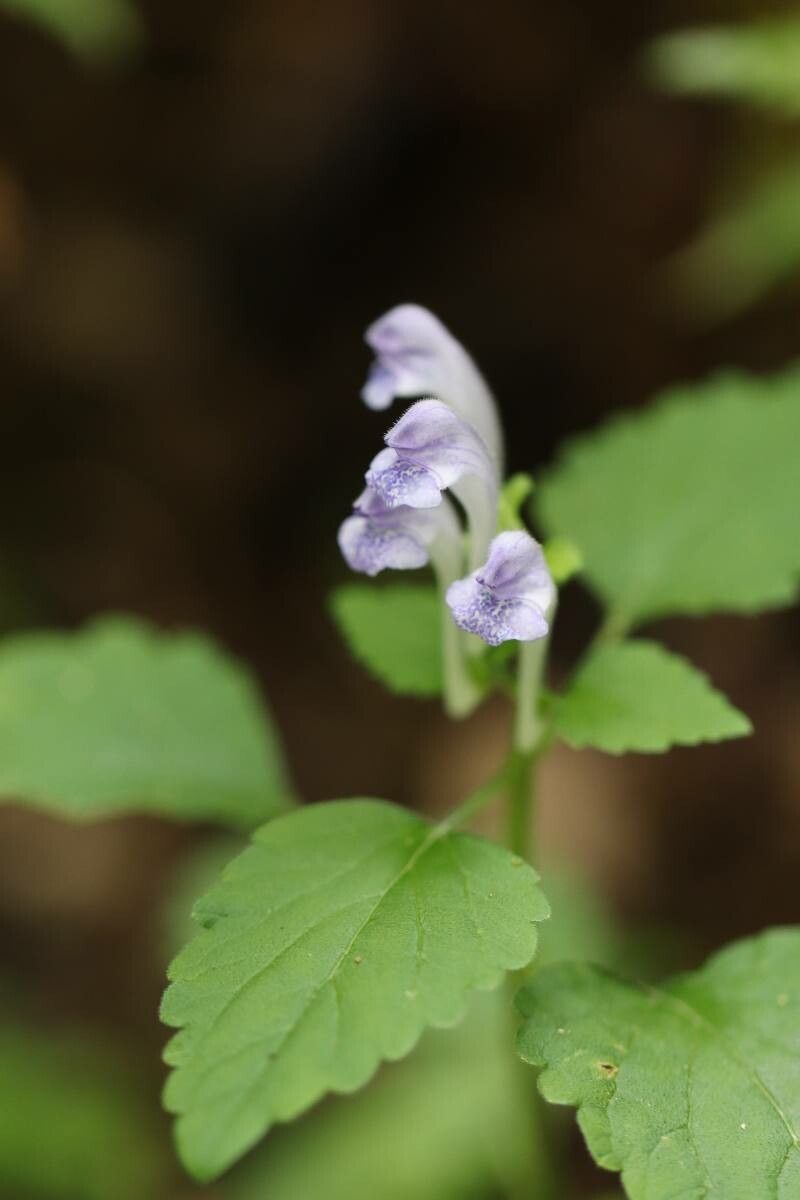
Hello there, fellow garden lovers! I’m so happy you’re here today. We’re going to dive into the wonderful world of Scutellaria brachyspica. Trust me, this little plant is a gem. Its delicate, often vibrant blooms bring such charm to any garden space. And the best part? Learning to propagate it is a truly rewarding journey. For those of you just starting out, don’t fret! While it has its quirks, I find Scutellaria to be moderately easy to propagate, making it a great project to build your confidence.
The Best Time to Start
Timing is everything, right? With Scutellaria brachyspica, the late spring to early summer is your golden window. This is when the plant is actively growing and has plenty of healthy, new shoots to work with. Look for stems that are firm but not yet woody. You want that perfect in-between stage. Starting now gives your new babies ample time to establish before the cooler weather sets in.
Supplies You’ll Need
To set yourself up for success, gather these essentials:
- Well-draining potting mix: A good blend of peat moss or coco coir, perlite, and a bit of compost works wonderfully. You want something airy that won’t hold too much moisture.
- Sharp, clean pruning shears or a sharp knife: Sterilize them with rubbing alcohol to prevent introducing any nasty diseases.
- Rooting hormone (optional but recommended): This helps to kickstart root development. Look for one that contains IBA.
- Small pots or seed trays: Clean and with drainage holes, of course!
- Plastic bags or a humidity dome: To create a mini greenhouse effect for your cuttings.
- Watering can or mister: For gentle watering.
Propagation Methods
Let’s get our hands dirty! I usually have the best luck with stem cuttings. It’s straightforward and yields great results.
Stem Cuttings:
- Take Cuttings: In late spring or early summer, choose healthy, non-flowering stems. Using your clean shears, cut 4-6 inch sections. Make your cuts just below a leaf node (the point where a leaf attaches to the stem). This is where the magic happens for root formation.
- Prepare the Cuttings: Gently remove the lower leaves, leaving just a couple at the very top. This prevents them from rotting in the soil.
- Apply Rooting Hormone (Optional): Dip the cut end of each stem into your rooting hormone. Tap off any excess.
- Pot Them Up: Fill your small pots with your well-draining potting mix. Make a small hole in the center with your finger or a pencil.
- Insert Cuttings: Place the prepared cuttings into the holes, ensuring the leaf nodes are buried. Gently firm the soil around them.
- Water Gently: Water your cuttings lightly. You want the soil to be moist, not waterlogged.
- Create Humidity: Cover the pots loosely with a plastic bag, or place them under a humidity dome. This keeps the humidity high, which is crucial for cuttings to root. Place them in a bright location out of direct sunlight.
The “Secret Sauce” (Pro Tips)
Over the years, I’ve picked up a few tricks that really make a difference.
- Bottom Heat is Your Friend: If you can, place your potted cuttings on a heat mat. This gentle warmth from below encourages root development much faster. It’s like a cozy spa day for your future plants!
- Don’t Overcrowd: Give your cuttings a little breathing room in their pots. Overcrowding can lead to disease issues and competition for resources. A few cuttings per pot is usually plenty.
- Mist Regularly: Even with a plastic bag, the soil can dry out. Mist the leaves and soil surface lightly every day or two if the soil feels dry to the touch. Again, the key is moist, not soaking wet.
Aftercare & Troubleshooting
Once your cuttings have rooted – you’ll know this when you see new leaf growth or feel a gentle tug when you lightly pull on a stem – it’s time to transition them to their individual pots and continue their care.
Gradually remove the plastic bag over a few days, allowing the young plants to acclimate to normal humidity. Continue to water them when the top inch of soil feels dry. Keep them in bright, indirect light.
The most common sign of failure is rot. If you see your cuttings turning mushy and black, it’s usually a sign of too much moisture and not enough air circulation. Don’t despair if a few don’t make it; it happens to all of us! Just learn from it and try again. Sometimes, a cutting might just look sad and refuse to root. Patience is key here!
A Heartfelt Closing
Propagating Scutellaria brachyspica is such a joy. It’s a chance to connect with nature on a deeper level, to nurture life, and to fill your garden (or someone else’s!) with these lovely blooms. Be patient with yourself and the process. Every gardener, no matter how experienced, has had cuttings that didn’t make it. The beauty lies in the trying, the learning, and ultimately, the abundance you can create. Happy propagating!
Resource: