Oh, hello there! So glad you dropped by my little corner of the internet. Today, we’re diving into the wonderful world of Sclerocactus brevispinus. If you’re captivated by its unique, spiny charm and want to create more of these little treasures for your own collection, you’ve come to the right place. I’ve been coaxing new life from plants for two decades now, and let me tell you, successfully propagating a cactus like Sclerocactus brevispinus is a deeply satisfying feeling. It’s not the absolute easiest plant for a complete beginner’s first propagate, but with a little patience and the right approach, you’ll be well on your way.
The Best Time to Start
For most cacti, and Sclerocactus brevispinus is no exception, spring and early summer are your golden window. This is when the plant is really in its active growing season. You’ll see new stems or pups developing, which are perfect candidates for propagation. Trying to propagate when the plant is dormant, like in the depths of winter, will likely lead to disappointment.
Supplies You’ll Need
Before we get our hands dirty, let’s gather our tools. Having everything ready will make the process so much smoother.
- Sharp, sterile pruning shears or a clean knife: For making clean cuts.
- Rooting hormone (optional but recommended): A powder or liquid to encourage root development.
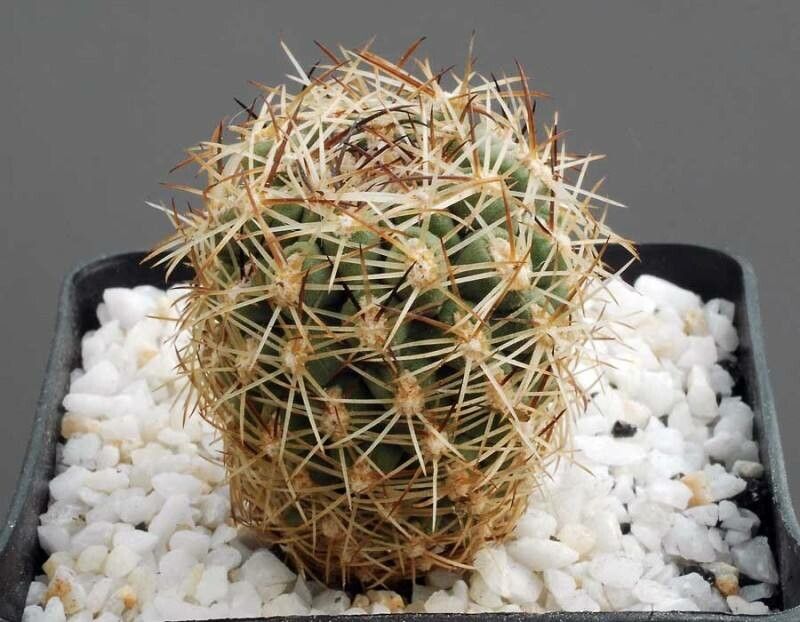
- A well-draining cactus and succulent potting mix: You can buy this or make your own. Mine is usually a mix of perlite, coarse sand, and a bit of organic compost.
- Small pots or trays: Clean ones are crucial to prevent disease.
- A spray bottle: For gentle misting.
- Gloves (optional): Those spines can be sneaky!
- Bottom heat (optional but beneficial): A seed mat can significantly speed up rooting.
Propagation Methods
Sclerocactus brevispinus is best propagated by stem cuttings or offsets/pups. Division isn’t usually applicable here since they tend to grow as single specimens.
Stem Cuttings:
- Identify a healthy stem: Look for a mature, healthy-looking stem section that feels firm and developed.
- Make the cut: Using your sterile pruning shears or knife, make a clean cut. I like to cut just above where an offset might naturally form.
- Allow it to callous: This is a CRITICAL step for cacti. Place the cutting in a dry, airy spot away from direct sunlight for at least a week, possibly two. You want the cut end to form a dry, leathery callus. This prevents rot when you plant it.
- Apply rooting hormone (optional): Once calloused, dip the cut end into rooting hormone powder or follow the instructions for liquid hormones.
- Plant the cutting: Gently insert the calloused end into your prepared cactus mix. Don’t bury it too deep; just enough to keep it upright.
- Wait for roots: Now, the hardest part – patience! Don’t water immediately. Wait about a week or two after planting before giving it its first gentle watering.
Offsets/Pups:
Sometimes, your Sclerocactus brevispinus will produce little offsets or “pups” at its base. These are essentially baby plants.
- Gently detach the pup: If you can, carefully wiggle the pup loose with your fingers or use a clean knife to cut it from the parent plant. Try to get a small root connection if possible, but don’t worry too much if you don’t.
- Allow it to callous: Just like with stem cuttings, let the cut end of the pup dry and callous over for several days to a week.
- Plant the offset: Pot it up in your cactus mix.
- Water sparingly: Wait a week or so after planting before introducing water.
The “Secret Sauce”
After years of trial and error, here are a few tricks I’ve learned that make a big difference.
- Don’t overwater, ever: This is the cardinal sin of cactus propagation. It’s far better to slightly underwater a cutting than to give it too much. Rot is the enemy, and excess moisture is its best friend.
- Bottom heat is a game-changer: If you can invest in a small propagation mat, it makes a world of difference, especially for cacti. It gently warms the soil, encouraging faster root development without drying out the cutting too quickly.
- Watch the callus: I can’t emphasize this enough – a good, dry callus on the cut surface is your best defense against rot. Never plant a fresh-cut cactus that hasn’t calloused.
Aftercare & Troubleshooting
Once your cutting or pup looks like it’s establishing itself (you might see it plump up a bit or even a tiny new spine), you can gradually increase watering. Water thoroughly when the soil is completely dry, then let it dry out again.
The most common problem you’ll encounter is rot. If you see your cutting turning mushy, black, or smelling off, it’s likely rotting. Unfortunately, there’s often not much you can do at that point. You can try to salvage a healthy tip by recutting and letting it callus again, but prevention is key. Other signs of failure include shriveling without any signs of rooting, which could indicate it’s too dry or just hasn’t taken.
A Little Encouragement
Propagating cacti can feel like a slow dance, but trust me, the reward of watching a new plant unfurl its roots and grow is immeasurable. Be patient, observe your cuttings closely, and don’t be discouraged if you have a setback – it happens to all of us! Enjoy the process and celebrate every new root you discover. Happy propagating!
Resource: