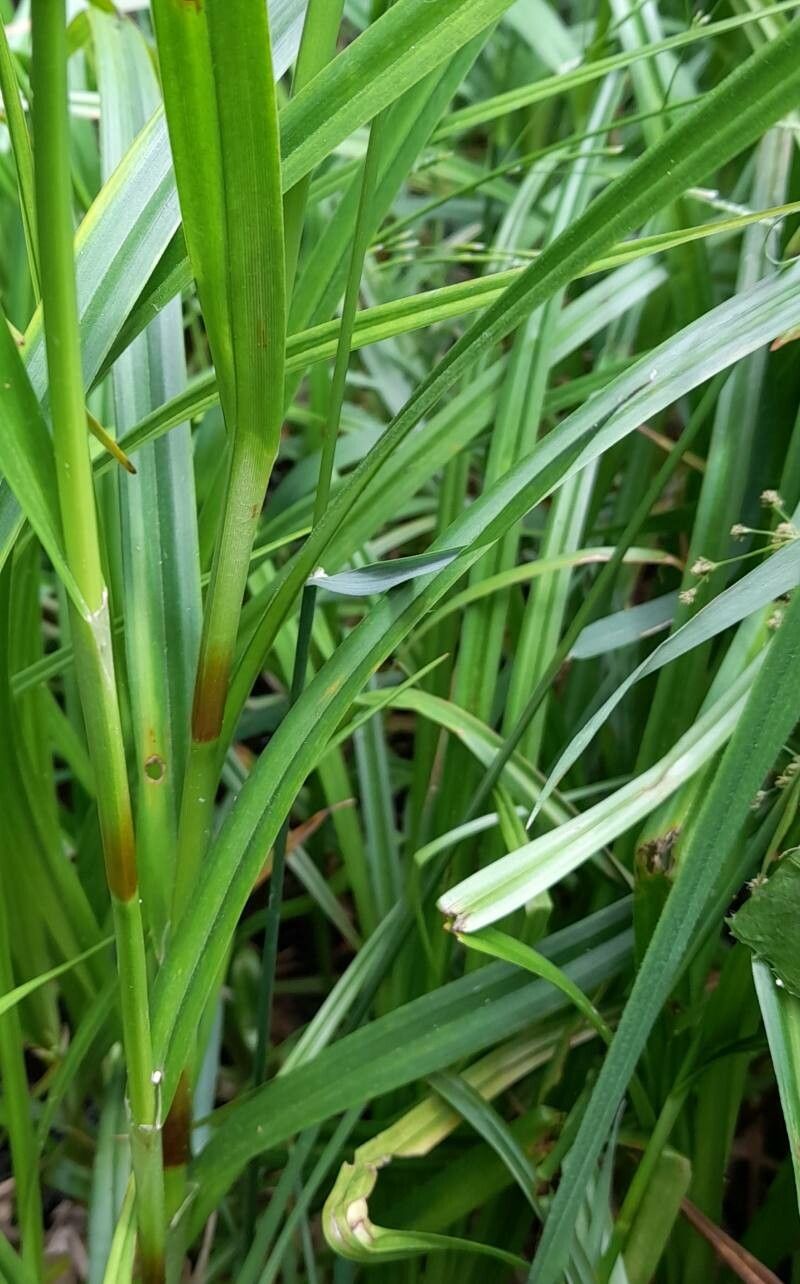
Oh, hello there! Come on in, pull up a chair. I’ve got a fresh pot of coffee brewing, and I’m just bursting to share something I’ve been enjoying for years: Scirpus sylvaticus, or the Woodland Bulrush.
This lovely grass-like plant brings such a graceful, naturalistic feel to the garden. Its flowing foliage and subtle, almost architectural form make it a real statement piece, especially near water features or in damp borders. And the best part? It’s surprisingly easy to propagate. Honestly, if you’ve ever wanted to try your hand at multiplying your greenery, this is a fantastic plant to start with. It’s quite forgiving, which is always music to my ears!
The Best Time to Start
For the highest success rate with your Scirpus sylvaticus, I find that early spring is your golden ticket. Think about when everything else is just starting to wake up. The plant is full of vigor, and the longer growing season ahead will give your new babies ample time to establish themselves. You can also attempt propagation in mid-summer, but you might find the process is a little slower.
Supplies You’ll Need
Gathering your supplies beforehand always makes the process smoother, doesn’t it? Here’s what you’ll want to have on hand:
- Sharp pruning shears or a clean knife: For making neat cuts.
- A well-draining potting mix: I like a blend of peat moss, perlite, and compost. For Scirpus, a mix that retains a bit of moisture but doesn’t get waterlogged is key.
- Small pots or trays: Whatever you have handy will work; just ensure they have drainage holes!
- Watering can with a fine rose: For gentle watering.
- Optional: Rooting hormone: While not strictly necessary for Scirpus, it can give your cuttings an extra boost.
- Optional: A clear plastic bag or cloche: To create a humid environment if you’re struggling with drying out.
Propagation Methods
Scirpus sylvaticus is wonderfully versatile in how you can propagate it. My favorite methods are division and stem cuttings.
Division (My Go-To!)
This is by far the easiest and most reliable method for Scirpus sylvaticus.
- Dig it up: In early spring, carefully dig up the entire clump of your mature Scirpus. Try to get as much of the root ball as you can.
- Loosen the soil: Gently shake off excess soil from the roots. You’ll see where the plant has naturally grown into multiple sections.
- Divide and conquer: Using your hands or a sharp spade/knife, gently separate the clump into smaller sections. Each section should have a good amount of roots and at least one healthy shoot or bud. Don’t be afraid to be a little firm here; these plants are tough!
- Pot them up: Plant each division into its own pot, using your prepared potting mix. Water thoroughly.
Stem Cuttings (A Little More Patience Required)
This method is great if you want to create many new plants from one.
- Take cuttings: In spring or early summer, select healthy, non-flowering stems from a mature plant. Using your sharp shears, cut stems that are about 4-6 inches long. Make a clean cut just below a node (where a leaf attaches to the stem).
- Prepare the cuttings: Remove the lower leaves from the cutting, leaving just a few at the top. If you’re using rooting hormone, dip the cut end into it now.
- Plant the cuttings: Fill your pots with the potting mix and gently insert the cut end of each stem about an inch deep. Firm the soil around them.
- Water and cover: Water them gently. If your environment is dry, you can cover the pot with a clear plastic bag or place it in a propagator to maintain humidity.
The “Secret Sauce” (Pro Tips)
Now for a couple of little tricks I’ve learned over the years that really make a difference.
- Keep divisions slightly moist: When you’ve divided your Scirpus, don’t let those severed roots dry out for a second. I like to keep them in a bucket of water while I’m working, or get them potted up and watered immediately.
- Bottom heat for cuttings: If you’re trying stem cuttings, especially if you don’t have a naturally warm spot, a little bottom heat can work wonders. A heat mat designed for seedlings will speed up root development significantly. You don’t need it to be scorching hot, just gently warm.
Aftercare & Troubleshooting
Once your divisions are potted up or your cuttings have settled in, continue to keep the soil consistently moist but not waterlogged. Scirpus sylvaticus loves a good drink. If you used the plastic bag trick, start to gradually remove it over a few days once you see signs of new growth to help your plant acclimatize.
The most common issue you might encounter is rot, usually from the soil staying too wet for too long. You’ll see stems turning mushy and black. If you spot this, remove the affected parts immediately to prevent it from spreading. It’s a lesson we’ve all learned! Brown, crispy tips on cuttings can also mean they’re drying out too quickly, so ensure that humidity is adequate.
A Encouraging Closing
See? It’s really not as daunting as it might sound. Propagation is all about patience and observation. Treat your new Scirpus starts with a little care, give them what they need, and before you know it, you’ll have a whole new batch of these beautiful plants to enjoy. Happy gardening!
Resource:
https://identify.plantnet.org/k-world-flora/species/Scirpus%20sylvaticus%20L./data