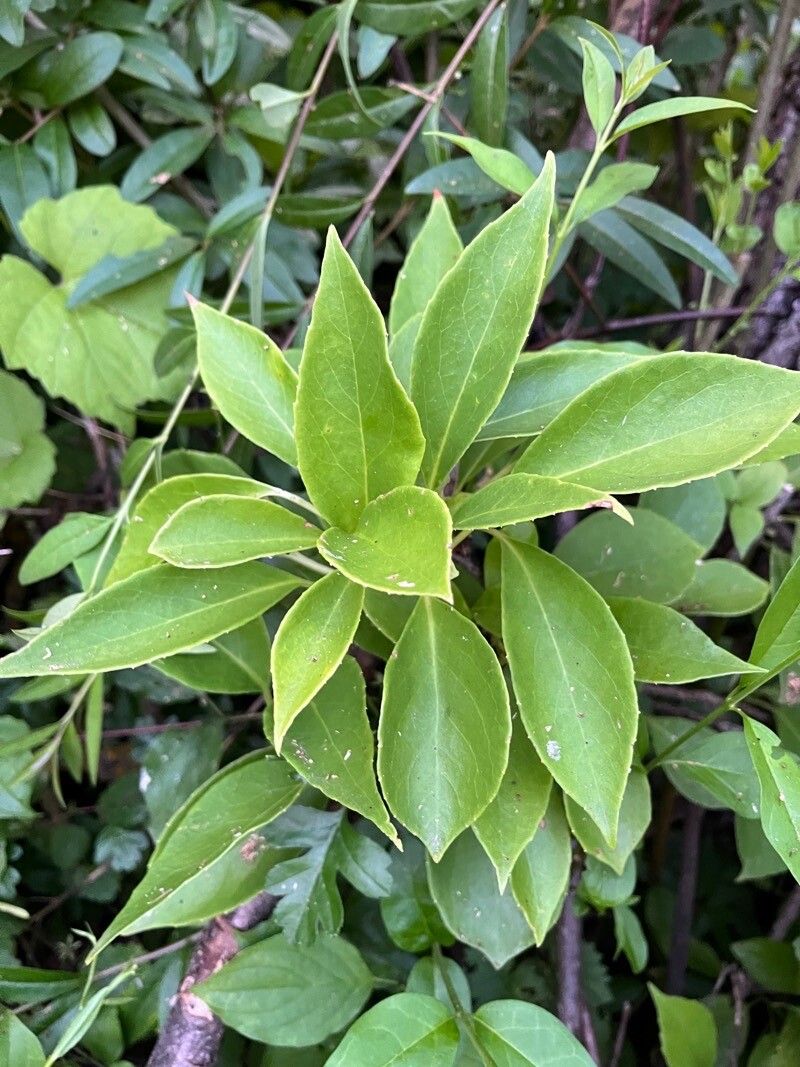
Oh, Schisandra henryi! You’ve got a keen eye for a truly special plant. I remember the first time I saw its glossy, deep green leaves and the delicate, star-shaped flowers that gave way to those stunning coral-red berries. It’s a beauty, isn’t it? And the berries themselves are fantastic, offering that unique sweet, sour, salty, bitter, and pungent flavor profile that’s the hallmark of the Schisandra clan. On top of all that, they’re packed with antioxidants.
Propagating Schisandra henryi is so incredibly rewarding. It’s not quite as simple as sticking a weed in the ground, but it’s certainly not a task that requires a PhD in botany either. I’d call it a satisfying challenge for a keen beginner or a delightful afternoon for those of us who have a few years under our belts. Getting a new plant from your own established one feels like a real accomplishment.
The Best Time to Start
My sweet spot for propagating Schisandra henryi is late spring to early summer. This is when the plant has been putting on new growth, and you can find nice, semi-hardwood cuttings. These strikes are usually vigorous and ready to root. Waiting until after the initial flush of spring growth, but before things get too hot and dry, seems to give them the best start.
Supplies You’ll Need
Here’s what you’ll want to have on hand for our propagation adventure:
- Sharp Pruning Shears or a Knife: Cleanliness is key to preventing disease.
- Rooting Hormone: This is a helpful booster, especially for woody cuttings. Look for one with IBA (indole-3-butyric acid).
- Propagation Pots or Small Containers: Small pots or even a seed tray with individual cells work well. Make sure they have drainage holes!
- Well-Draining Potting Mix: A good blend is usually equal parts peat moss or coco coir and perlite or coarse sand. I often use a commercial seedling or cutting mix.
- Plastic Bags or a propagator: To create a humid environment.
- Gravel or Small Stones (optional): For drainage at the bottom of pots.
- Watering Can with a Fine Rose: Gentle watering is essential.
Propagation Methods
The method I find most reliable for Schisandra henryi is taking semi-hardwood stem cuttings. It’s efficient and generally yields good results.
- Gather Your Cuttings: On a mild, overcast day if possible, select stems from your healthy Schisandra henryi. Look for stems that are new growth but have started to firm up – not soft and floppy, but not old and woody either. You want cuttings about 4-6 inches long. Make your cut just below a leaf node (where a leaf attaches to the stem).
- Prepare the Cuttings: Gently remove the leaves from the bottom half of each cutting. You can leave one or two leaves at the top to help with photosynthesis. If any leaves are particularly large, you can cut them in half to reduce water loss.
- Apply Rooting Hormone: Dip the bottom inch of each prepared cutting into your rooting hormone. Tap off any excess.
- Plant the Cuttings: Fill your pots with your well-draining mix. Gently insert the cuttings into the mix, making sure the nodes where you removed the leaves are buried. You can make a small pilot hole with a pencil to avoid rubbing off the rooting hormone.
- Water Gently: Water the mix thoroughly but gently. You want it to be moist, not waterlogged.
- Create Humidity: Place your pots in a propagator, or cover them loosely with a clear plastic bag. Make sure the leaves don’t touch the plastic, as this can encourage rot. You can use stakes to prop up the bag. Place the pots in a bright location but out of direct sunlight.
The “Secret Sauce” (Pro Tips)
Here are a couple of tricks I’ve learned over the years that can really make a difference:
- Bottom Heat is Your Friend: Schisandra, like many woody plants, loves a little warmth from below to encourage root development. If you have a heat mat designed for propagation, use it! It really speeds things up and increases your success rate. Just place your pots on top of it.
- Don’t Overwater!: This is probably the biggest killer of cuttings. The mix should be consistently moist, like a wrung-out sponge, but never soggy. If you can squeeze water out of the potting mix when you press it between your fingers, it’s too wet. Let the top layer dry out slightly between waterings, but don’t let the whole thing go bone dry.
Aftercare & Troubleshooting
Once your cuttings have calloused over and are starting to look a bit more established, you’ll want to start checking for roots. You can gently tug on a cutting – if there’s resistance, roots are forming! New leaf growth is also a good sign.
When you see those promising roots, it’s time to slowly acclimate them to less humid conditions. Gradually open up the plastic bag over a week or so. Continue to keep them in bright, indirect light. Water them regularly, allowing the surface to dry slightly between waterings. Once they have a decent root system and have been growing for a few weeks, you can transplant them into slightly larger pots.
The most common sign of failure with cuttings is rot. If your cuttings turn black and mushy, it’s almost always due to too much moisture and not enough air circulation. You might also see wilting that doesn’t recover. If this happens, don’t be discouraged! It’s part of the learning process. Just discard the rotten ones and try again with a fresh batch, paying close attention to that moisture level.
A Encouraging Closing
So there you have it! Propagating Schisandra henryi is a journey, and like all good journeys, it requires a little patience and a lot of optimism. Don’t be afraid to get your hands dirty, and remember that every gardener, no matter how experienced, has had their share of cuttings that didn’t make it. Celebrate the successes, learn from the challenges, and most importantly, enjoy the process of nurturing new life. Happy growing!
Resource:
https://identify.plantnet.org/k-world-flora/species/Schisandra%20henryi%20C.B.Clarke/data