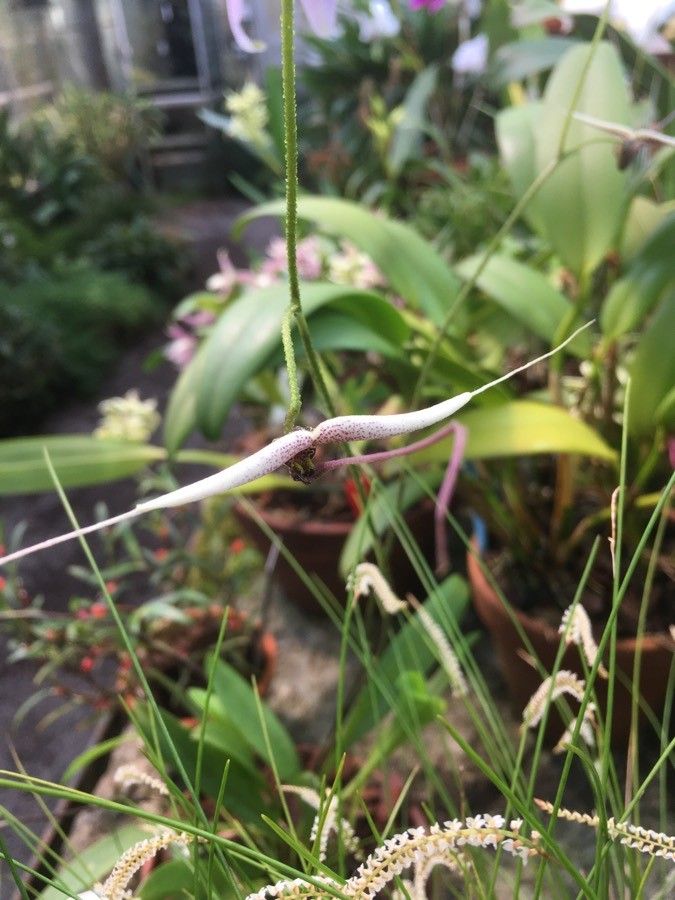
Well hello there, fellow plant lover! I’m so glad you’ve stumbled upon this little corner of my blog. Today, we’re diving into the wonderful world of propagating Scaphosepalum gibberosum. If you’ve ever admired its delightfully quirky blooms and fascinating foliage, you know it’s a plant that brings a unique charm to any collection.
Why Propagate Scaphosepalum gibberosum?
There’s a special kind of magic in creating new life from an existing plant. For Scaphosepalum gibberosum, it’s a rewarding way to share this gem with friends, fill up a new terrarium, or simply expand your own jungle. Now, I’ll be honest, this isn’t the absolute easiest orchid to propagate for a complete beginner, but with a little care and attention, it’s absolutely achievable and so, so worth it. Let’s get our hands dirty!
The Best Time to Start
For most orchids, and Scaphosepalum gibberosum is no exception, the spring and early summer are your golden ticket for propagation. This is when the plant is actively growing, bursting with energy, and has the best chance of successfully establishing new roots. You’re essentially tapping into its natural vigor.
Supplies You’ll Need
Here’s what you’ll want to have on hand before we begin:
- Sharp, sterilized pruning shears or a clean knife: For making precise cuts. Sterilize with rubbing alcohol between each cut.
- Orchid potting mix: A well-draining blend is crucial. I like a mix of bark, perlite, and a bit of sphagnum moss.
- Small pots or trays: Terracotta or plastic pots work, just ensure they have drainage holes. Seedling trays are great for multiple divisions.
- Rooting hormone (optional but recommended): A powdered or liquid rooting hormone can give your cuttings a helpful boost.
- Sphagnum moss: For adding to your potting mix or for an alternative propagation method.
- Water: Clean, room-temperature water.
- Labels and a permanent marker: To keep track of your propagation dates and plant names.
- A spray bottle: For misting.
Propagation Methods
The most successful way to propagate Scaphosepalum gibberosum is through division. This plant doesn’t lend itself easily to stem cuttings in the way some other orchids do.
Division: Creating New Plants from Existing Ones
This method involves carefully separating a mature plant into smaller sections, each with its own roots and at least one healthy pseudobulb (the swollen stem base).
- Assess your plant: Gently remove your Scaphosepalum gibberosum from its pot. Look for natural divisions. You want to identify areas where the plant is growing outwards, showing multiple pseudobulbs clustered together, ideally with some roots emerging from each cluster.
- Gently separate: This is where your clean tools come in. Carefully tease apart the root ball. If it’s tightly bound, use your sterilized pruners or knife to gently cut through any tough roots or rhizomes connecting the sections. The goal is to make clean cuts that minimize damage. Aim for divisions with at least 2-3 pseudobulbs and a healthy root system.
- Prepare the divisions: If the roots look a bit mangled from the separation, trim away any mushy or dead ones. You can optionally dip the cut ends into rooting hormone at this stage.
- Pot them up: Fill your clean pots or trays with your pre-moistened orchid mix. Make a hole in the center and place one division in each pot, ensuring the roots are spread out nicely. The top of the rhizome (where the pseudobulbs meet the roots) should be level with the surface of the potting mix, or slightly above.
- Water sparingly: Water your newly potted divisions gently. You don’t want to waterlog them. The goal is to settle the potting mix around the roots.
The “Secret Sauce” (Pro Tips)
Here are a few things I’ve learned over the years that can make a big difference:
- Don’t rush the re-potting: After dividing, give your new plants a little quiet time to settle. I often let divisions sit out of direct light for a day or two before potting. This allows any tiny cuts to start healing a bit.
- Humidity is key, direct sun is a no-no: New divisions are vulnerable. Keep them in a humid environment (a humidity tray or a clear plastic bag lightly propped open is great) and out of direct sunlight. Bright, indirect light is perfect. They’re too fragile to handle harsh rays.
- Bottom heat can be your friend: If you have a heat mat designed for seedlings, placing your propagation pots on it can really encourage root growth. Just make sure it’s not too hot – think lukewarm, not scorching!
Aftercare & Troubleshooting
Once your divisions are potted, it’s all about patience and observation.
Ongoing Care:
- Watering: Water when the potting mix is almost dry, but not completely bone dry. Avoid letting them sit in soggy conditions, as this is a fast track to rot. Misting the leaves regularly can help maintain humidity.
- Light: Continue to provide bright, indirect light.
- Patience: It can take several weeks to a few months for new roots to become well established and for the plant to start showing significant new growth. Don’t be discouraged if you don’t see immediate changes.
Troubleshooting:
- Rotting: This is the most common issue. Signs include mushy, dark pseudobulbs and a foul smell. Prevention is paramount: ensure excellent drainage and avoid overwatering. If you spot rot, you may need to remove the affected part with a sterilized knife and repot into fresh, dry mix.
- No new growth: This could mean the roots haven’t established yet, or the plant isn’t getting enough light or the right temperature. Check conditions and be patient.
Keep Growing!
Propagating Scaphosepalum gibberosum is a beautiful journey. It teaches you to observe your plants closely and to understand their subtle needs. So, gather your supplies, take a deep breath, and enjoy the process. Every new little plant is a testament to your growing skills and dedication. Happy propagating!
Resource: