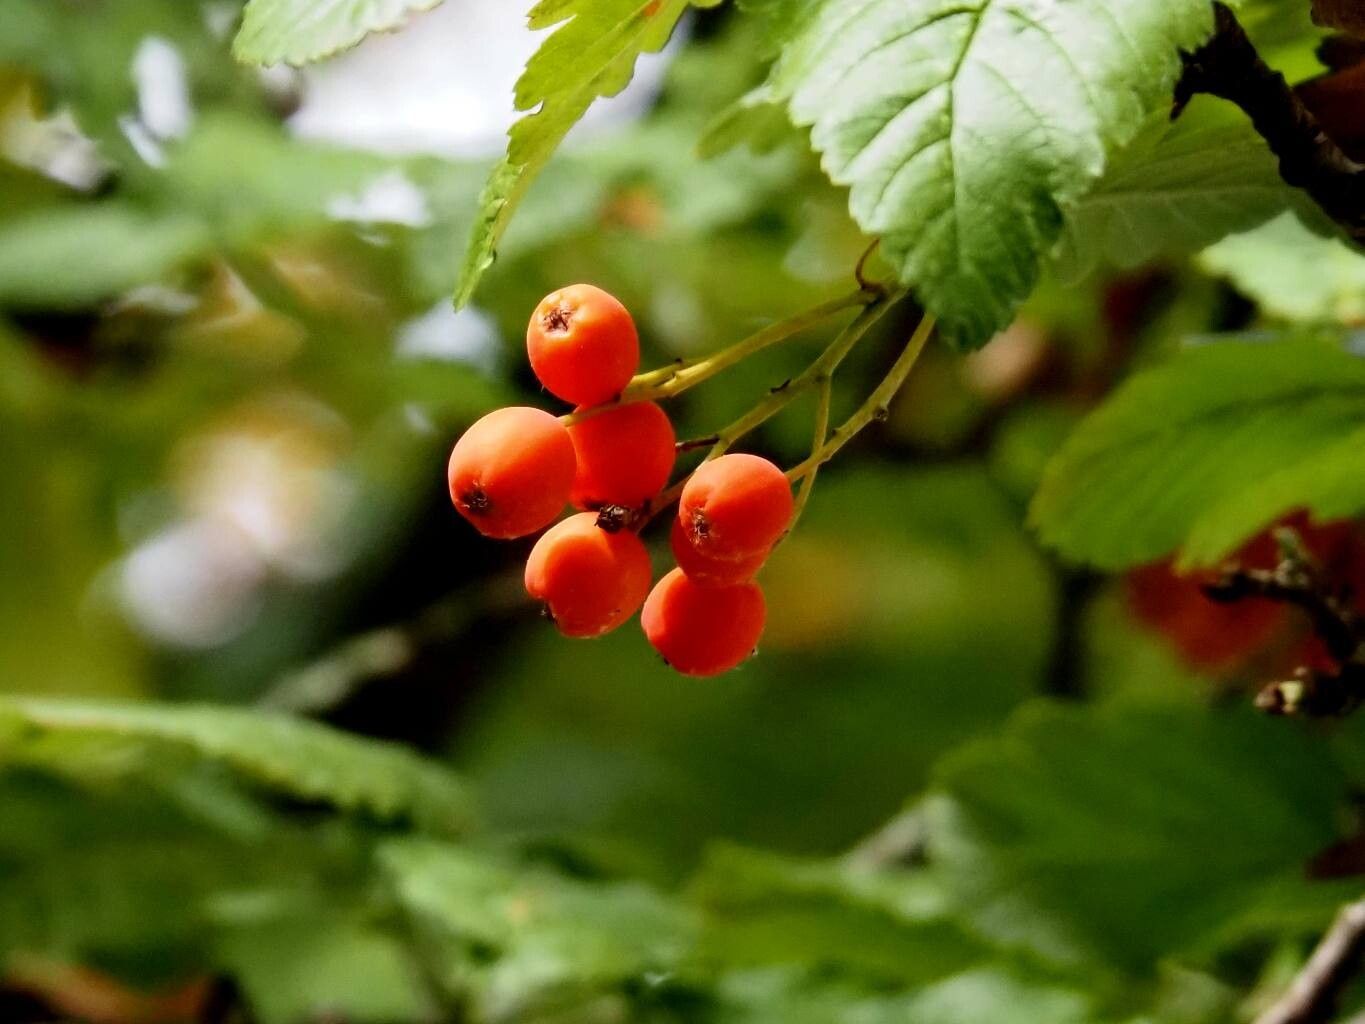
Hello, fellow garden enthusiasts! Today, we’re diving into the wonderful world of propagating Scandosorbus intermedia. If you’re drawn to those lovely, silvery leaves and delicate white flowers that bloom in late spring, you’re not alone. This plant offers such a charming touch to any garden, and the satisfaction of creating new life from your existing beauties is truly unparalleled. For those wondering, propagating Scandosorbus intermedia can be a bit of a learning curve, but with a little patience and the right approach, it’s absolutely achievable, even for those relatively new to the gardening game.
The Best Time to Start
For the highest success rate with Scandosorbus intermedia, I find the early to mid-summer to be your sweet spot. This is when the plant is in active growth and has plenty of youthful energy to draw upon. Look for those semi-hardwood cuttings – stems that are no longer totally floppy and green, but not yet woody and firm. They should snap cleanly when bent, sort of like a pencil.
Supplies You’ll Need
Before we get our hands dirty, let’s gather our arsenal:
- Sharp pruning shears or a clean, sharp knife: For making neat cuts.
- Rooting hormone (optional, but recommended): Especially helpful for encouraging those roots to form faster. Look for a powder or gel.
- Potting mix: A well-draining mix is crucial. I like to use a blend of peat moss or coco coir, perlite, and a little bit of coarse sand. About a 50/50 mix with perlite tends to work wonderfully.
- Small pots or seedling trays: With drainage holes, of course!
- Plastic bags or a propagation dome: To create a humid environment.
- Water: For misting.
- Labels: To keep track of your precious new plants!
Propagation Methods
Let’s get down to business. Stem cuttings are generally the most reliable method for Scandosorbus intermedia.
Stem Cuttings:
- Take Your Cuttings: In early to mid-summer, select healthy, disease-free stems. Using your sharp pruning shears, take cuttings that are about 4-6 inches long. Make sure each cutting has at least two or three sets of leaves.
- Prepare the Cuttings: Gently remove the lower leaves from the bottom half of the cutting, leaving just a couple of leaves at the top. This is important for preventing rot when you stick them in the soil.
- Apply Rooting Hormone (Optional): If you’re using rooting hormone, dip the cut end of each cutting into it. Tap off any excess.
- Plant the Cuttings: Fill your small pots or trays with your prepared well-draining potting mix. Make a small hole in the center of the soil with a pencil or your finger. Insert the cut end of the cutting into the hole, ensuring the leaves aren’t touching the soil. Gently firm the soil around the stem.
- Water and Cover: Water the soil thoroughly but gently. Then, cover the pots or trays with a plastic bag or propagation dome to maintain high humidity. You can secure the bag with a rubber band around the rim of the pot.
The “Secret Sauce” (Pro Tips)
Over the years, I’ve learned a thing or two that can really give your propagations a boost:
- My personal favorite tip is to use bottom heat if possible. Placing your pots on a warming mat designed for seedlings can significantly speed up root development. It mimics the warmth of the soil in summer and really encourages those roots to get going.
- When you’re keeping the cuttings humid under a plastic bag, don’t let the leaves touch the plastic. Condensation is good, but if the leaves are constantly pressed against the bag, it can encourage fungal issues. A few little sticks or even tiny pebbles placed strategically can help prop the plastic up.
- For even better results with cuttings, try taking them in the early morning after the dew has dried. The plant’s energy reserves are highest at this time.
Aftercare & Troubleshooting
Once your cuttings are nestled in their pots, place them in a bright location out of direct sunlight. The key here is consistent moisture, but not soggy soil. Mist the leaves occasionally, especially if you don’t have a dome.
You’ll know your cuttings are rooting when you see new leaf growth or feel a gentle resistance when you tug lightly on the stem. This usually takes anywhere from 4 to 8 weeks, sometimes longer.
The most common issue you might encounter is rot. This often happens if the soil stays too wet or if there’s poor air circulation. If you notice mushy stems or leaves turning black and falling off, it’s usually a sign of rot. At this point, sadly, it’s often best to discard them and start again with fresh cuttings, focusing on that well-draining mix and not overwatering.
A Encouraging Closing
Propagating plants, especially ones as lovely as Scandosorbus intermedia, is a journey of patience and observation. Don’t get discouraged if your first attempt isn’t a resounding success. Every gardener has learned from their “failures.” Celebrate your successes, learn from your challenges, and most importantly, enjoy the incredibly rewarding process of growing new life for your garden. Happy propagating!
Resource: