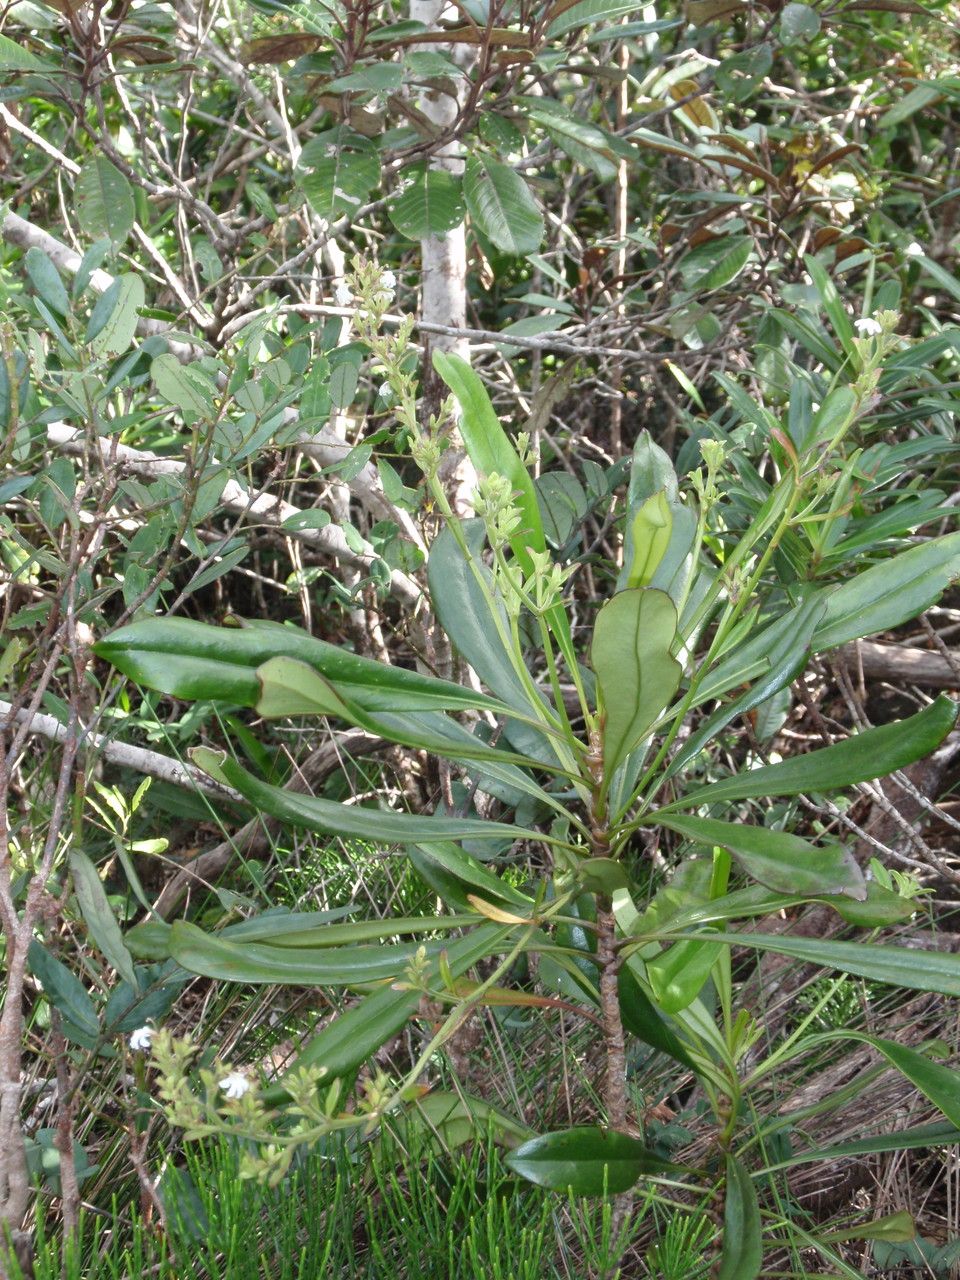
Oh, Scaevola beckii! What a wonderfully cheerful plant. Those delicate, fan-shaped flowers always bring a smile to my face, don’t they? Whether you’re growing them in hanging baskets, spilling over the edges of pots, or even in the ground, their unique charm is undeniable. And the best part? They’re surprisingly easy to multiply! Propagating them is a fantastic way to get more of these beauties for free – a true gardener’s delight. For beginners, I’d say Scaevola beckii is definitely on the friendly side. You’ll likely have a lot of success with just a few simple steps.
The Best Time to Start
Hands down, the spring and early summer are your prime time for propagating Scaevola beckii. This is when the plant is actively growing and has plenty of energy to put into developing new roots. You want to work with healthy, non-flowering stems if possible. Think of it like this: the plant is reaching its peak, so it’s more than happy to share its vigor with new little babies.
Supplies You’ll Need
Getting your materials ready makes the whole process so much smoother. Here’s what I usually have on hand:
- Sharp pruning shears or a clean knife: For making those vital cuts.
- Rooting hormone (powder or gel): While not strictly essential for Scaevola, it can give your cuttings a real boost. I find it particularly helpful when I’m working with slightly older stems.
- Well-draining potting mix: A good blend for me is about 50% peat moss or coco coir and 50% perlite or coarse sand. This prevents soggy roots.
- Small pots or seed trays: Clean ones are best to avoid any nasty diseases.
- Plastic bags or a clear dome: To create a humid environment for your cuttings.
- Watering can or spray bottle: For gentle watering.
- Labels and a pen: Trust me, you’ll thank me later when you have a collection of baby plants!
Propagation Methods
For Scaevola beckii, stem cuttings are really your go-to method. They’re incredibly effective and straightforward.
Stem Cuttings
- Take Your Cuttings: First, find a healthy, mature Scaevola beckii plant. Look for stems that are about 4-6 inches long and are actively growing but not yet flowering. Using your clean snips or knife, make a cut just below a leaf node. A leaf node is that little bump on the stem where a leaf grows out. This is where the magic happens!
- Prepare the Cuttings: Gently remove the lower leaves from your cutting, leaving just a few at the top. This prevents them from rotting in the soil. If your stems are a bit woody, you can make a small slit on the bottom inch of the stem to encourage rooting.
- Apply Rooting Hormone (Optional but Recommended): Dip the cut end of the stem into your rooting hormone. Tap off any excess.
- Plant Your Cuttings: Fill your small pots with your prepared, well-draining potting mix. Make a hole in the center of the soil with your finger or a pencil. Gently insert the cut end of the Scaevola cutting into the hole, about an inch deep. Firm the soil gently around the stem.
- Water Gently: Water the soil thoroughly but gently. You don’t want to dislodge your precious cuttings.
- Create Humidity: This is key! Cover the pot with a clear plastic bag or a propagation dome. Make sure the bag doesn’t touch the leaves too much. You can use stakes to prop it up if needed. Place the pots in a bright location, but away from direct sunlight, which can scorch the young cuttings.
The “Secret Sauce” (Pro Tips)
Here are a couple of things I’ve learned over the years that really make a difference:
- Don’t Let Leaves Touch the Water (Even in Propagation): This is a big one if you ever dabble in water propagation, but it’s also crucial for cuttings under domes. If leaves are constantly sitting in damp soil and touching the plastic, they’re much more prone to rot. Give them a little space!
- Bottom Heat is Your Friend: While not always necessary for Scaevola, if you’re propagating in a cooler environment, a heat mat placed under your pots can significantly speed up root development. It provides a gentle warmth to the soil, encouraging those roots to get busy.
- Wipe Away Condensation: Check your covered cuttings daily. If you see a lot of condensation built up on the inside of the bag or dome, wipe it dry with a clean cloth. Too much moisture can invite fungal diseases. A little bit is good; a lot is a recipe for trouble.
Aftercare & Troubleshooting
Be patient! It can take anywhere from 3 to 6 weeks for your Scaevola cuttings to develop a strong root system. You’ll know they’re ready when you gently tug on them, and they feel secure in the soil, or when you start to see new growth appearing from the top.
Once they’ve rooted, you can carefully remove the plastic bag and start to gradually acclimate them to normal room humidity. Continue to keep the soil lightly moist but not waterlogged. You can repot them into slightly larger containers if they’ve filled their current ones.
Now, for the not-so-fun part: what if things go wrong? The most common issue you’ll encounter is rot. This usually happens due to overwatering or poor drainage. If you see your cutting turning mushy, black, or developing mold, it’s likely a lost cause. Don’t get discouraged! It happens to all of us. Your best bet is to discard the rotten cutting and start fresh with a new one, paying extra attention to your watering and soil drainage.
A Encouraging Closing
Propagating plants is such a rewarding journey. It’s a hands-on way to connect with nature and multiply the beauty in your garden. Be patient with your Scaevola beckii cuttings, trust the process, and don’t be afraid to experiment. Enjoy watching those tiny roots emerge – it’s a little miracle happening right before your eyes! Happy propagating!
Resource:
https://identify.plantnet.org/k-world-flora/species/Scaevola%20beckii%20Zahlbr./data