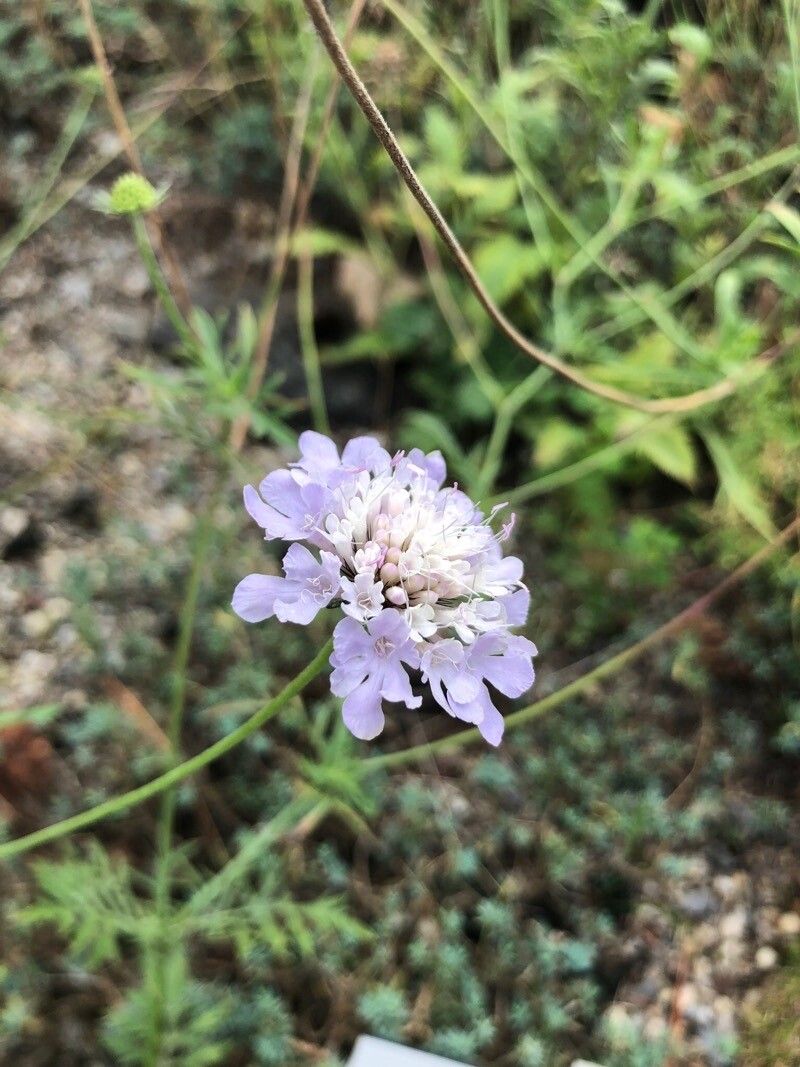
Oh, Scabiosa owerinii! What a darling little plant. I’ve always loved its airy, pincushion-like blooms that dance in the slightest breeze. They add such a delicate charm to any garden bed or cottage-style arrangement. Propagating them yourself is a wonderfully rewarding endeavor. It means more of those delightful flowers gracing your space, and honestly, it’s not as tricky as you might think. Even if you’re just dipping your toes into propagation, I think you’ll find Scabiosa to be a forgiving friend.
The Best Time to Start
For Scabiosa, spring is truly your golden ticket. As the plant shakes off its winter slumber and begins to unfurl new, vigorous growth, that’s when it’s bursting with life and ready to be multiplied. Aim for a time when the soil is warming up, but before the real heat of summer sets in. You want active growth, not stress.
Supplies You’ll Need
Here’s a little kit to get you started. Don’t worry, you likely have most of this already:
- Clean, sharp pruning shears or a razor blade: For making clean cuts.
- A well-draining potting mix: I especially like a blend of peat moss or coco coir with perlite or coarse sand. Something that won’t hold too much moisture.
- Small pots or seed trays: Clean ones are essential to prevent disease.
- Rooting hormone (optional, but helpful): A powder or gel can encourage faster root development.
- A watering can with a fine rose: For gentle watering.
- Plastic bags or a clear propagation lid: To create a humid environment.
- Labels: So you remember what you planted where!
Propagation Methods
I find stem cuttings to be the most reliable method for Scabiosa. It’s straightforward and gives you a great chance of success.
- Take Your Cuttings: Early in the morning, when the plant is most turgid, select some healthy, non-flowering stems. You want stems that are about 3-4 inches long and have started to toughen up a bit, not brand new, floppy growth. Using your clean shears, make a clean cut just below a leaf node. A leaf node is where a leaf attaches to the stem; this is where roots typically emerge.
- Prepare the Cuttings: Gently remove the lower leaves from the cutting, leaving only the top few. This prevents them from rotting when buried in the soil. If you’re using rooting hormone, dip the cut end into it now, tapping off any excess.
- Planting: Fill your clean pots or trays with your moistened, well-draining potting mix. Make a small hole in the center with your finger or a pencil. Insert the cut end of each stem into the hole, ensuring that at least one leaf node is below the soil surface. Gently firm the soil around the stem.
- Create Humidity: Water gently until the soil is moist but not waterlogged. Then, cover the pots with a plastic bag or a propagation lid. Make sure the leaves aren’t touching the plastic if possible. This creates a mini-greenhouse effect, keeping the humidity high and preventing the cuttings from drying out before they root.
The “Secret Sauce” (Pro Tips)
Here are a couple of little tricks I’ve learned over the years that can really boost your success with Scabiosa cuttings:
- Bottom Heat is Your Friend: While not strictly necessary, placing your pots on a gentle heating mat can significantly speed up root development. The warmth encourages the plant cells to get busy making roots. Don’t go too hot, just a nice, warm ambient temperature is perfect.
- Don’t Over-Water: This is probably the biggest pitfall. Cuttings rot more easily than they fail to root. The humidity from the plastic cover will do a lot of the work. I only water if the soil surface looks distinctly dry, and I do it from the bottom if possible, letting the pot soak up moisture.
Aftercare & Troubleshooting
Once your cuttings have been in their humid environment for a few weeks, gently tug on a stem. If there’s resistance, congratulations! You have roots. At this point, you can gradually start to acclimate them to normal conditions. Remove the plastic cover for a few hours each day, slowly increasing the time until they are fully uncovered. Continue to keep the soil consistently moist but never soggy.
The most common problem you’ll encounter is rot. If you see a cutting turning black and mushy, it’s best to discard it to prevent it from affecting others. This usually means it was too wet, not enough air circulation, or maybe the cutting wasn’t fresh. Don’t get discouraged if a few don’t make it. It’s all part of the learning process.
A Little Encouragement
Propagating plants is an exercise in patience and observation. Watching those tiny roots emerge is a truly magical moment. Enjoy the journey, learn from each attempt, and soon you’ll have a whole patch of these lovely Scabiosa flowers to admire. Happy gardening!
Resource:
https://identify.plantnet.org/k-world-flora/species/Scabiosa%20owerinii%20Boiss./data