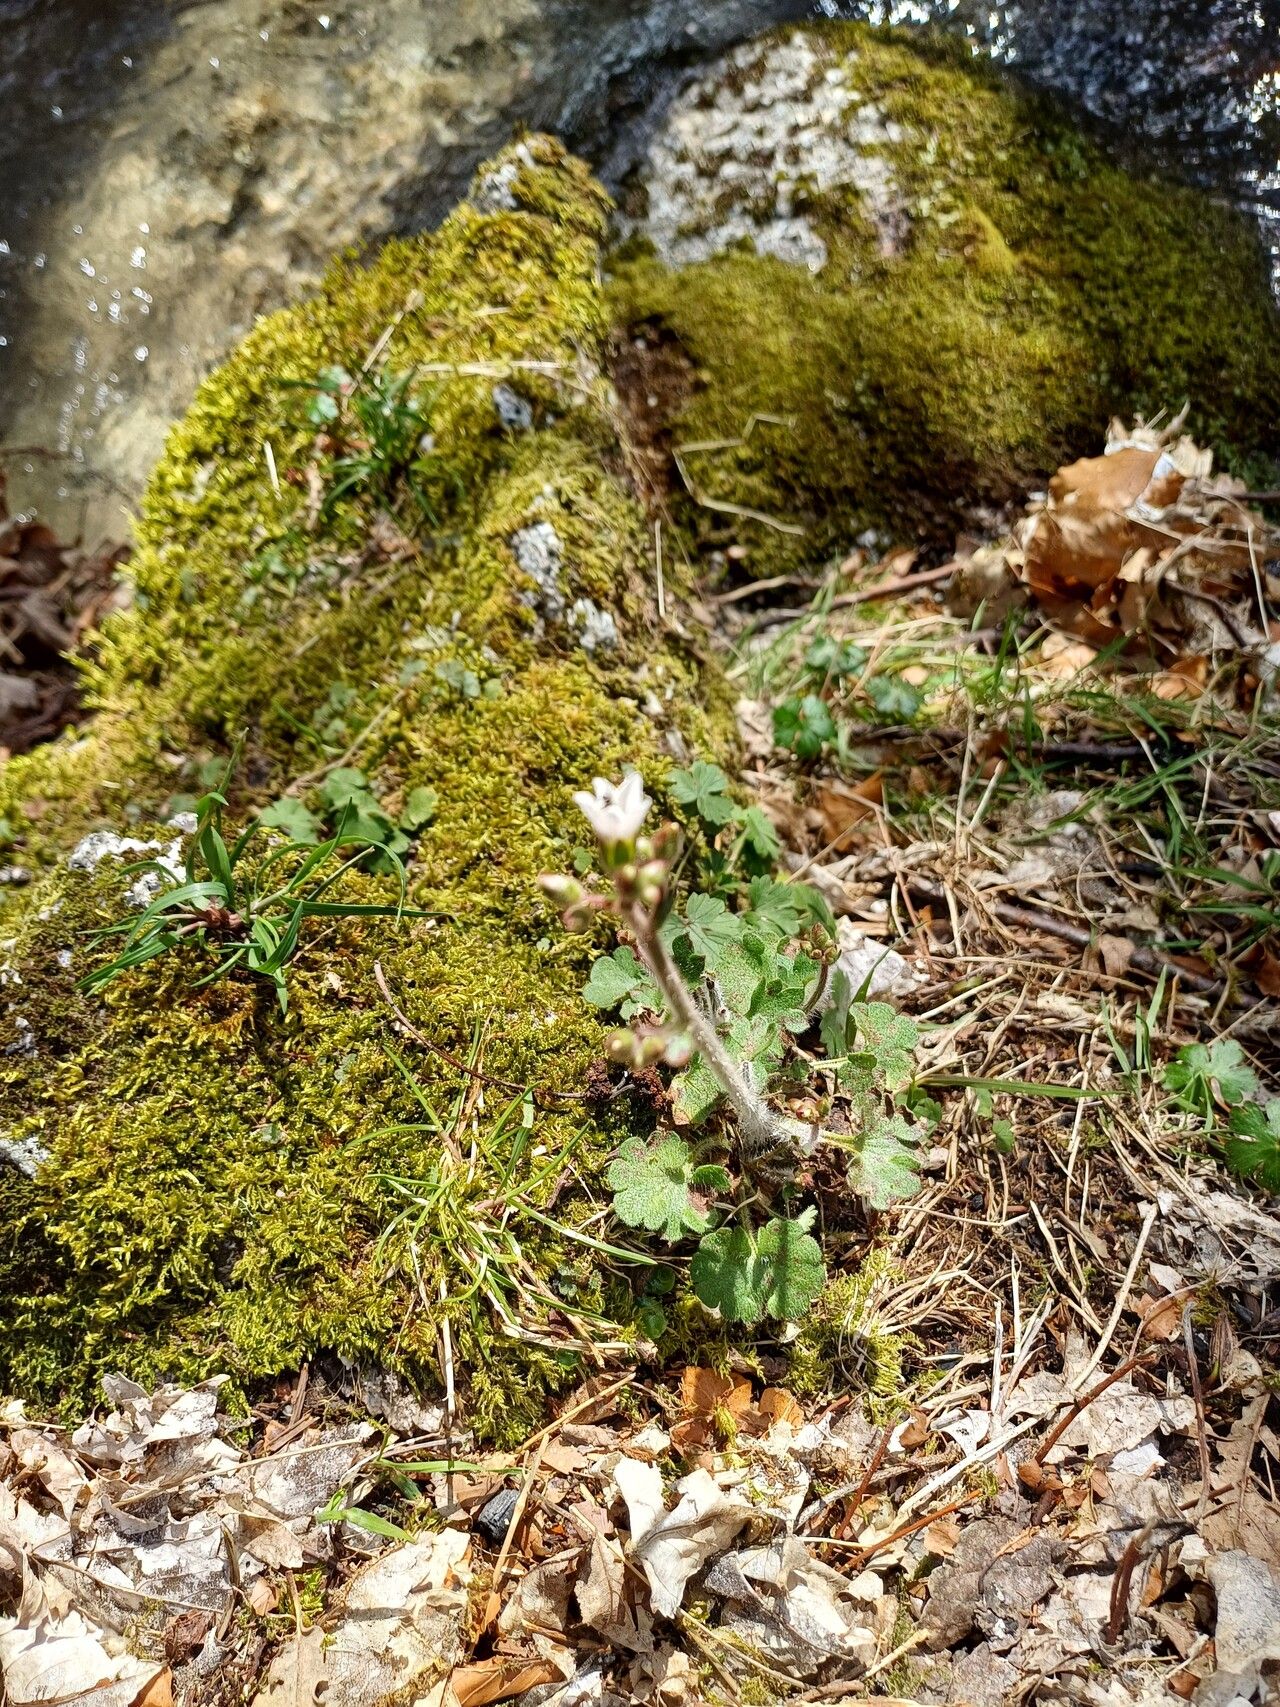
Hello fellow garden lovers! It’s so lovely to have you join me today. We’re going to dive into the wonderful world of propagating Saxifraga corsica, also known as Corsican saxifrage. This little gem is a favorite of mine. Its delicate rosettes of fuzzy leaves and charming little flowers are just delightful, especially when they spill over the edges of pots or rock gardens. The sheer satisfaction of growing something new from a tiny piece of an existing plant is truly unmatched. Now, for the big question: is it easy for beginners? I’d say it’s moderately easy. With a little patience and the right approach, you’ll be well on your way.
The Best Time to Start
For Saxifraga corsica, the sweet spot for propagation is generally late spring to early summer. This is when the plant is actively growing, and the cuttings have the best chance of taking root quickly. You’re looking for healthy, new growth – not the old, woody stems.
Supplies You’ll Need
Gathering your supplies beforehand makes the whole process much smoother. Here’s what I usually have on hand:
- Sharp pruning shears or a clean knife: For making clean cuts.
- Well-draining potting mix: A mix for succulents or a blend of peat moss, perlite, and a bit of compost works beautifully.
- Small pots or seed trays: Anything that can hold your cuttings and mix.
- Optional: Rooting hormone: This can give an extra boost, but isn’t always strictly necessary for Saxifraga corsica.
- A spray bottle: For gentle misting.
- A clear plastic bag or propagator lid: To create a humid environment.
Propagation Methods
There are a couple of ways to get new Saxifraga corsica plants, but division is usually the most straightforward.
Division: The Go-To Method
This is where we gently tease apart the parent plant into smaller sections, each with its own roots.
- Acquire your parent plant: Make sure it’s healthy and well-established.
- Gently remove from its pot: If it’s in the ground, carefully dig around it.
- Inspect the root ball: Look for natural divisions. You’ll often see smaller rosettes growing off the main one.
- Carefully tease apart: Use your fingers or a clean knife to gently separate the rosettes. The goal is to keep as many roots attached to each section as possible.
- Plant the divisions: Pot each new division into its own small pot filled with your well-draining mix.
- Water lightly: Give them a gentle watering to settle the soil.
Stem Cuttings: A bit more patience required
While division is my preference, you can also take cuttings.
- Identify a healthy stem: Look for a non-flowering stem with some leaf nodes.
- Make a clean cut: Using your sharp shears, cut about 2-3 inches below a leaf node. Remove the lower leaves, leaving a few at the top.
- Apply rooting hormone (optional): Dip the cut end into rooting hormone powder.
- Plant the cutting: Insert the cut end into your prepared potting mix.
- Create a humid environment: Cover the pot with a clear plastic bag or propagator lid.
The “Secret Sauce” (Pro Tips)
Here are a few things I’ve learned over the years that can really help your cuttings succeed.
- Don’t let the leaves touch the water (if you were considering water propagation – though it’s not my top choice for this plant!). For cuttings in soil, this is more about maintaining airflow. If leaves are constantly wet, they’re more prone to rot.
- Provide a touch of warmth. While not strictly essential outdoors, if you’re propagating indoors during a cooler spell, placing your pots on a gentle heat mat can noticeably speed up root development.
- Be patient with watering. After division, water it in well. For cuttings, it’s crucial to keep the mix consistently moist, but never soggy. Overwatering is the quickest way to invite rot. Let the surface dry out slightly between waterings.
Aftercare & Troubleshooting
Once your divisions or cuttings have settled in, continue to keep the soil lightly moist. Place them in a spot with bright, indirect light. Avoid harsh, direct sun, which can scorch delicate new growth.
The biggest issue you might encounter is rot. This is usually a sign of too much moisture. If you see a cutting turning mushy or a brown, slimy base, it’s best to discard it. Don’t be disheartened! It happens to all of us. Remove affected material promptly to prevent it from spreading. Roots typically develop within 4-6 weeks. You’ll know they’re rooting when you see new growth emerging or feel a gentle resistance when you try to tug on the cutting.
A Little Patience Goes a Long Way
Propagating Saxifraga corsica is a rewarding journey. It’s about observing, learning, and nurturing. Don’t be discouraged if your first few attempts aren’t perfect. Each experience teaches you something new about your plants and your own gardening style. So, get your hands in the soil, enjoy the process, and soon you’ll have a whole host of beautiful Corsican saxifrage to share! Happy gardening!
Resource: