Hey there, fellow plant lovers!
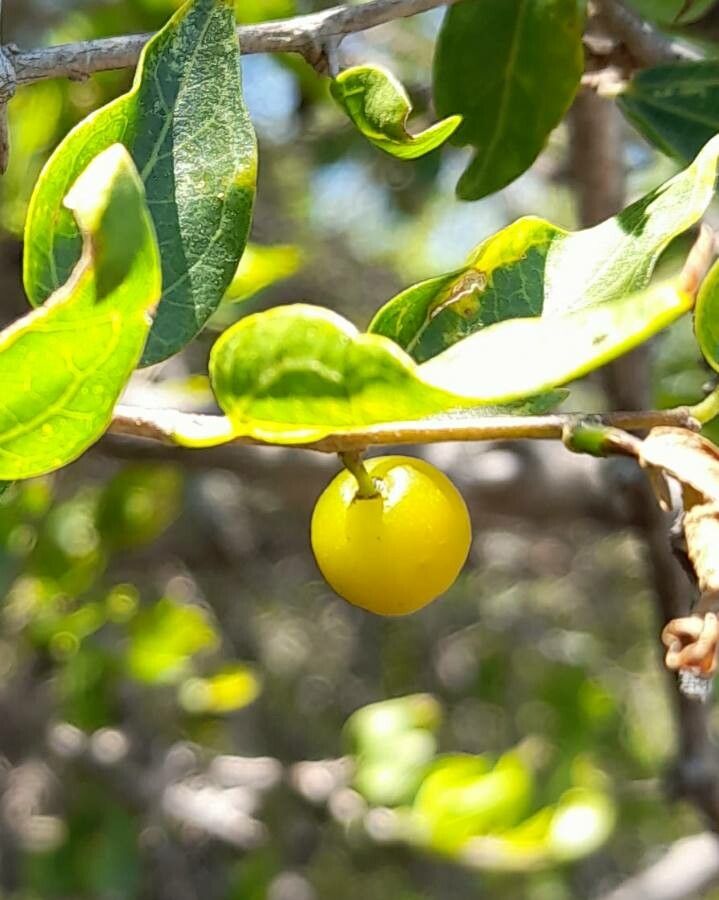
I’ve got a real treat for you today, a guide to a plant that’s captured my heart over the years: Sarcomphalus mistol. You might know this beauty by its common names, like mistletoe thorn or simply mistol. For me, its appeal lies in its resilience and unique, almost sculptural form. Even better, there’s something incredibly satisfying about growing your own from scratch. Now, if you’re a complete beginner, I’ll be honest, Sarcomphalus mistol can be a little bit of a challenge. But don’t let that deter you! With a little patience and the right approach, it’s absolutely achievable. Think of it as a rewarding learning curve; the success, when it comes, is all the sweeter.
The Best Time to Start
When it comes to getting your Sarcomphalus mistol off to a good start, spring is your golden ticket. Specifically, I like to work with cuttings taken as the plant is entering its active growth phase. This is when it has the most energy to heal and root. You’ll notice new shoots emerging, and that’s your cue. Aim for a time when the temperatures are warming up consistently, but before the intense heat of summer sets in.
Supplies You’ll Need
Before we dive in, let’s gather our toolkit. You won’t need anything too fancy, but having these ready will make the process smoother:
- Sharp pruning shears or a clean knife: For making precise cuts.
- Rooting hormone powder (optional but helpful): Look for one formulated for hardwood cuttings.
- A well-draining potting mix: I like a blend of perlite, peat moss, and a bit of coarse sand. For Sarcomphalus mistol, good aeration is key.
- Small pots or propagation trays: Make sure they have drainage holes!
- A clear plastic bag or dome: To create a humid mini-greenhouse.
- Watering can or spray bottle: For gentle watering.
- A small trowel or dibber: To make holes for your cuttings.
Propagation Methods
For Sarcomphalus mistol, my go-to method, and usually the most successful, is stem cuttings. We’re going to focus on that!
1. Taking Your Cuttings:
Choose a healthy, semi-hardwood cutting. This means it’s not brand new, floppy growth, but not old, woody growth either. Look for stems that are firm but still a bit flexible, ideally around 4-6 inches long. Make a clean cut just below a leaf node (where a leaf attaches to the stem). This is where rooting hormones are most effective. Remove the lower leaves, leaving just a couple at the top. If the stem has any flowers or developing seed pods, pinch those off. We want all the plant’s energy to go into roots!
2. Preparing for Rooting:
If you’re using rooting hormone, dip the cut end of the stem into the powder, tapping off any excess. This step really gives your cutting a boost. Now, use your trowel or dibber to make a hole in your potting mix in your chosen pot. Gently insert the cut end of the stem into the hole, ensuring the leaf nodes you removed are below the soil surface. Firm the soil gently around the stem.
3. Creating a Humid Environment:
This is crucial! Lightly water the soil until it’s evenly moist, but not waterlogged. Then, cover the pot with a clear plastic bag or a propagation dome. This traps humidity and prevents the cutting from drying out too quickly. If you’re using a bag, you can use skewers or stakes to keep it from wilting onto the leaves.
The “Secret Sauce” (Pro Tips)
Here are a few things I’ve learned that can really make a difference:
- Bottom Heat is Your Friend: If you can, place your pots on a heating mat designed for propagators. This gentle warmth from below encourages root development like nothing else. It mimics the ideal spring soil temperature.
- Air it Out Regularly: Even though we want humidity, don’t suffocate your cuttings! For the first week or two, lift the plastic bag or dome for about 15-30 minutes each day to allow for some air circulation. This helps prevent fungal issues.
- Patience with the Potting Mix: Don’t be tempted to use a heavy, dense soil. Sarcomphalus mistol needs excellent drainage. If your mix feels compacted, it’s too wet and your cuttings will likely rot before they root.
Aftercare & Troubleshooting
Once you see signs of new growth – little leaves unfurling, often at the very tip – that’s a good sign you’re getting roots! This usually takes several weeks, sometimes longer. You can gently tug on the cutting; if there’s resistance, it’s rooted.
When your cuttings are well-rooted, you can gradually acclimatize them to normal room conditions. Start by removing the plastic bag for longer periods each day. Once they’re robust enough, you can transplant them into slightly larger pots with your regular potting mix.
Now, what if things go wrong? The most common culprits are rot and drying out. If your cutting turns black and mushy, it’s likely rotted from too much moisture and not enough air. If it wilts and dries up completely, it didn’t get enough humidity or the soil was too dry. Don’t get discouraged! Sometimes it just takes a few tries to get the balance right.
A Encouraging Closing
Propagating Sarcomphalus mistol is a journey, not a race. There’s a certain magic in nurturing a tiny cutting into a thriving plant. Be patient with yourself and with your little green babies. Observe them, learn from them, and most importantly, enjoy the delightful process of creating new life from something so small. Happy gardening!
Resource: