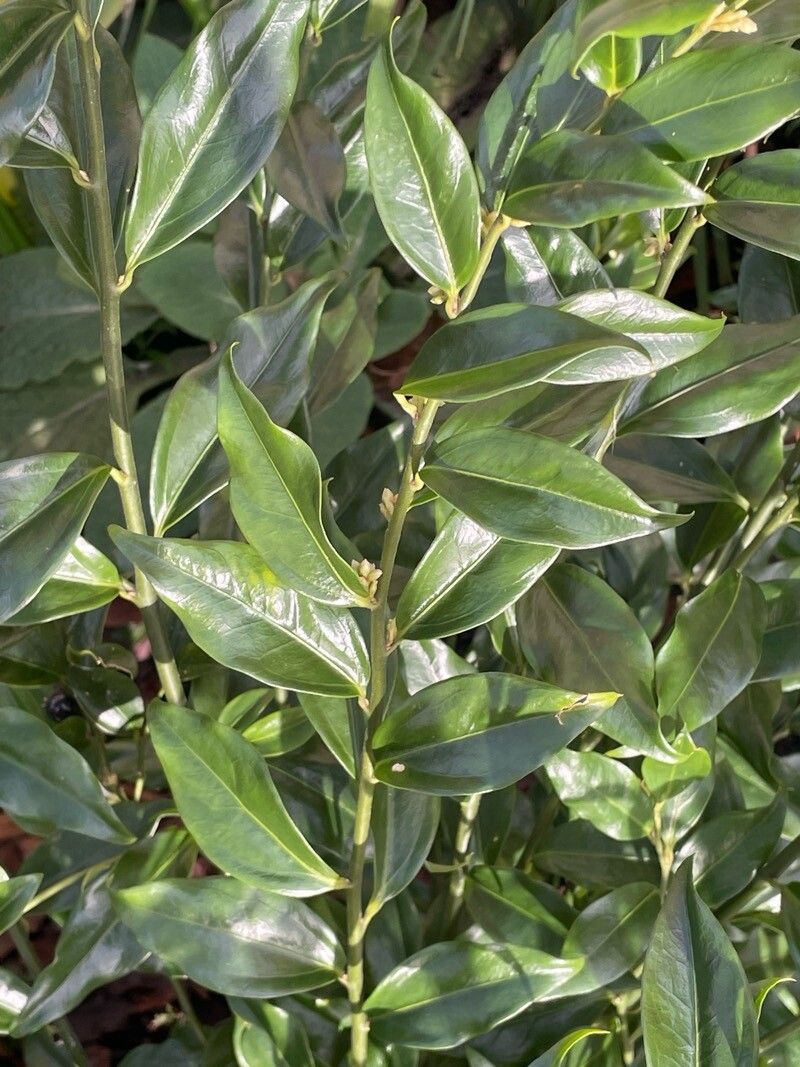
Hello, fellow plant lovers! It’s so lovely to have you join me for a chat about one of my absolute favorite evergreen shrubs: Sarcococca orientalis, or Oriental Sweet Box. If you haven’t encountered it before, imagine a plant that smells heavenly in the depths of winter, boasts glossy, dark green leaves, and is remarkably low-maintenance for the most part. It’s a real gem for shady spots, underplanting trees, or even as a small, fragrant hedge.
And the best part? It’s surprisingly rewarding to propagate! If you’re just dipping your toes into the world of plant propagation, you’ll be happy to hear that Sarcococca is quite forgiving. It’s a fantastic plant to practice on, and seeing a little cutting take root and grow into a new plant is an incredibly satisfying accomplishment.
The Best Time to Start
For Sarcococca orientalis, the sweet spot for propagation is late spring to early summer. This is when the plant is actively growing, and the stems have started to mature into what we call “semi-ripe” cuttings. Avoid taking cuttings from brand new, soft, floppy growth. You want stems that are firm but not yet woody. This timing gives your cuttings the longest possible growing season to establish themselves before cooler weather arrives.
Supplies You’ll Need
Gathering your supplies before you begin makes the whole process so much smoother. Here’s what I usually have on hand:
- Sharp Pruning Shears or a Craft Knife: Cleanliness is key here to prevent introducing disease.
- Rooting Hormone: This isn’t strictly essential, but it definitely gives your cuttings a better chance of success. I prefer a powdered hormone.
- Small Pots or Trays with Drainage Holes: About 3-4 inch pots work well.
- Well-Draining Potting Mix: A 50/50 blend of seed-starting mix and perlite is my go-to. It provides good aeration and prevents waterlogging, which is crucial!
- Plastic Bags or a Propagator: To create a humid microclimate.
- Soft Pencil or Small Stick: For making planting holes without damaging the cuttings.
- Watering Can with a Fine Rose: To water gently after planting.
Propagation Methods
Let’s get our hands dirty! The most reliable way to propagate Sarcococca orientalis is through stem cuttings.
1. Taking the Cuttings:
- First, select a healthy, mature stem from your Sarcococca.
- Using your clean shears, take cuttings that are about 4-6 inches long.
- Make the cut just below a leaf node. This is where the plant’s natural rooting hormones are most concentrated.
- Gently remove the lower leaves from the cutting, leaving just the top 2-3 leaves. If the remaining leaves are very large, you can even cut them in half to reduce water loss through transpiration.
2. Preparing the Cuttings:
- Dip the cut end of each stem into your rooting hormone, tapping off any excess.
- Make a planting hole in your prepared potting mix using your pencil or stick.
- Carefully insert the base of the cutting into the hole, ensuring the hormone-coated bit is in the soil. Gently firm the soil around it.
- Water the pot thoroughly with your fine-rose watering can until the water drains from the bottom.
3. Creating a Humid Environment:
- Place a clear plastic bag over the pot, securing it loosely around the rim with a rubber band or string. Alternatively, use a propagator lid. This creates a mini-greenhouse effect, keeping the humidity high around your cuttings, which is vital for preventing them from drying out before they can root.
- Place the pot in a bright spot but out of direct sunlight. A north-facing windowsill or a shaded corner of a greenhouse is perfect.
The “Secret Sauce” (Pro Tips)
Here are a few things I’ve learned over the years that make a big difference:
- Don’t let the leaves touch the water. If you’re attempting water propagation (which is less common for Sarcococca but possible with persistent effort), make sure only the cut stem end is submerged. Any leaves in the water will likely rot and can take the whole cutting down with them. For stem cuttings in soil, this tip translates to ensuring no leaves are buried in the soil, as this can also encourage rot.
- Bottom heat is your friend. If you have it, placing your pots on a gentle heat mat can significantly speed up root development. It mimics the warmth of spring soil and gives the cuttings a lovely head start. You don’t need it to be hot, just a gentle warmth.
- Patience is truly a virtue. Don’t be tempted to pull your cuttings out to check for roots too soon! It can take anywhere from 4 to 12 weeks, sometimes even longer, for Sarcococca to root. Resist the urge!
Aftercare & Troubleshooting
Once you see signs of new growth – tiny leaves unfurling or a gentle resistance when you (carefully!) tug the cutting – you know they’re rooting!
- Gradually Acclimatize: Once rooted, start to slowly introduce them to normal room conditions. This means opening the bag a little more each day for a week or so.
- Watering: Continue to keep the soil consistently moist but not waterlogged. As they grow, you can start watering them like a mature plant.
- Repotting: Once they’ve developed a good root system and are growing actively, you can pot them into slightly larger individual pots or plant them out in their permanent location if the season is suitable.
The most common issue you’ll encounter is rot. If your cutting turns black and mushy, it’s likely succumbed to fungal disease, often due to overwatering and poor drainage. If you see this, unfortunately, it’s time to discard it and start again. Cleanliness of your tools and soil is your best defense against this.
So there you have it! Propagating Sarcococca orientalis is a wonderful way to multiply this fragrant beauty for your own garden or to share with friends. It takes a little care and a lot of patience, but I promise, the satisfaction of seeing your new plants thrive is absolutely worth it.
Happy propagating!
Resource:
https://identify.plantnet.org/k-world-flora/species/Sarcococca%20orientalis%20C.Y.Wu/data