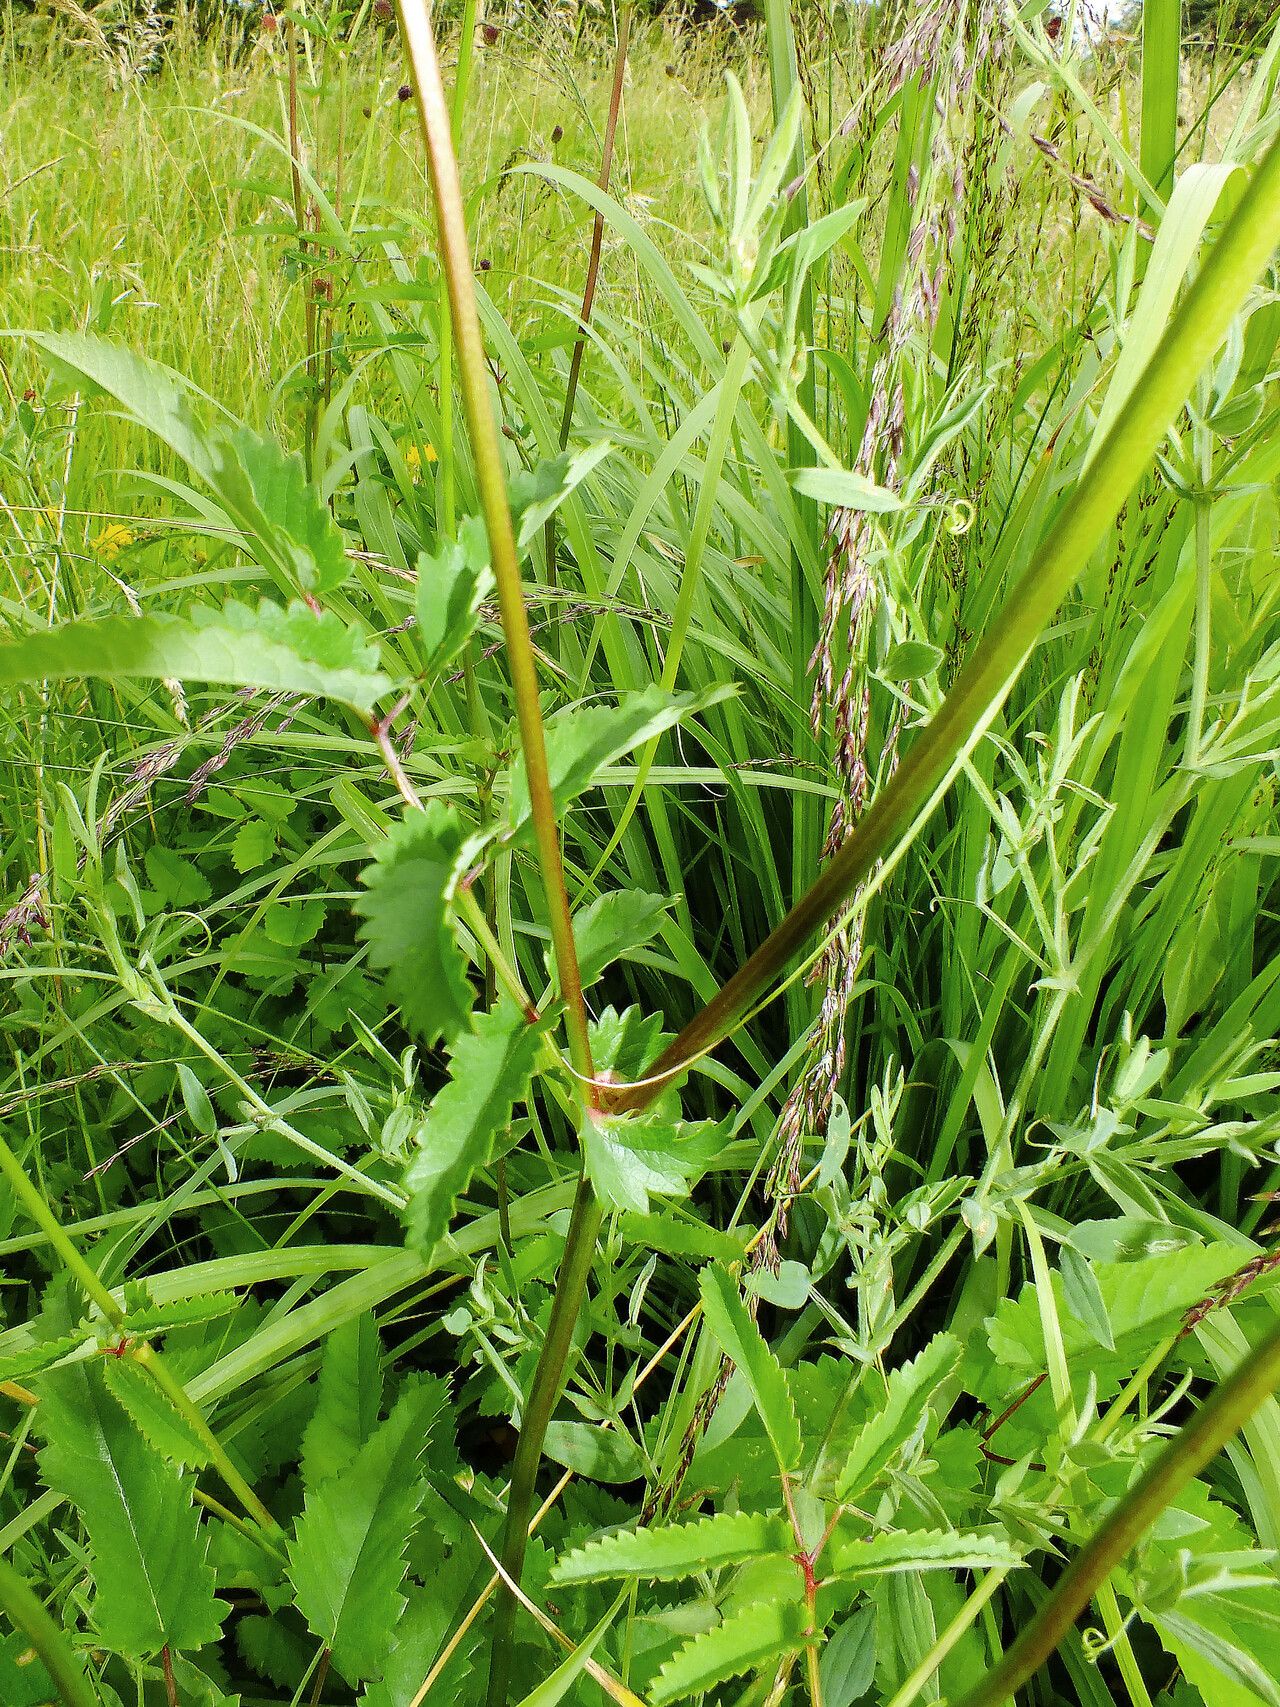
Hello fellow garden enthusiasts! Today, we’re diving into the wonderful world of Sanguisorba officinalis, also known as Great Burnet. This beauty, with its elegant, bottlebrush-like blooms in shades of deep crimson and burgundy, has such a presence in the garden. I find it incredibly rewarding to grow from scratch, a testament to perseverance and a little bit of garden magic. Now, if you’re new to plant propagation, you might be wondering if this one is for you. I’ll be honest, Sanguisorba can be a little bit particular, but with a bit of patience and these tips, you’ll be well on your way.
The Best Time to Start
My go-to time for propagating Great Burnet, especially through division or stem cuttings, is late spring to early summer. You want the plant to be actively growing, but before it puts all its energy into blooming. This gives our new little babies plenty of time to establish themselves before the heat of summer or the chill of autumn truly sets in.
Supplies You’ll Need
Here’s what I usually have on hand:
- Sharp, clean pruning shears or a sharp knife: Essential for clean cuts.
- Potting mix: A well-draining mix is key. I often use a 50/50 blend of good quality potting soil and perlite or coarse sand.
- Small pots or trays: For your new propagations. Make sure they have drainage holes!
- Rooting hormone (optional but recommended): A powder or gel can give your cuttings a helpful boost.
- Watering can or spray bottle: For gentle watering.
- A trowel or dibber: For making holes in the soil.
- Labels: Trust me, you’ll thank yourself later when you have multiple projects going!
Propagation Methods
Let’s get our hands dirty!
Division (My Favorite for Sanguisorba!)
Great Burnet is a clumping perennial, and over time, the center of the plant can become less vigorous. Division is the perfect way to rejuvenate it and get new plants!
- Digging Up: In late spring or early summer, carefully dig around the outside of the plant with your trowel. Try to get as much of the root ball as possible.
- Separating: Gently lift the plant from its spot. You can then use your hands, or if it’s a tough specimen, a sharp spade or knife, to divide the root ball into smaller sections. Aim for sections that have at least a few healthy shoots and plenty of roots. Don’t be afraid to be firm, but also be gentle with those delicate roots.
- Replanting: Immediately replant your divisions in their new homes or into pots. Water them well.
Stem Cuttings
This method takes a bit more finesse, but it’s very satisfying!
- Taking Cuttings: In late spring or early summer, select healthy, non-flowering stems. Using your clean shears, cut lengths of about 4-6 inches, making sure each cutting has at least two sets of leaves. Cut just below a leaf node (where a leaf joins the stem).
- Preparing Cuttings: Remove the lower leaves from the cutting so that only the top set or two remains. This prevents them from rotting when planted in the soil.
- Rooting Hormone (Optional): Dip the cut end of the stem into rooting hormone powder or gel. Tap off any excess.
- Planting: Fill small pots or a tray with your well-draining soil mix. Use a dibber or your finger to make a hole. Carefully insert the cutting into the hole, making sure the node where you removed the leaves is buried. Gently firm the soil around the stem.
- Watering: Water gently but thoroughly. You can also mist the cuttings to keep them hydrated.
The “Secret Sauce” (Pro Tips)
Now for a couple of my little secrets for success:
- Don’t Overcrowd Cuttings: When planting stem cuttings, give them a little space. Overcrowding can lead to poor air circulation, which invites fungal diseases. Imagine them having their own little happy homes, not a crowded apartment!
- Bottom Heat is Your Friend (for Cuttings): If you’re doing stem cuttings and live in a cooler climate, investing in a heating mat can make a huge difference. Warm soil encourages root development much faster. Just place your pots on top of it.
Aftercare & Troubleshooting
Once your Sanguisorba divisions are planted or your cuttings have rooted (you can gently tug on a cutting after a few weeks; if there’s resistance, you have roots!), it’s time for continued care.
- Watering: Keep the soil consistently moist but not waterlogged. This is crucial. For newly planted divisions, water them well for the first few weeks. For cuttings, continue to mist or water gently as needed.
- Light: Place your new plants in a spot with bright, indirect light. Direct, hot sun can be too harsh for young, vulnerable plants.
- Signs of Trouble: The most common issue is rot. If your cuttings look droopy, mushy, or develop black spots, it’s likely due to too much moisture or poor drainage. If you see this, try to remove the affected parts immediately and ensure better air circulation. If a division looks unhappy, check its roots for signs of rot and adjust your watering.
A Encouraging Closing
There you have it! Propagating Great Burnet might take a little practice, but the reward of seeing these magnificent plants grow from your own efforts is simply wonderful. Be patient with yourself and your new plants. Gardening is a journey, and every step, even a misstep, teaches us something new. Happy propagating!
Resource:
https://identify.plantnet.org/k-world-flora/species/Sanguisorba%20officinalis%20L./data