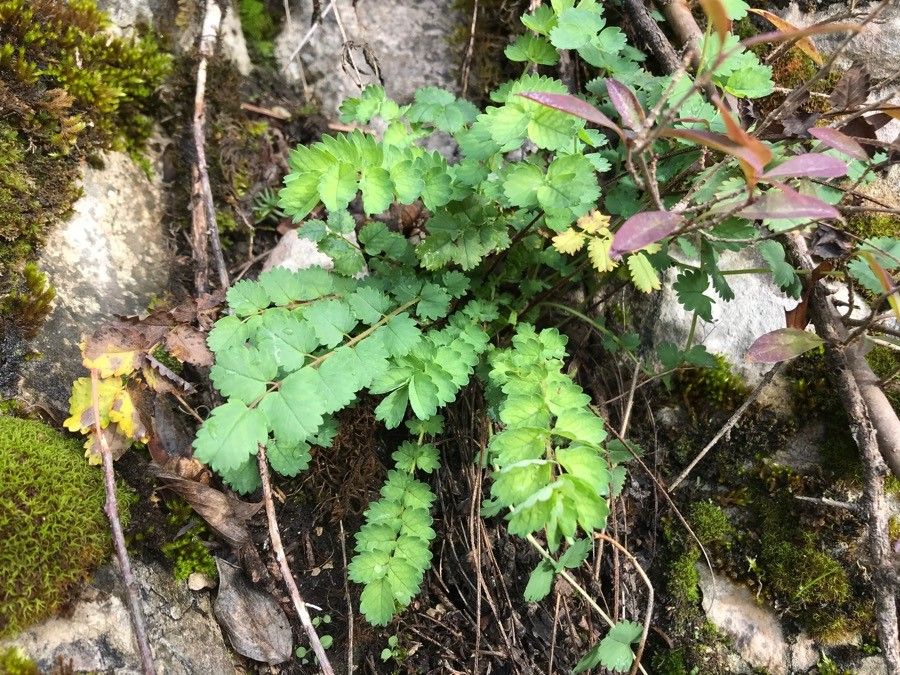
Hello fellow garden enthusiasts! Today, we’re going to chat about a plant that’s truly captured my heart over the years: Sanguisorba minor, or Salad Burnet. This charming herb brings such a wonderful, cucumber-like freshness to salads and teas, and its pretty, serrated leaves add a delicate texture to borders. Best of all, it’s a plant that’s quite happily grown from new plants, making it a fantastic candidate for expanding your herb collection without a trip to the nursery. For beginners, I’d say propagating Salad Burnet is absolutely approachable! With a little patience and these tips, you’ll be well on your way.
The Best Time to Start
When it comes to getting the most bang for your buck with Salad Burnet propagation, I’ve found the late spring to early summer to be your sweet spot. This is when the plant is actively growing, shaking off any winter chill and bursting with new energy. You’ll find it’s easier to take cuttings or divide a healthy, vigorous specimen during this time. Aim for when the growth is still relatively soft and pliable, before it gets too woody.
Supplies You’ll Need
Gathering your tools before you begin always makes the process smoother. Here’s what I like to have on hand:
- Sharp pruning shears or a clean, sharp knife: For making clean cuts that heal well.
- Rooting hormone powder or liquid (optional but helpful): Encourages faster root development.
- Well-draining potting mix: A mix of about 50% peat or coco coir and 50% perlite or coarse sand works beautifully.
- Small pots or seed trays: With drainage holes, of course!
- Watering can with a fine rose or a mister: To gently water your cuttings.
- Clear plastic bags or a propagator lid: To create a humid environment.
- Labels and a permanent marker: So you don’t forget what you’ve planted where!
Propagation Methods
Salad Burnet is pretty adaptable, and I’ve had success with a couple of different approaches.
Stem Cuttings
This is my go-to method for Salad Burnet.
- Take Cuttings: In late spring or early summer, use your sharp shears to cut 4-6 inch stems from a healthy, mature plant. Look for stems that are actively growing but not flowering.
- Prepare the Cuttings: Remove the lower leaves, leaving just a few at the very top. This prevents them from rotting in the soil. If your cuttings are particularly long, you can cut them in half to create more.
- Apply Rooting Hormone (Optional): Dip the cut end of each stem into rooting hormone according to the product’s instructions. Tap off any excess.
- Plant the Cuttings: Fill your small pots or trays with your prepared well-draining potting mix. Make a small hole with your finger or a pencil and insert the cut end of the stem. Gently firm the soil around it.
- Water and Cover: Water the soil thoroughly but gently. Then, place the pots inside a clear plastic bag or cover with a propagator lid to maintain high humidity. You can prop the bag open slightly with a few stakes to prevent the leaves from touching the plastic.
- Provide Bright, Indirect Light: Place your pots in a location that receives bright, indirect light. Avoid direct sun, which can scorch the young cuttings.
Division
If you have an established plant that’s looking a bit crowded, division is a fantastic way to create new plants and rejuvenate the parent.
- Dig and Divide: In early spring or fall, when the plant is less actively growing, carefully dig up the entire clump. You can often do this with your hands or a trowel.
- Separate the Roots: Gently pull the root ball apart into smaller sections. Each section should have some healthy roots and a few leafy shoots. If the roots are very tangled, you might need to use a clean knife or trowel to help separate them.
- Replant Immediately: Replant the divisions into their new homes – either back in the garden or into pots filled with good potting mix. Water them in well.
The “Secret Sauce” (Pro Tips)
Here are a couple of little tricks I’ve learned over the years that really make a difference:
- Don’t Let Leaves Kiss the Water (for water propagation): If you decide to try water propagation (a simpler method where you just stick cuttings in water), make sure no leaves are submerged. Submerged leaves will rot, which can spread to the stem and kill the cutting before roots even have a chance to form. Change the water every few days to keep it fresh.
- Bottom Heat is Your Friend: For stem cuttings, I’ve found that placing your pots on a heat mat dramatically speeds up root formation. It mimics the warmth of spring soil and gives those developing roots a real boost. You don’t need it blazing hot, just consistently warm.
Aftercare & Troubleshooting
Once your cuttings have rooted – you’ll see new growth appearing and they’ll feel a bit more secure when gently tugged – it’s time for a little extra care.
Watering: Keep the soil consistently moist, but not waterlogged. As they grow, you can gradually introduce them to slightly drier conditions, more like you would a mature plant. Gradually remove the plastic bag or propagator lid over a week or two to help them acclimatize to normal humidity.
Troubleshooting: The most common issue you might encounter is rot. This usually happens when the cuttings are kept too wet, or lack good air circulation. If you see stems turning mushy or black at the base, unfortunately, that cutting is likely lost. Remove it immediately to prevent it from affecting others. Yellowing lower leaves can sometimes indicate overwatering, but it’s also a natural process as the plant focuses energy on root development. Keep an eye on the overall health of the plant.
Happy Gardening!
Propagating Sanguisorba minor is such a satisfying process. It’s a wonderful way to fill your garden and share the bounty with friends. Don’t be discouraged if not every single cutting takes – it happens to all of us! Just be patient, observe your little plants, and enjoy the journey of watching them grow. Happy propagating!
Resource:
https://identify.plantnet.org/k-world-flora/species/Sanguisorba%20minor%20Scop./data