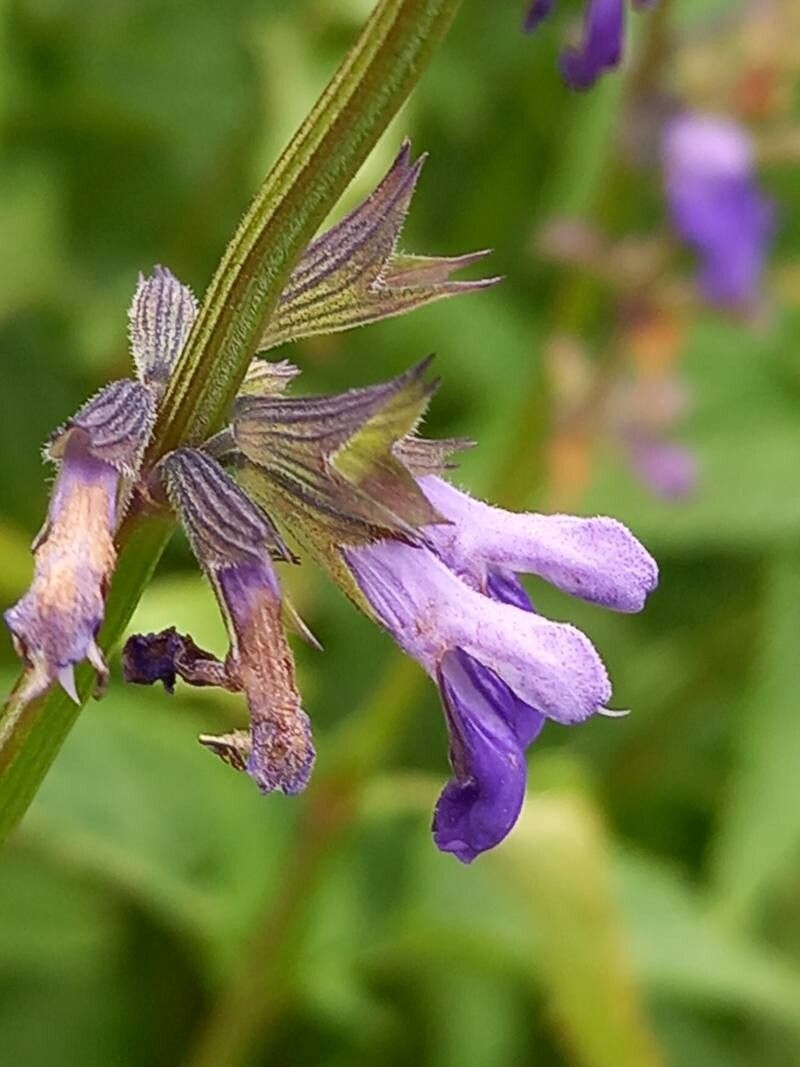
Hello fellow garden lovers! I’m so excited to chat with you today about a truly special plant: Salvia arizonica, or the Arizona Sage. If you’re drawn to the desert’s resilient beauty and its captivating, slightly dusty aroma, you’re going to adore this native son. Its delicate, lavender-blue flowers are a magnet for pollinators, and it has this wonderful way of just… settling into a sunny spot and looking right at home. Getting more of these beauties for your own garden or to share with friends? It’s incredibly rewarding, and I’m here to show you how. While not the absolute easiest plant for a complete beginner, with a little patience and these tips, you’ll be successful!
The Best Time to Start
For Salvia arizonica, the late spring or early summer, just as new growth is really taking off, is your sweet spot. You want to be taking cuttings from healthy, non-flowering stems. Think of it as capturing that youthful vigor – it’s brimming with potential! Trying to propagate from tired, old growth just won’t give you the same strong start.
Supplies You’ll Need
Here’s what you’ll want to have on hand before you begin:
- Sharp, clean pruning shears or a sharp knife: For making clean cuts.
- Rooting hormone (powder or gel): This is highly recommended for Salvia arizonica to give those cuttings a boost.
- Small pots or seed trays: With good drainage are essential.
- Well-draining potting mix: I like to use a mix of perlite, peat moss, or coco coir, and coarse sand. About a 2:1:1 ratio works wonders.
- Plastic bags or a propagation dome: To create a humid environment.
- A spray bottle: For misting.
- Labels and a permanent marker: To keep track of your cuttings.
Propagation Methods: Stem Cuttings
This is my go-to method for Salvia arizonica, and it’s quite reliable.
- Select Your Stems: Head out to your established plant on a sunny morning after the dew has dried. Look for healthy, new growth that’s about 4-6 inches long. Gently pinch or snip off the tip. Make sure it hasn’t flowered yet.
- Prepare the Cuttings: Carefully remove the lower leaves from your cuttings, leaving just a few at the very top. This prevents them from rotting in the soil. If any leaves are particularly large, you can even cut them in half horizontally to reduce water loss.
- Apply Rooting Hormone: Dip the cut end of each stem into your rooting hormone. Tap off any excess.
- Plant Your Cuttings: Fill your small pots or trays with your prepared, moistened potting mix. Make a small hole in the center of each pot with a pencil or your finger. Gently insert the cut end of the cutting into the hole. Firm the soil around it to ensure good contact.
- Create Humidity: Water the soil gently. Then, cover each pot loosely with a plastic bag or place them under a propagation dome. This humidity is crucial for preventing your cuttings from drying out before they can root.
- Placement is Key: Place your pots in a bright spot with indirect light. Direct sun will scorch those tender new cuttings.
The “Secret Sauce” (Pro Tips)
Here are a few things I’ve learned over the years that can really make a difference:
- Don’t be afraid to be a bit ruthless with leaf removal. Any leaves below the soil line are practically an invitation for mildew and rot. It’s better to have a slightly sparse top than a rotting bottom!
- Bottom heat is a game-changer for Salvia. If you have a seedling heat mat, place your pots on it. This gently warms the soil, encouraging root development much faster and often leading to stronger roots.
- When you mist your cuttings, aim for the leaves. Avoid letting water sit directly on the soil surface for extended periods, especially if you don’t have tremendous drainage. A fine mist is best.
Aftercare & Troubleshooting
Once your cuttings are planted, check on them regularly. The soil should be kept consistently moist but not waterlogged. You’ll know your cuttings are rooting when you see new leaf growth or feel a gentle resistance when you tug on them ever so slightly. This usually takes about 4-8 weeks.
The most common issue you’ll encounter is rot. If a cutting turns black and mushy, it’s a sign of too much moisture and poor air circulation. Remove it immediately to prevent it from spreading. Yellowing leaves can indicate a need for a bit more light, or sometimes just acclimation. Be patient!
Happy Planting!
Propagating Salvia arizonica is such a rewarding way to multiply your plants. It’s a process that connects you more deeply to your garden, and there’s nothing quite like seeing those tiny roots emerge, the first sign of new life. Be patient with yourself and the plants, and enjoy every step of the journey. Happy growing!
Resource:
https://identify.plantnet.org/k-world-flora/species/Salvia%20arizonica%20A.Gray/data