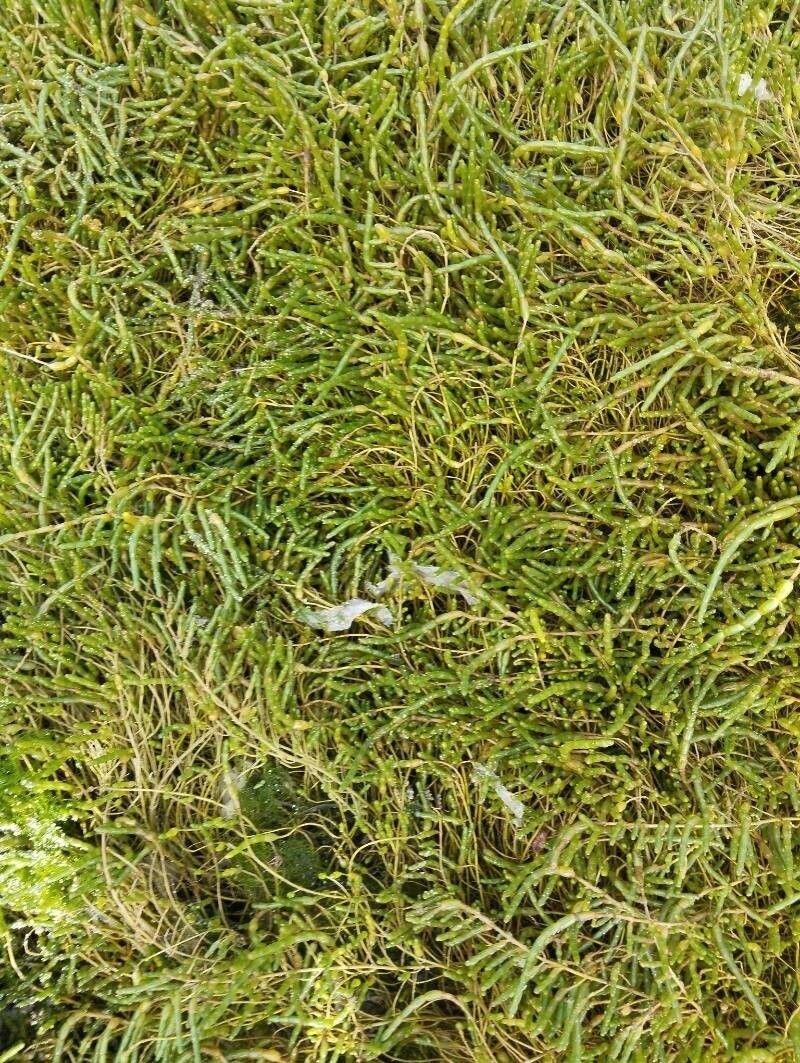
Well hello there, fellow plant enthusiasts! It’s so lovely to have you stop by. Today, I want to chat about a truly fascinating plant – Salicornia perennis, or as many of us lovingly call it, Perennial Glasswort or Sea Bean. If you’re looking for something a little different for your garden, something with an unusual beauty and a fascinating story, then Salicornia might just be your next obsession. It’s got this wonderfully architectural, almost succulent-like form, and when it’s happy, it turns the most incredible shades of jade green. Plus, if you grow it right, you can even enjoy a little salty crunch in your salads!
Now, you might be wondering if getting more of these beauties is a tricky business. I’m happy to report that propagating Salicornia is generally a forgiving endeavor, even for beginners. I’ve found it to be quite responsive, which is always a joy when you’re just starting out with a new plant. It’s a rewarding process that lets you multiply your specimens without breaking the bank and gives you a deep satisfaction as you watch tiny cuttings transform into established plants.
The Best Time to Start
For Salicornia, the sweet spot for propagation is really during its active growing season. I tend to have the most success when I’m working with material from late spring through summer. This is when the plant is full of vigor, and the cuttings are brimming with energy, making them much more likely to root. Trying to do it when the plant is dormant or just waking up can be a bit of a gamble, so let’s stick to when things are really hopping!
Supplies You’ll Need
To get your Salicornia propagation underway, gather these handy bits:
- Sharp Pruning Shears or a Clean Knife: We need clean cuts to prevent disease.
- Rooting Hormone (Optional but Recommended): A little boost never hurts! I like a powder form for cuttings.
- Well-Draining Potting Mix: This is crucial! A good blend is about 50% perlite or coarse horticultural sand and 50% peat moss or coconut coir. You want it light and airy.
- Small Pots or Trays: Whatever you have available, just make sure they have drainage holes.
- Watering Can with a Fine Rose: Gentle watering is key to avoid disturbing delicate cuttings.
- Plastic Bags or a Clear Dome: To create a humid environment.
Propagation Methods
There are a couple of ways to go about this, but my absolute favorite for Salicornia is stem cuttings, hands down.
Stem Cuttings
This is where the magic really happens. You’re essentially taking a piece of the parent plant and coaxing it to grow into a whole new one.
- Take the Cuttings: With your clean pruning shears or knife, select healthy, vigorous stems from your established Salicornia. Aim for cuttings that are about 3-4 inches long. Try to get pieces that have a few segments, as this gives them more chance to sprout. I often take them from the tips of growing stems.
- Prepare the Cuttings: Gently remove the leaves from the bottom inch or so of each cutting. This prevents them from rotting when placed in the soil or water.
- Apply Rooting Hormone (Optional): If you’re using rooting hormone, dip the cut end of each cutting into it, tapping off any excess.
- Plant Your Cuttings: Fill your small pots or trays with your prepared well-draining mix. Make a small hole in the center of the mix with your finger or a pencil. Insert the prepared cutting into the hole, ensuring its base is making good contact with the soil. Gently firm the soil around the cutting.
- Water Gently: Give the soil a thorough but gentle watering. You want it moist, but not waterlogged.
- Create Humidity: This is important! Cover the pots loosely with a plastic bag or place them under a clear dome. This traps moisture and creates that humid microclimate cuttings love. Place them in a bright spot, but out of direct, scorching sunlight.
Water Propagation (Another Option)
While I prefer soil for Salicornia, you can try water propagation too.
- Prepare Cuttings: Follow steps 1 and 2 above for preparing your stem cuttings.
- Place in Water: Put the cuttings into a glass or jar filled with fresh water. Make sure that none of the leaves are submerged – only the cut stem should be in the water.
- Change Water Regularly: Change the water every couple of days to keep it fresh and prevent bacterial growth.
- Provide Light: Place the container in a bright location away from direct sun.
- Transplant: Once you see a good network of roots forming (usually a few weeks), you can carefully transplant them into your well-draining potting mix.
The “Secret Sauce” (Pro Tips)
Here are a couple of things I’ve learned over the years that really make a difference:
- The Power of Bottom Heat: If you happen to have a seedling heat mat, use it! Placing your pots on a gentle heat mat can significantly speed up root development. It mimics the warmth the soil would have in the summer garden and gives those roots a real encouragement to grow.
- Don’t Overcrowd: While it’s tempting to cram as many cuttings into a pot as possible, give them a little breathing room. They need good air circulation around them to prevent fungal issues. Plus, it makes it easier to handle them as they start to root and grow.
- Patience with the “Mushy” Bits: Sometimes, a lower leaf might turn a bit yellow or even mushy. Don’t panic! Just gently remove it with tweezers or your fingers. It’s the plant adapting.
Aftercare & Troubleshooting
Once your cuttings have started to show signs of life – perhaps a new shoot or visible root growth when you gently tug (they should have resistance!) – you’re on the right track.
- Gradually Acclimatize: Slowly start to remove the plastic cover or dome over a few days. This helps your new little Salicornias adjust to the ambient humidity.
- Continue Gentle Watering: Keep the soil consistently moist but never soggy. Let the surface dry out slightly between waterings.
- Watch for Rot: The biggest challenge you’ll face is rot. If you see your cuttings turning brown, going soft and mushy, or developing black spots, it’s usually a sign of too much moisture and not enough air circulation. If this happens, try to remove the affected parts and ensure your mix is draining well. Sometimes, it’s just a casualty, and that’s okay. We learn as we go!
A Warm Encouragement
See? It’s not so daunting, is it? Propagating your own Salicornia perennis is a wonderfully satisfying journey. Be patient with your new little sprouts. They are just beginning their lives, and sometimes, they take their own sweet time. Enjoy the process, celebrate each tiny success, and soon you’ll have a whole collection of these charming, salty-sweet delights. Happy gardening!
Resource:
https://identify.plantnet.org/k-world-flora/species/Salicornia%20perennis%20Mill./data