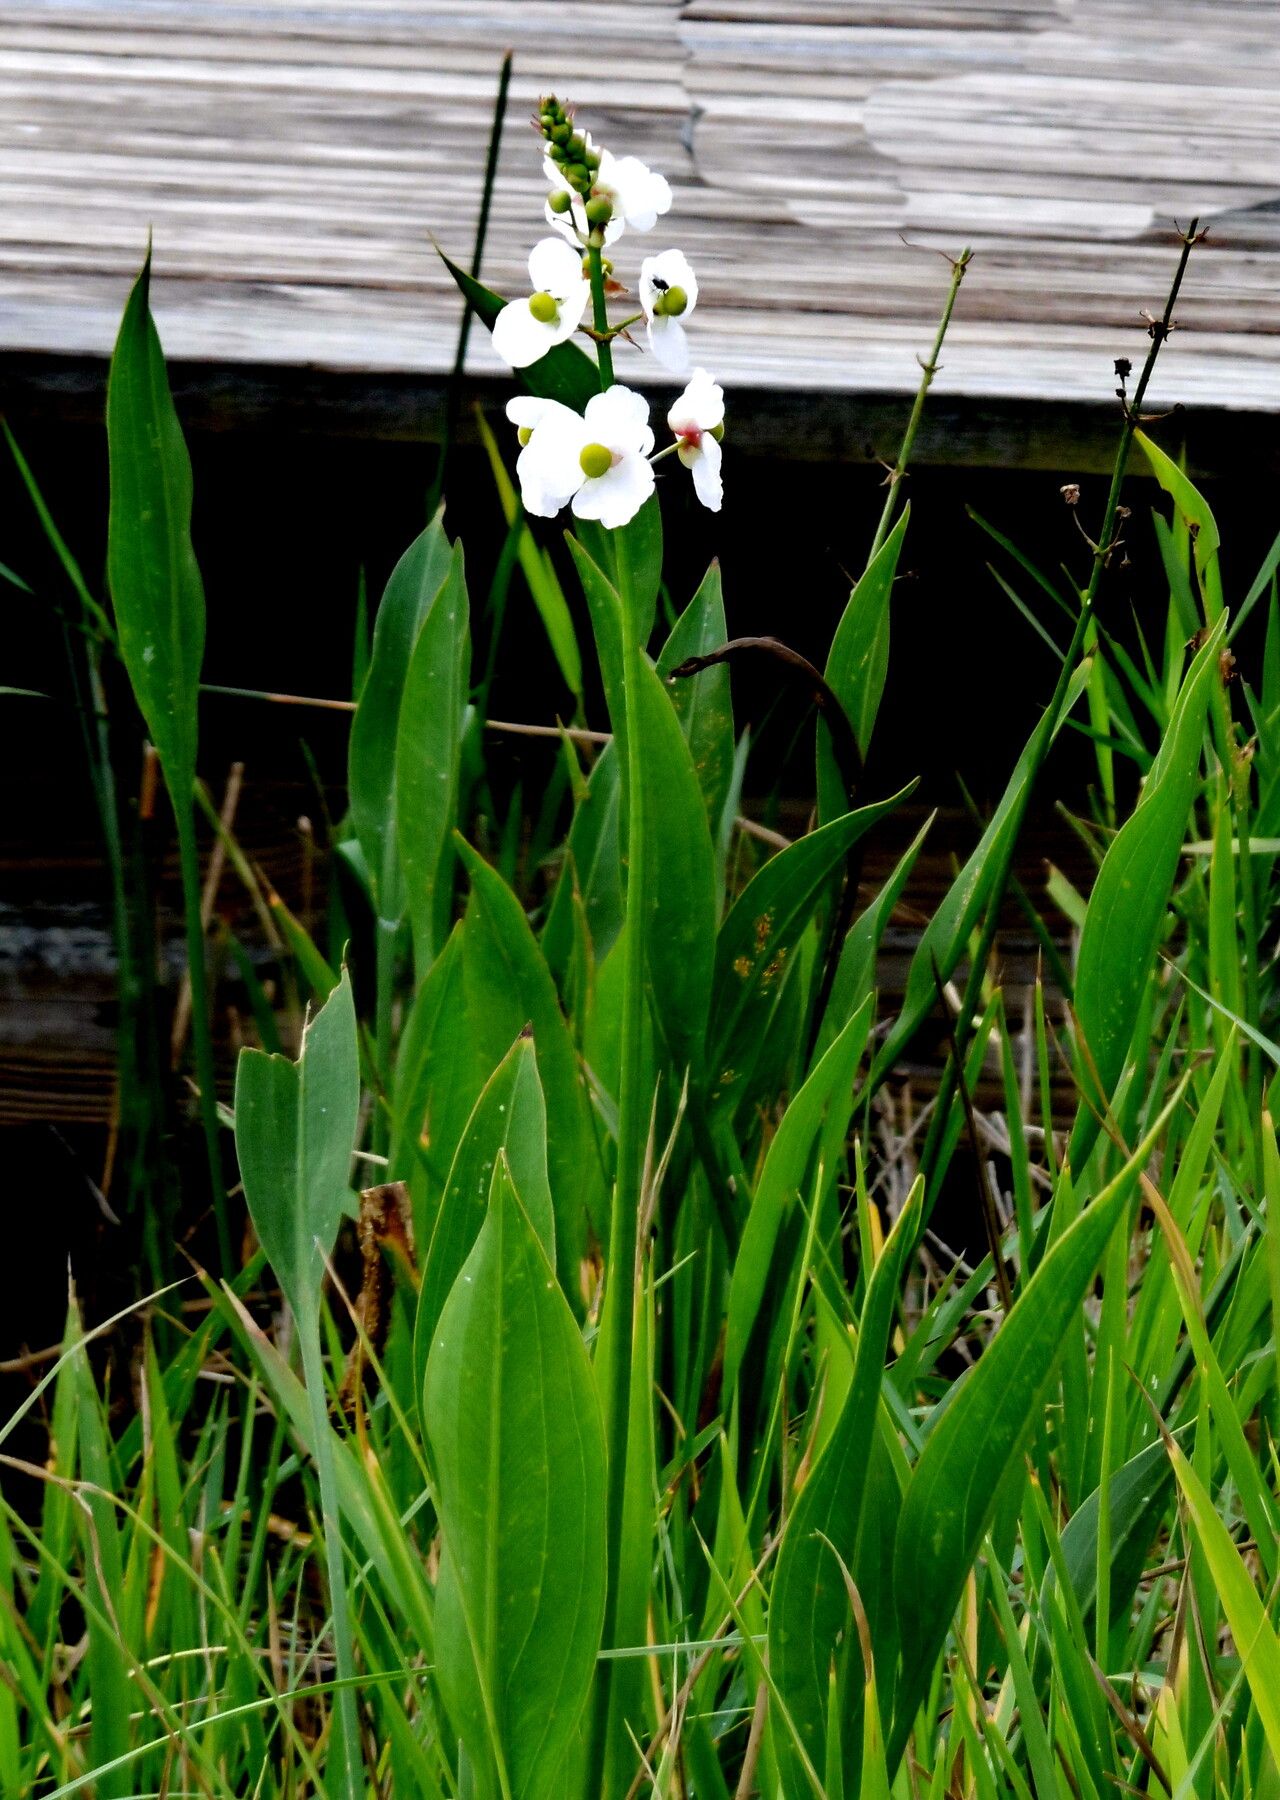
Hello there, fellow plant enthusiasts! I’m so glad you’ve stopped by. Today, we’re diving into the wonderful world of Sagittaria lancifolia, also known as Duck Potato or Arrowhead. This gorgeous aquatic and semi-aquatic plant, with its elegant, lance-shaped leaves and delicate white flowers, brings such a serene beauty to ponds, water gardens, or even large containers.
If you’re looking to expand your water garden without buying more plants, or simply love the magic of creating new life from existing ones, propagating Sagittaria lancifolia is a truly rewarding endeavor. Let me tell you, it’s quite forgiving, making it a fantastic choice for beginners wanting to dip their toes into aquatic plant propagation.
The Best Time to Start
My favorite time to get busy with Sagittaria propagation is during its active growing season, which generally runs from late spring through summer. You’ll see the most robust growth and the formation of new plantlets during these warmer months. This is when the plant has plenty of energy to dedicate to producing babies!
Supplies You’ll Need
Before we get our hands dirty (or should I say, wet?), here’s a quick rundown of what you’ll want to have on hand:
- Sharp, clean pruning shears or a knife: For making precise cuts.
- A small trowel or spade: If you’re dividing larger plants.
- Containers: Pots, trays, or even small buckets for your new plants.
- Well-draining potting mix: A good quality aquatic plant mix or a mix of peat, perlite, and sand works beautifully.
- Rooting hormone (optional but helpful): Especially for divisions, it can give them a little boost.
- Water: Clean, dechlorinated water will be your best friend.
- Gloves (optional): If you prefer to keep your hands clean.
Propagation Methods
Sagittaria lancifolia is wonderfully amenable to a couple of easy propagation methods. Let’s explore them!
1. Division: The Most Common Approach
This is my go-to for Sagittaria because it’s so straightforward and often results in well-established plants quickly.
- Gently remove the parent plant from its pot or a shallow area of your pond. Be careful not to damage the root system too much.
- Inspect the root ball. You’ll likely see several smaller plant clumps emerging from the main crown.
- Using your hands, or a clean trowel if it’s a bit dense, carefully separate these clumps. Aim to give each new division a good portion of roots and at least one or two healthy shoots.
- If you’re having trouble separating, this is where your clean knife or shears come in! Make a clean cut through the rhizomes or roots.
- Pot up each division into its own container with your chosen potting mix, or replant them directly into suitable spots in your pond. Ensure the crown of the plant is at or slightly above the soil level.
- Water thoroughly after planting.
2. Runner Plantlets (Stolons)
Sagittaria often produces little baby plants on long, trailing stems called stolons. These are like little gift packages from your established plant!
- Look for long, slender stems emerging from the base of your mature Sagittaria. At the end of these stems, you’ll find tiny, new plants, often with developing roots.
- Once these plantlets have formed a few leaves and have visible roots, you can carefully cut the stolon between the parent plant and the baby plant.
- You can then pot up the plantlet in its own container with a little aquatic mix, or gently tuck it into a suitable location in your pond.
- Keep the soil consistently moist for these young ones.
The “Secret Sauce” (Pro Tips)
Over the years, I’ve learned a few tricks that can really help your Sagittaria cuttings or divisions thrive.
- Don’t rush the process with stolons: While it’s tempting to snip those baby plants as soon as they appear, wait until they’ve developed a decent root system. This significantly increases their chances of survival. Trying to propagate too early is a common beginner mistake.
- Tamp down gently, but firmly: After planting your divisions or plantlets, gently firm the soil around the roots. This removes air pockets, ensuring good contact between the roots and the soil, which is crucial for water and nutrient uptake.
- Acclimatize gradually: If you’re moving a new propagation from a protected environment (like a greenhouse) to full sun or a more exposed pond area, introduce it slowly over a week or two. This prevents transplant shock.
Aftercare & Troubleshooting
Once your new Sagittaria has been planted, give it some consistent care.
- Keep it well-watered: For divisions and stolons potted up, maintain consistently moist soil. If planting directly into a pond, ensure they are in a suitable water depth where their roots will remain submerged.
- Provide adequate light: Sagittaria loves full sun to partial shade. Avoid deep shade, as it can lead to leggy growth and fewer flowers.
- Watch for rot: The most common issue you might encounter is rot, often caused by over-saturation or poor drainage in a potted situation, or planting too deep in shallower water where roots can dry out. If you see leaves turning yellow and mushy, or the base of the plant becoming slimy, carefully inspect the roots. You may need to remove the rotten parts and replant in a slightly different condition.
A Encouraging Closing
There you have it! Propagating Sagittaria lancifolia is a wonderfully accessible way to bring more of this beautiful plant into your aquatic landscape. Be patient with your new babies, enjoy the process, and celebrate each new root and leaf. Happy gardening, my friends!
Resource:
https://identify.plantnet.org/k-world-flora/species/Sagittaria%20lancifolia%20L./data