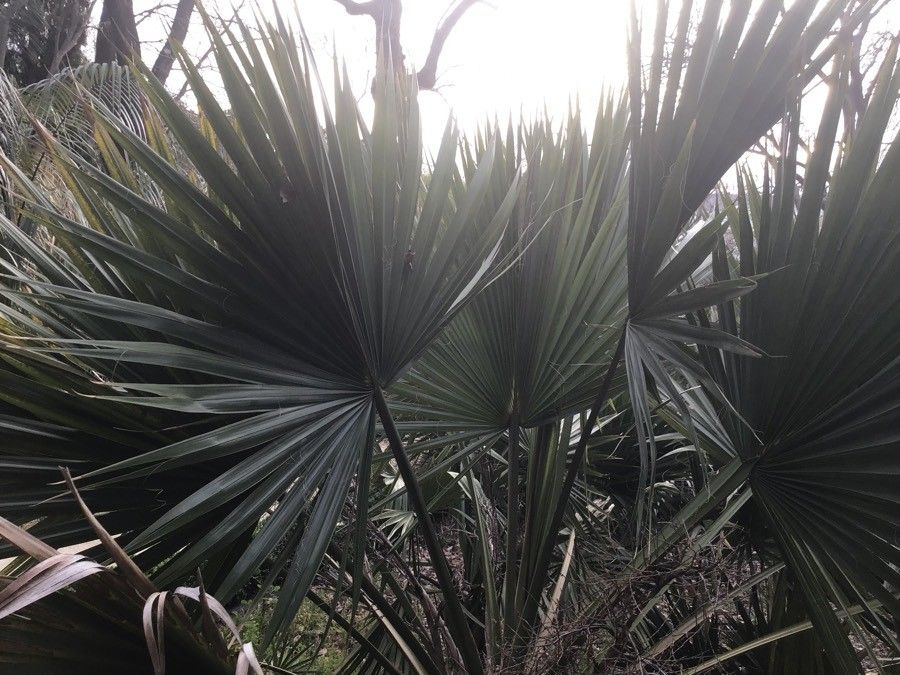
Oh, hello there! It’s so lovely to have you stop by my little corner of the internet. Today, we’re diving into something truly special: coaxing new life from the magnificent Sabal bermudana. If you’ve ever admired those stately, solitary palm trees gracing sandy shores, you’ve met this beauty and likely dreamed of having one of your own. Growing them from seed is a journey in patience, but propagating them through their offshoots? That’s where the magic really happens, and it’s surprisingly achievable, even for those of you just starting out.
The Best Time to Start
Timing is everything in gardening, and with Sabal bermudana, you’ll want to get your hands dirty in late spring or early summer. This is when the plant is actively growing after its winter rest, and any new shoots or “pups” are usually robust enough to consider for propagation. Think of it as catching the plant when it’s feeling its most energetic!
Supplies You’ll Need
Gathering your tools beforehand makes the whole process so much smoother. Here’s what I usually have on hand:
- A sharp, sterilized pruning saw or stout knife. For palms, you need something that can make a clean cut without crushing.
- Gloves (palm fibers can be sharp!).
- A well-draining potting mix. I often use a blend of coarse sand, perlite, and compost. You want water to move through easily.
- Rooting hormone powder (optional, but can give an extra boost).
- A small trowel or spade for gently digging.
- Clean pots or containers, big enough for your new seedling.
- A watering can with a fine rose or a spray bottle.
Propagation Methods: Taking Offshoots
Sabal bermudana typically propagates through basal offshoots, often called “pups.” These are smaller versions of the mother plant that emerge from the base. It’s a bit like a generous parent sharing its bounty!
- Assess Your Mother Plant: Look for healthy, established pups that are at least a quarter of the size of the main trunk. They should have their own developed fronds.
- Prepare the Area: Gently clear away any soil or debris from around the base of the pup you intend to take. This will help you see where you need to cut.
- Make the Cut: This is the crucial step. Using your sharp saw or knife, you need to make a clean cut that severs the pup from the parent plant. Try to keep as much of the pup’s own root system attached as possible. Aim to cut back into the rhizome where they connect.
- Inspect the Pup: Once separated, inspect the cut end of the pup. If there’s any sign of damage or excessive moisture, you can let it air dry in a shaded, breezy spot for a day or two. This helps a callus to form, which can prevent rot.
- Potting Up: Fill your clean pot with your well-draining mix. Dig a hole in the center large enough to accommodate the pup’s roots.
- Planting the Pup: Place the pup in the hole, making sure the base sits at soil level. Gently firm the soil around the roots and the base of the pup.
The “Secret Sauce” (Pro Tips)
After years of gardening, you pick up a few tricks! Here are a couple of things I’ve found make a real difference:
- Don’t be afraid to trim a little: If the pup you’re taking has a lot of enormous, tattered fronds, you can judiciously trim them back by about half. This reduces water loss from the leaves while the roots establish, and it’s less stressful for the new plant.
- Think “drainage, drainage, drainage”: I can’t stress this enough when it comes to palms! If the potting mix stays soggy, you’re inviting root rot. I often add extra perlite or coarse gravel to the bottom of the pot before adding the soil – it’s a little insurance policy for happy roots.
Aftercare & Troubleshooting
Once your pup is settled in its new pot, the real work begins: nurturing it.
- Watering: Water thoroughly after potting, then let the soil dry out slightly between waterings. It’s better to underwater than to overwater at this stage. You’re looking for consistently moist, but not waterlogged, soil.
- Location: Place your newly potted pup in a location that receives bright, indirect light. Avoid harsh, direct sun initially, as it can scorch the tender new growth.
- Rooting: It can take several weeks, sometimes even a couple of months, for the pup to show signs of new growth, indicating it has rooted. Be patient!
- Troubleshooting: The most common issue is rot, often indicated by a soft, mushy base, wilting leaves that turn yellow, or a foul smell from the soil. If you suspect rot, gently remove the pup from the pot, cut away any rotted parts with a clean knife, and try to let the healthy parts air dry thoroughly before repotting in fresh, dry soil.
A Fond Farewell
Propagating Sabal bermudana is a rewarding endeavor that connects you even more deeply with these wonderful trees. There will be moments where you second-guess yourself, but that’s all part of the learning curve. Celebrate the successes, learn from the challenges, and most importantly, enjoy the process of coaxing new life into your garden. Happy planting!
Resource:
https://identify.plantnet.org/k-world-flora/species/Sabal%20bermudana%20L.H.Bailey/data