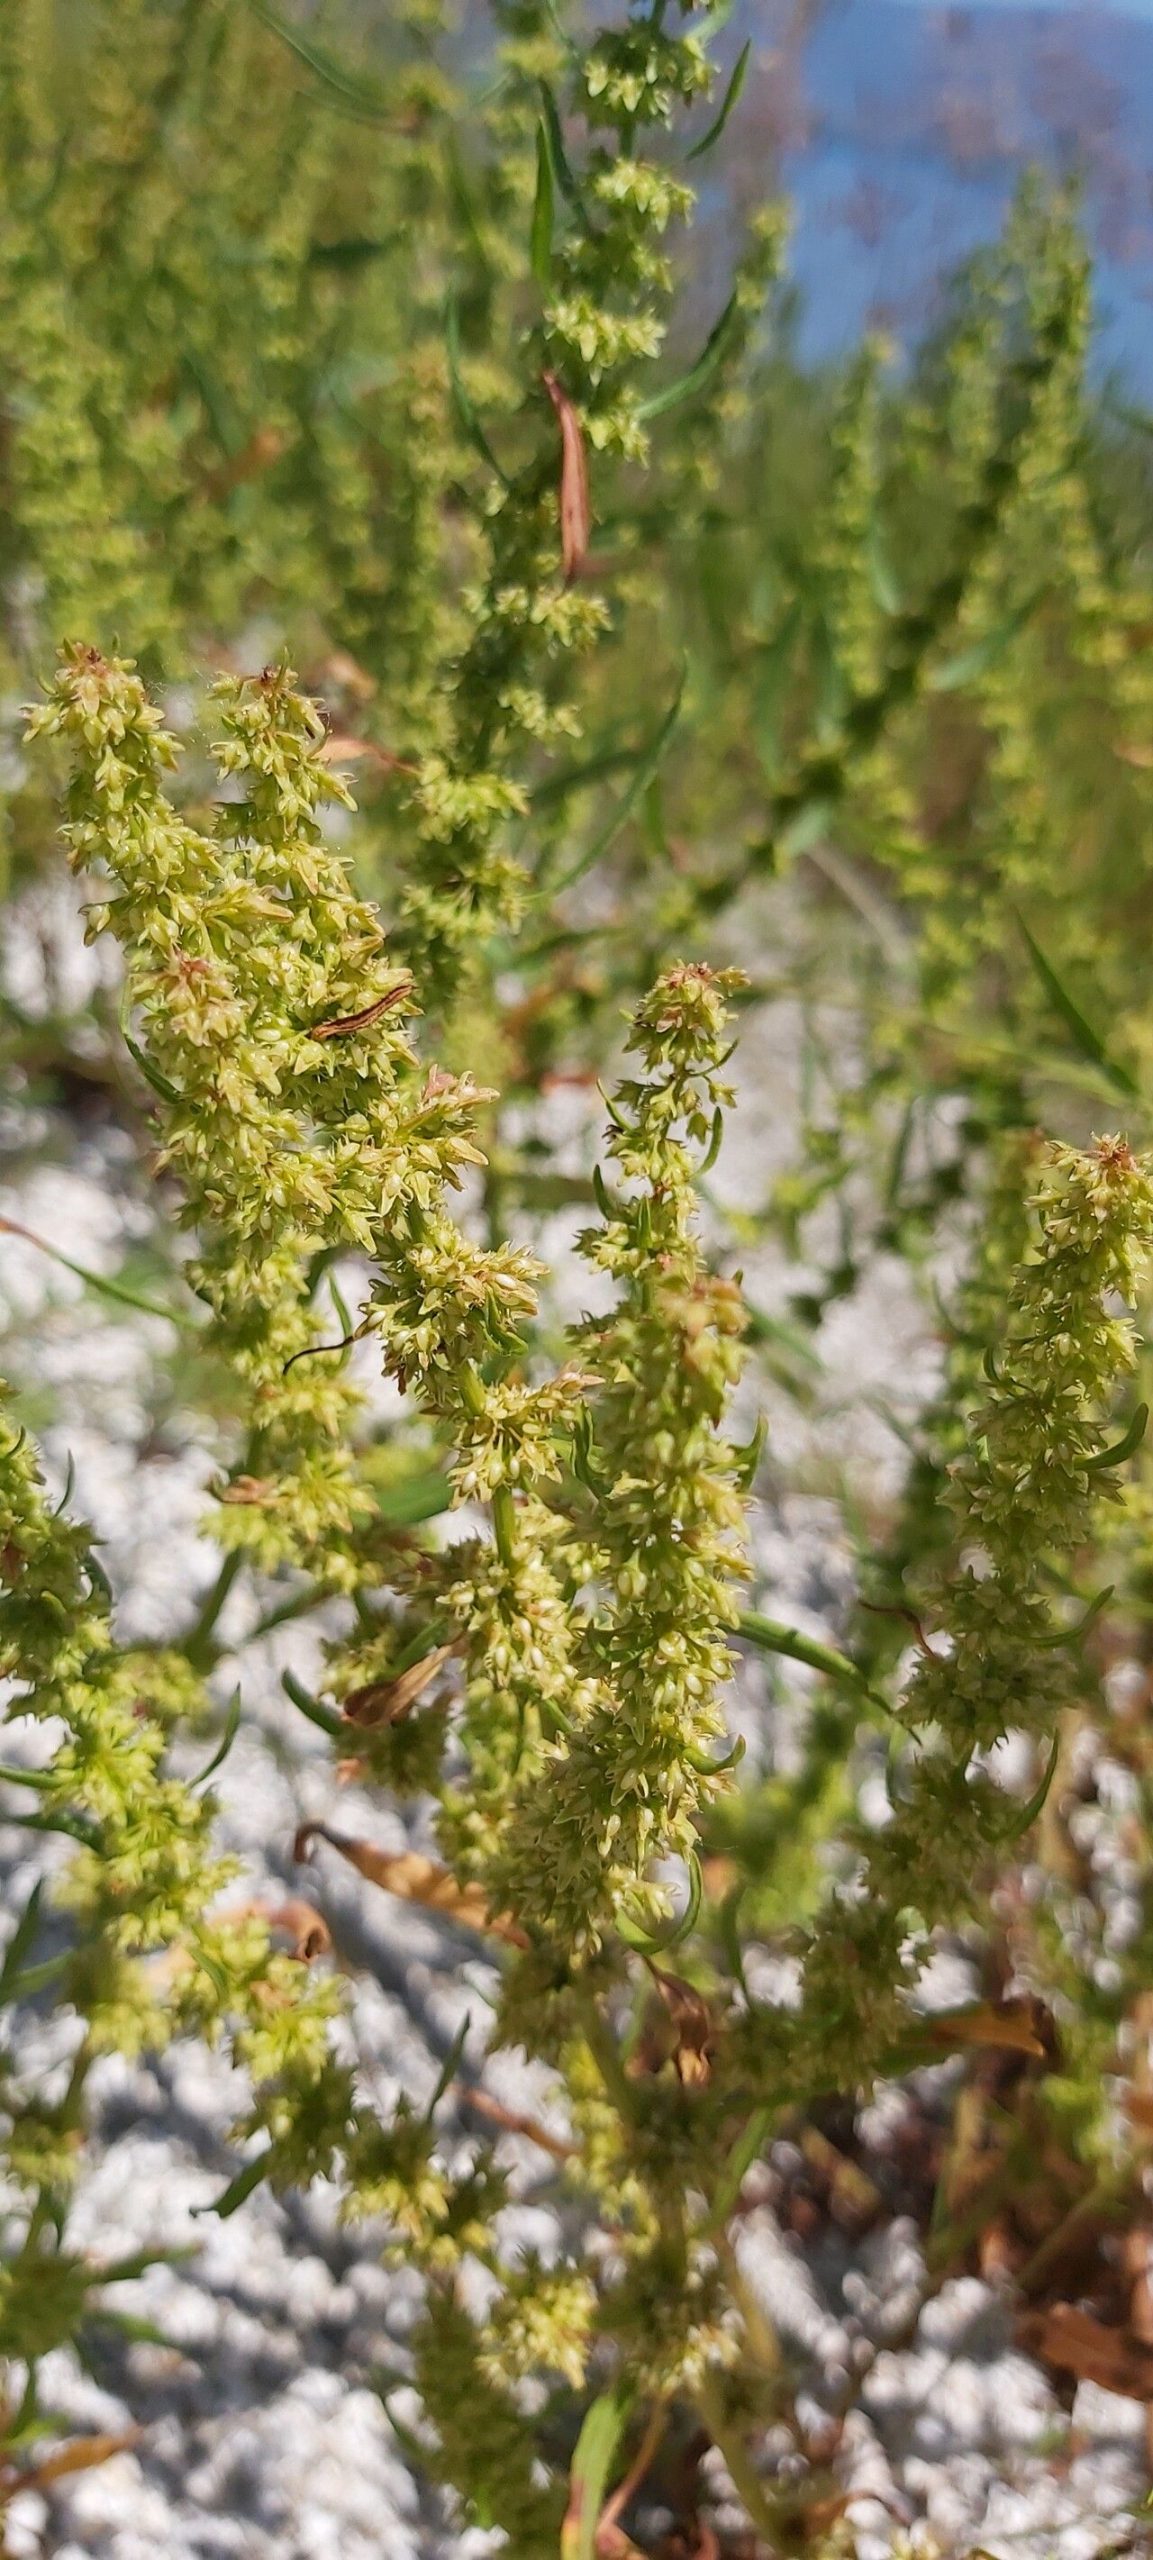
Hello, fellow garden enthusiasts! I’m so excited to talk to you today about a plant that has truly captured my heart: Rumex palustris, or Marsh Dock. If you’re looking for a plant that brings a touch of wild elegance to your garden ponds or damp corners, you’re in for a treat. Its striking, upright foliage commands attention, and watching it emerge year after year is incredibly satisfying.
Now, if you’re new to gardening, I have good news! Propagating Rumex palustris is generally quite forgiving, making it a wonderful plant for beginners to try their hand at. You’ll feel that immense sense of accomplishment when you see those tiny roots begin to form – it’s a feeling that never gets old, no matter how many years you’ve been digging in the dirt.
The Best Time to Start
For the highest success rate, I always recommend propagating Rumex palustris in the spring. This is when the plant is waking up from its dormancy and has a lot of natural energy to put into new growth. Look for actively growing shoots or establish divisions when the weather is warming up, but before the summer heat truly sets in.
Supplies You’ll Need
To help you along, here’s a handy list of what you’ll want to have on hand:
- Sharp pruning shears or a clean knife: For making precise cuts.
- Well-draining potting mix: A good quality, peat-free mix works well. You can also add some perlite for extra aeration.
- Small pots or trays: Clean containers for your new cuttings or divisions.
- Rooting hormone (optional but helpful): Especially for cuttings, this can give them a good boost to start rooting.
- Watering can or mister: For gentle hydration.
- Labels: To keep track of what you’ve planted and when.
Propagation Methods
There are a couple of my favorite ways to get more Marsh Dock for your garden. Let’s dive in!
Division (My Go-To Method!)
This is, hands down, the easiest and most rewarding way to propagate Rumex palustris.
- Dig gently: In early spring, carefully dig up your established clump of Marsh Dock. Try to disturb the roots as little as possible.
- Inspect the roots: You’ll notice that the plant naturally forms several distinct sections. Look for where these sections are naturally separating.
- Divide with care: Using your hands or a clean shovel, gently pull apart the clump into smaller sections. Each section should have at least one healthy shoot and a good portion of roots.
- Replant immediately: Get your new divisions into the ground or into pots filled with your potting mix right away. Water them in well.
Stem Cuttings (A Little More Patience)
While division is my favorite, you can also try stem cuttings.
- Take your cuttings: In late spring or early summer, select healthy, non-flowering stems. Make a clean cut just below a leaf node (where a leaf attaches to the stem). Aim for cuttings that are about 4-6 inches long.
- Prepare the cutting: Remove the lower leaves, leaving just a couple at the very top. This helps prevent rot. If you’re using rooting hormone, dip the cut end into it now.
- Plant the cuttings: Moisten your potting mix and then insert the cut end of the stem into the soil. Make sure at least one leaf node is buried in the soil.
- Create a humid environment: You can cover the pot with a clear plastic bag or place it in a propagator. This keeps the humidity high, which is crucial for rooting.
The “Secret Sauce” (Pro Tips)
Here are a couple of little tricks I’ve learned over the years that can make a big difference:
- Don’t crowd your divisions: When you’re replanting divisions, give them enough space. Overcrowding can lead to competition for resources and hinder their establishment. I always err on the side of giving them a bit more room than they initially seem to need.
- Bottom heat for cuttings: If you’re trying stem cuttings, placing the pot on a gentle heated propagator mat can significantly speed up the rooting process. It mimics the warmth of spring soil and encourages those roots to develop much faster.
Aftercare & Troubleshooting
Once your divisions are planted or your cuttings are in their pots, keep them in a bright spot but out of direct, harsh sunlight for the first few weeks. Water them regularly, keeping the soil consistently moist but not waterlogged.
You’ll know your cuttings are rooting when you see new growth appearing or feel a gentle tug when you carefully try to move them. Divisions should start to show new leaves relatively quickly.
The most common issue you might encounter is rot, especially with cuttings. This usually happens if the soil is too wet or there isn’t enough air circulation. If you see any mushy, brown stems, remove them immediately to prevent the problem from spreading. Don’t be discouraged if a few cuttings don’t make it; it’s all part of the learning process!
A Encouraging Closing
Propagating Rumex palustris is a truly rewarding endeavor. It allows you to easily expand your garden or share this beautiful plant with friends. Be patient with the process, observe your new plants, and enjoy the magic of creating new life from existing ones. Happy gardening!
Resource:
https://identify.plantnet.org/k-world-flora/species/Rumex%20palustris%20Sm./data