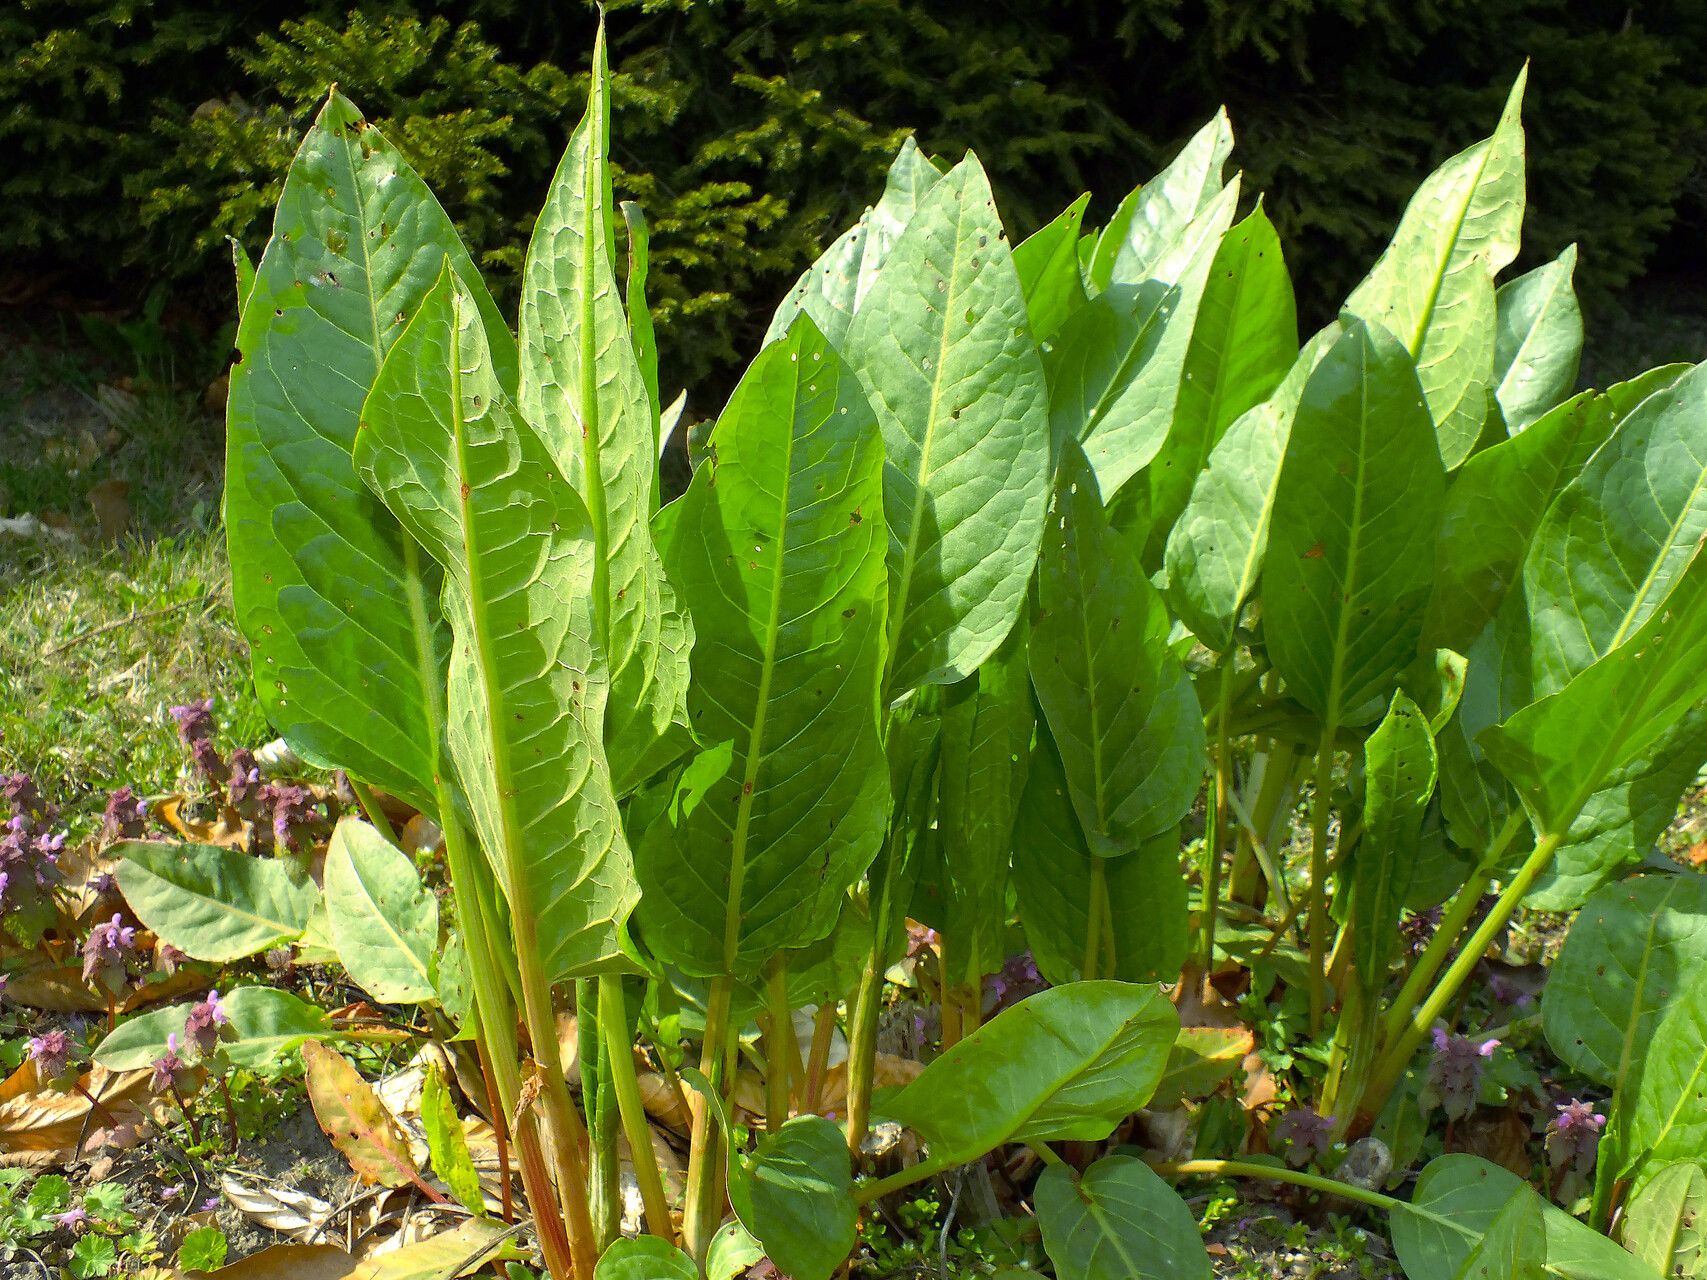
Hey there, fellow garden enthusiasts! I’m so thrilled to chat with you today about a plant that has a special place in my heart: Rumex confertus, or curly dock as it’s often called. If you’re drawn to plants with lush, robust foliage and a bit of wild charm, you’ll love this one. Propagating it yourself is incredibly rewarding, and honestly, it’s a fantastic plant for beginners. Don’t let its stately presence intimidate you; Rumex confertus is quite forgiving.
The Best Time to Start
For the absolute best success, I always recommend propagating Rumex confertus in early spring. This is when the plant is bursting with new growth, and its energy levels are high. Alternatively, you can also divide established plants in early autumn, after the intense summer heat has passed but before the hard frosts set in. Both times give those new propagations a good window to establish themselves before facing extreme weather.
Supplies You’ll Need
Gathering your supplies beforehand makes the whole process so much smoother. Here’s what I usually have on hand:
- Sharp Pruning Shears or a Clean Knife: For making clean cuts.
- Well-Draining Potting Mix: A general-purpose mix with some added perlite or coarse sand works wonders.
- Small Pots or Seed Trays: Whatever you have available, making sure they have drainage holes!
- Perlite or Coarse Sand: To improve drainage in your soil mix.
- Rooting Hormone (Optional but Recommended): Especially helpful for cuttings.
- Watering Can or Spray Bottle: For gentle watering.
- Labels: To keep track of your precious new plants!
Propagation Methods
Rumex confertus is wonderfully versatile, and two methods stand out for their ease and effectiveness: division and stem cuttings.
Division: The Most Reliable Route
This is my go-to, especially for established plants.
- Dig Up Your Plant: In early spring or fall, carefully dig up your Rumex confertus plant. You want to get as much of the root ball as possible.
- Clean the Roots: Gently shake off excess soil. You’ll see the thick, fleshy root system.
- Identify Growing Points: Look for distinct crowns or where the plant naturally appears to be splitting into multiple sections.
- Divide the Root Ball: Using your hands or a clean spade/knife, carefully separate the plant into sections. Each section should have at least one healthy bud or growing point and a good amount of root. Don’t be afraid to be firm but gentle!
- Replant Immediately: Pot up each division into a pot with your well-draining mix. Water thoroughly.
Stem Cuttings: A Bit More Patience, Big Rewards
This method works best in spring when the plant is actively growing.
- Select Healthy Stems: Choose non-flowering, vigorous stems from a healthy plant. Look for stems that are about 4-6 inches long.
- Make Your Cut: Use your sharp shears or knife to make a clean cut just below a leaf node. This is where roots are most likely to form.
- Prepare the Cutting: Remove the lower leaves, leaving just a couple at the top. This prevents them from rotting in the soil.
- Apply Rooting Hormone (Optional): Dip the bottom inch of the cutting into rooting hormone, tapping off any excess.
- Plant Your Cuttings: Insert the cut end into your prepared potting mix, about an inch deep. You can plant several cuttings in one pot, giving them a little space.
- Water Gently: Lightly water the soil. You want it moist but not soggy.
The “Secret Sauce” (Pro Tips)
Here are a few things I’ve learned over the years that really give your propagation efforts an edge:
- Don’t Drown Your Cuttings: When you water your cuttings, make sure the soil is evenly moist, not waterlogged. Soggy soil is the quickest way to invite rot. A misting from a spray bottle can be your best friend for cuttings.
- Warmth Really Helps: For stem cuttings, providing a little bottom heat can significantly speed up root development. A heat mat placed under the propagation tray is brilliant for this.
- Location, Location, Location: Place your new propagations in a bright spot, but out of direct, harsh sunlight. Too much sun can scorch delicate new growth, while too little light won’t encourage them to develop.
Aftercare & Troubleshooting
Once your Rumex confertus has rooted – you’ll see new growth appearing and feel a gentle tug when you carefully try to lift it – it’s time for a little TLC.
Continue to water regularly, allowing the soil to dry out slightly between waterings. As the new plants grow stronger, you can gradually introduce them to slightly more sun.
The most common issue you might encounter is rot. If you see stems turning mushy or dark, it’s usually a sign of overwatering or poor drainage. If this happens, try to salvage any healthy parts, improve drainage, and adjust your watering. It’s also possible that a cutting simply doesn’t have enough energy to root; don’t be discouraged, just try again!
A Little Patience, A Lot of Joy
Propagating Rumex confertus is such a rewarding way to fill your garden with beauty. It’s a process that connects you more deeply to your plants, and there’s a special kind of pride in watching something you’ve nurtured from a small piece grow into something magnificent. So, grab your tools, get your hands dirty, and enjoy the magic of making more of this wonderful plant. Happy gardening!
Resource:
https://identify.plantnet.org/k-world-flora/species/Rumex%20confertus%20Willd./data