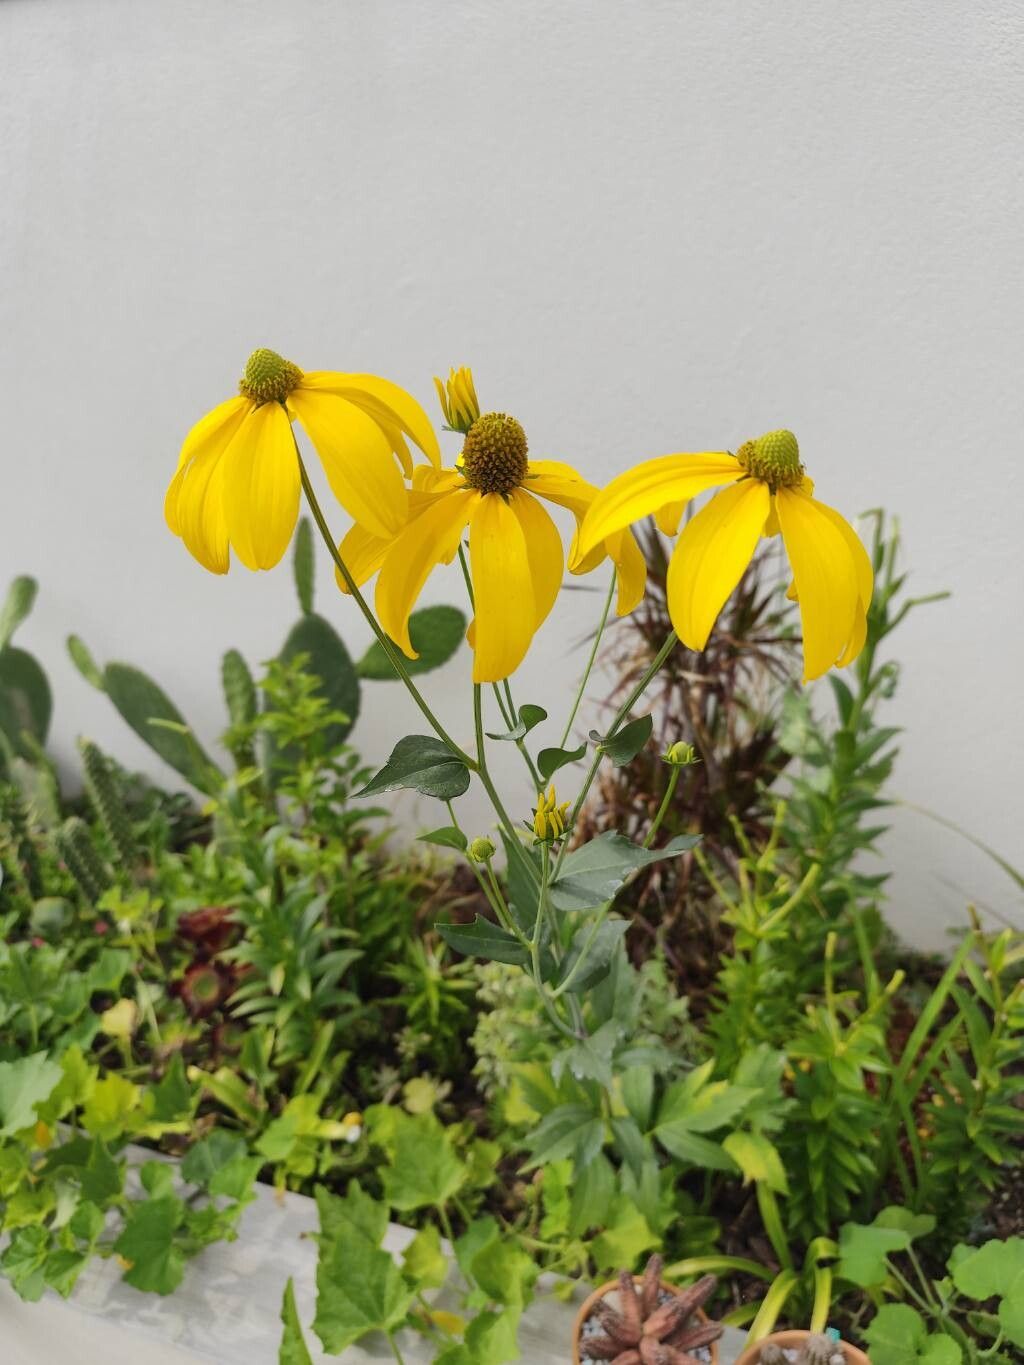
Hey, fellow garden enthusiasts! Today, we’re diving into the wonderful world of Rudbeckia amplexicaulis, also known as the Clasping Coneflower. If you’re like me, you probably adore these cheerful, daisy-like blooms that bring so much sunshine to the summer garden. Their bright yellow petals with those striking dark centers are just a joy to behold. And guess what? Propagating them is a fantastic way to fill your garden with even more of this beauty, or to share with friends.
For beginners, I’d say Rudbeckia amplexicaulis is a delightfully easy plant to propagate. You don’t need to be a seasoned pro to have success with this one, and that’s what makes it so rewarding!
The Best Time to Start
The sweet spot for propagating Rudbeckia amplexicaulis is definitely during its active growing season. I usually aim for late spring to early summer. This is when the plant is full of vigor and has plenty of energy to put into developing new roots. You can also have success with divisions in early spring as soon as the soil can be worked, or in early fall before the really cold weather sets in.
Supplies You’ll Need
Gathering your supplies beforehand makes the whole process much smoother. Here’s what you’ll want to have on hand:
- Sharp, clean pruning shears or scissors. A clean cut is key!
- A well-draining potting mix. I like to use a blend of equal parts peat moss, perlite, and a good quality potting soil.
- Small pots or a seed tray with drainage holes.
- A spray bottle for gentle watering.
- Rooting hormone (optional, but can give an extra boost).
- A dibber or a pencil for making holes in the soil.
- Labels to mark your new plants.
Propagation Methods
Rudbeckia amplexicaulis is quite forgiving, and you have a couple of great options for multiplying your plants.
Stem Cuttings
This is my go-to method for getting lots of new plants quickly.
- Select a healthy stem: Look for a side shoot that’s about 4-6 inches long. It should be firm, but not woody yet.
- Make the cut: Using your clean shears, make a cut just below a leaf node (where a leaf attaches to the stem).
- Prepare the cutting: Gently remove the lower leaves, leaving just the top few. This prevents them from rotting in the soil.
- Apply rooting hormone (optional): If you’re using rooting hormone, dip the cut end into it.
- Plant the cutting: Make a hole in your prepared potting mix with a dibber or pencil. Insert the cutting into the hole, ensuring the leaf nodes are buried. Gently firm the soil around the stem.
- Water gently: Use your spray bottle to lightly moisten the soil. You don’t want to drown your little ones!
- Provide humidity: Place a plastic bag or a clear plastic dome over the pot to create a humid environment. Make sure the leaves don’t touch the plastic.
- Place in bright, indirect light: Find a spot that gets plenty of light but no direct, harsh sun.
Division
This is a fantastic way to rejuvenate older plants and get new ones at the same time.
- Dig up the plant: In early spring or fall, carefully dig around the base of the established Rudbeckia. Gently lift the entire plant from the soil.
- Clean the roots: Gently shake off excess soil from the roots. You want to be able to see the individual crowns.
- Divide the plant: Using your hands or a clean trowel, gently pull or cut the root ball apart. Aim for sections that have at least one or two healthy shoots and a good amount of roots.
- Replant immediately: Dig a hole in your garden or a pot of the same depth as the original plant. Place the divided section in the hole and backfill with soil, pressing gently.
- Water thoroughly: Give your newly planted divisions a good watering to help settle the soil.
The “Secret Sauce” (Pro Tips)
Here are a couple of things I’ve learned over the years that really make a difference:
- Don’t let the leaves touch the water: When you’re watering cuttings in pots, it’s super important that the lower leaves aren’t sitting in moist soil or water. This is a fast track to rot, and we definitely want to avoid that! I often trim off the very bottom leaves, which helps prevent this.
- Bottom heat is your friend: For stem cuttings, a little gentle warmth from below can dramatically speed up root development. A heated propagation mat placed under your tray is a game-changer. It encourages those roots to emerge much faster.
Aftercare & Troubleshooting
Once your cuttings have started to root (you’ll see new growth appearing, or they’ll resist a gentle tug), it’s time to transition them.
- Acclimate slowly: Gradually remove the plastic cover over a few days to let the new plants adjust to lower humidity.
- Water consistently: Keep the soil consistently moist, but not soggy. Let the top inch of soil dry out slightly between waterings.
- Transplant when ready: Once the roots have filled the pot or you see substantial new growth, they’re ready to be transplanted into larger pots or their permanent garden spot.
The most common issue you’ll run into is likely rot. If you see your cuttings turning mushy and black, that’s usually a sign of overwatering or not enough air circulation. Don’t be discouraged; just try again with slightly drier soil and good drainage.
A Little Patience Goes a Long Way
Propagating plants is such a rewarding part of gardening. It’s a chance to connect with nature, understand plant growth, and multiply the beauty in our lives. Be patient with your new Rudbeckia babies, give them good care, and soon you’ll have more of those sunny blooms to enjoy. Happy propagating!
Resource:
https://identify.plantnet.org/k-world-flora/species/Rudbeckia%20amplexicaulis%20Vahl/data