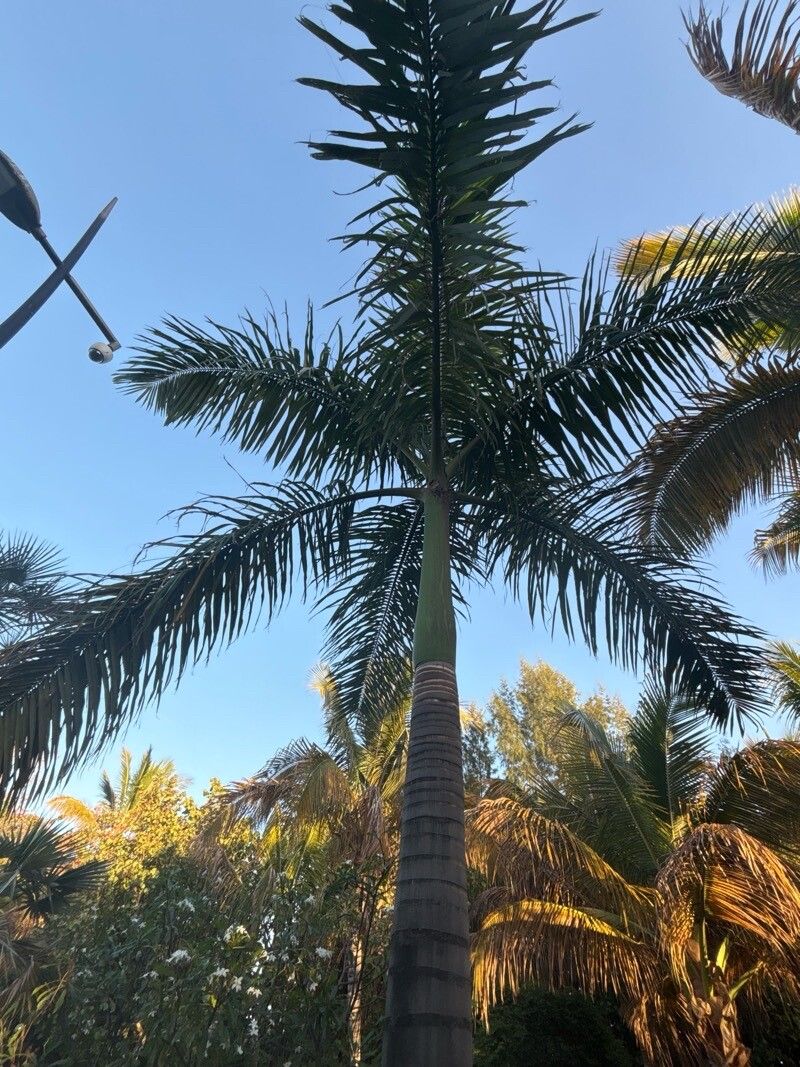
Oh, hello there! Grab a mug of something warm, and let’s chat about one of my absolute favorite palms: Roystonea princeps, the Caribbean Royal Palm. Aren’t they just magnificent? With their tall, slender trunks and lush, feathery fronds, they bring instant tropical drama to any garden. I’ve spent years admiring them, and propagating them is such a joy, a real connection to the life cycle of these stately beauties.
Now, I won’t sugarcoat it – Roystonea princeps can be a bit of a diva when it comes to propagation, especially for absolute beginners. They’re not as forgiving as, say, a pothos. But with a little patience and the right approach, you can absolutely bring these gorgeous palms to life from scratch. It’s incredibly rewarding to watch a tiny seedling unfurl its first delicate fronds.
The Best Time to Start
For Roystonea princeps, the magic happens when the warmth really settles in. I’ve found the late spring to early summer is your golden window. This is when the palm is actively growing, energized by longer days and consistent warmth. Starting seeds then gives them the best chance to germinate and establish themselves before the cooler weather arrives.
Supplies You’ll Need
Before we dive in, let’s gather our tools. Think of it like preparing for a lovely crafting session.
- A shallow tray or pots with drainage holes.
- A well-draining, sterile seed-starting mix. I like to use a blend of peat moss, perlite, and a little bit of compost.
- Fresh Roystonea princeps seeds. Sourcing good quality, viable seeds is crucial!
- Watering can with a fine rose or a spray bottle.
- A ruler or measuring tape (for later, but handy to have).
- Optional: A heat mat.
- Optional: A clear plastic dome or cling film to create a mini-greenhouse effect.
Propagation Methods: Seeds are Key!
Unlike many plants, Roystonea princeps doesn’t readily propagate from stem cuttings or division. Your best bet, and frankly the only truly reliable method for enthusiasts at home, is growing from seed.
- Prepare the Seeds: If your seeds have any dried pulp clinging to them, gently wash it off. You don’t want any decaying material around your precious seeds.
- Soaking (Optional but Recommended): Some gardeners swear by soaking the seeds for 24-48 hours in warm water. This can help to soften the seed coat and encourage germination. Just make sure to change the water if it becomes cloudy.
- Planting: Fill your tray or pots with the sterile seed-starting mix. Make the mix evenly moist – it should feel like a wrung-out sponge.
- Sowing: Place the seeds on the surface of the soil, spacing them about 2-3 inches apart. Gently press them down so they are about half an inch deep. You can cover them with a thin layer of your mix.
- Watering Gently: Use your watering can with a fine rose or a spray bottle to lightly water the surface. You want to settle the soil around the seeds without dislodging them.
- Create a Humid Environment: Cover your tray or pots with a clear plastic dome or some cling film. This traps moisture and warmth, essential for germination. If you’re using individual pots, you can place them inside a clear plastic bag.
- Provide Warmth: Place the tray in a warm spot. A brightly lit area is good, but direct, scorching sun isn’t ideal at this stage. This is where a heat mat can be a game-changer, providing consistent bottom warmth. Aim for temperatures around 75-85°F (24-29°C).
The “Secret Sauce” (Pro Tips)
After years of coaxing plants into existence, you pick up a few tricks!
- Patience is a Virtue (and a Guarantee!): Roystonea princeps seeds are notorious for taking their sweet time. Don’t give up too soon! Germination can range from a few weeks to several months. Seriously, some can be slowpokes. Just keep them consistently moist and warm.
- Watch for the “Foot”: When you see a tiny root emerge, it often looks like a little white “foot” pushing down into the soil before the shoot starts to appear. This is a great sign of life!
- Ventilation is Key: While you want to maintain humidity, it’s wise to remove the plastic cover for an hour or so each day once you see signs of germination. This allows for air circulation and helps prevent fungal issues.
Aftercare & Troubleshooting
Once that first little frond unfurls, it’s time to celebrate!
- Gradual Acclimation: As your seedlings grow and develop a few leaves, begin to gradually remove the plastic cover for longer periods. You want them to get used to the ambient air.
- Light: Move them to a spot with bright, indirect light. They can handle a bit more sun than when they were germinating, but avoid harsh, direct midday sun which can scorch their tender leaves.
- Watering: Water when the top inch of soil feels dry. Don’t let them dry out completely, but avoid waterlogging. Good drainage is crucial here.
- Fertilizing: Once your seedlings have a few sets of leaves, you can start with a very diluted liquid palm fertilizer every 4-6 weeks. Think half-strength or even quarter-strength initially.
The biggest issue you’ll likely encounter is rot, often caused by overwatering and poor drainage. If you see a seedling looking limp, blackening at the base, or having waterlogged roots, it’s usually a sign of too much moisture. It’s tough, but sometimes you have to pull it and start fresh. Fungal growth on the soil surface can also be a red flag for too much dampness and not enough airflow.
A Little Encouragement
Growing palms from seed is a journey, dear gardener. It requires a dash of faith and a healthy dose of patience. But oh, the satisfaction when you see those first delicate fronds greet the world! Don’t get discouraged if it takes time. Enjoy the process, observe your little ones closely, and you’ll be rewarded with your very own regal Roystonea princeps. Happy planting!
Resource:
https://identify.plantnet.org/k-world-flora/species/Roystonea%20princeps%20(Becc.)%20Burret/data