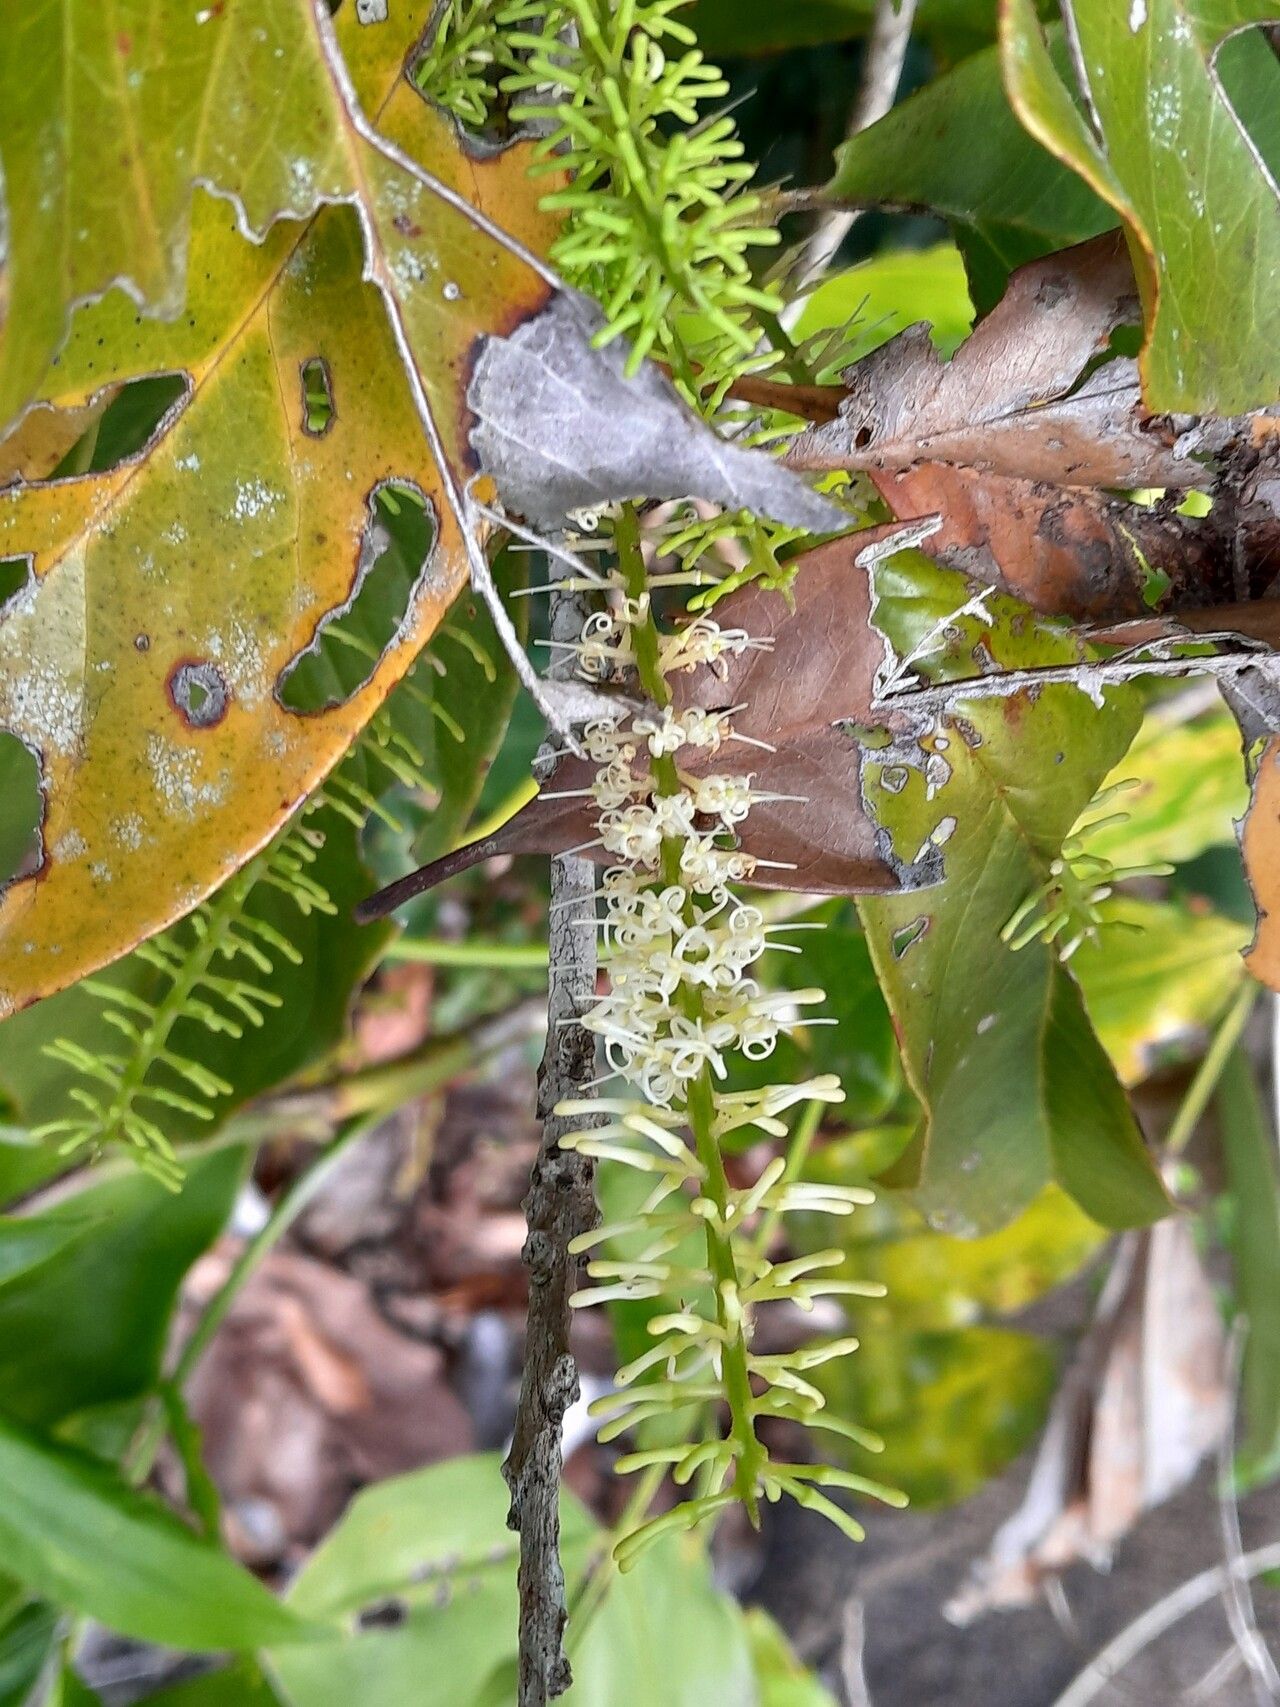
Oh, Roupala nitida! If you’ve ever seen this beauty gracing a garden, you know why it captures our hearts. It’s got that wonderful, subtle elegance, with foliage that can shift from deep green to bronzy hues, especially when it’s happy. Growing new Roupala from scratch is such a gratifying experience, like nurturing a little bit of that magic yourself. For beginners, I’d say it’s not the absolute easiest plant to start with, but with a little patience and these tips, you’ll be well on your way!
The Best Time to Start
When I’m looking to propagate Roupala nitida, I always aim for late spring or early summer. This is when the plant is actively growing and has plenty of energy. You’re looking for new, semi-hardwood growth – stems that are still a bit flexible but have started to firm up. Avoid brand-new, floppy growth or old, woody stems. That sweet spot in between is your best bet for success.
Supplies You’ll Need
Here’s what you’ll want to have on hand before you get started:
- Sharp, clean pruning shears or a sharp knife: For making clean cuts.
- Rooting hormone (optional, but recommended): I prefer a powder form.
- Well-draining potting mix: A blend of equal parts perlite, peat moss, and coir works beautifully. You can also find specific succulent or seed-starting mixes that do the job.
- Small pots or propagation trays: Make sure they have drainage holes.
- Plastic bags or a propagation dome: To create a humid environment.
- Labels: So you don’t forget what you’ve planted where!
Propagation Methods: Taking Stem Cuttings
This is my go-to method for Roupala. It’s reliable and gives you a good chance of success.
- Take Your Cuttings: Select healthy stems from your Roupala plant. Cut stems that are about 4-6 inches long. Make your cut just below a leaf node (where a leaf attaches to the stem).
- Prepare the Cuttings: Gently remove the lower leaves from the stem. For a cutting this size, you probably want to leave just two to four leaves at the top. This reduces water loss.
- Apply Rooting Hormone (Optional): If you’re using rooting hormone, dip the cut end into the powder, tapping off any excess.
- Plant the Cuttings: Fill your small pots with your prepared potting mix. Make a pilot hole with a pencil or your finger, then insert the cutting into the hole. Firm the soil gently around the base of the cutting. Give it a light watering.
- Create Humidity: Cover the pot with a clear plastic bag or place it under a propagation dome. This will trap moisture and create that humid environment cuttings need. You can use stakes to keep the bag from touching the leaves.
The “Secret Sauce” (Pro Tips)
I’ve learned a few things over the years that really give propagation a boost.
- Bottom Heat is Your Friend: If you have a heat mat designed for seedlings, placing your Roupala cuttings on that can make a huge difference. Warm soil encourages faster root development. Just make sure the mat isn’t too hot – gently warm is all you need.
- Don’t Overwater: This is a common mistake! You want the soil to be consistently moist, but not waterlogged. Soggy soil is a fast track to rot, and that’s the end of your propagation dreams. I usually water thoroughly once when planting, then only add water if the top inch of soil starts to feel dry.
- The “Sacrifice” Leaf: Sometimes, if a cutting has a lot of leaves, I’ll pinch off the very tip of the stem. This encourages the plant to put its energy into rooting rather than growing more foliage prematurely. It sounds counterintuitive, but it often helps!
Aftercare & Troubleshooting
Once your Roupala cuttings have been in their humid environment for a few weeks, you’ll start to see signs of life!
- Checking for Roots: Gently tug on a cutting. If there’s resistance, you’re likely to have roots! You can also peek at the drainage holes – sometimes you’ll see roots emerging.
- Acclimatization: When you see good root development, it’s time to slowly wean your new plants off their humidity dome or plastic bag. Start by removing it for a few hours each day, gradually increasing the time until they’re established in open air. This prevents transplant shock.
- Common Issues: The most common problem is rot. If your cutting turns black and mushy, it’s likely rotted. This is usually due to overwatering or poor drainage. If you catch it early, you might be able to salvage a healthy section if there is one. Another sign of trouble is that the leaves shrivel and fall off – this can also be due to overwatering or, conversely, being too dry and not having enough humidity.
A Little Encouragement
Propagating plants is a journey, and Roupala nitida is a lovely one to embark on. Don’t get discouraged if your first attempt isn’t perfect. Every plant is a learning opportunity. Keep trying, observe your cuttings, and enjoy the magical process of watching new life emerge from a little piece of your favorite plant. Happy gardening!
Resource:
https://identify.plantnet.org/k-world-flora/species/Roupala%20nitida%20Rudge/data