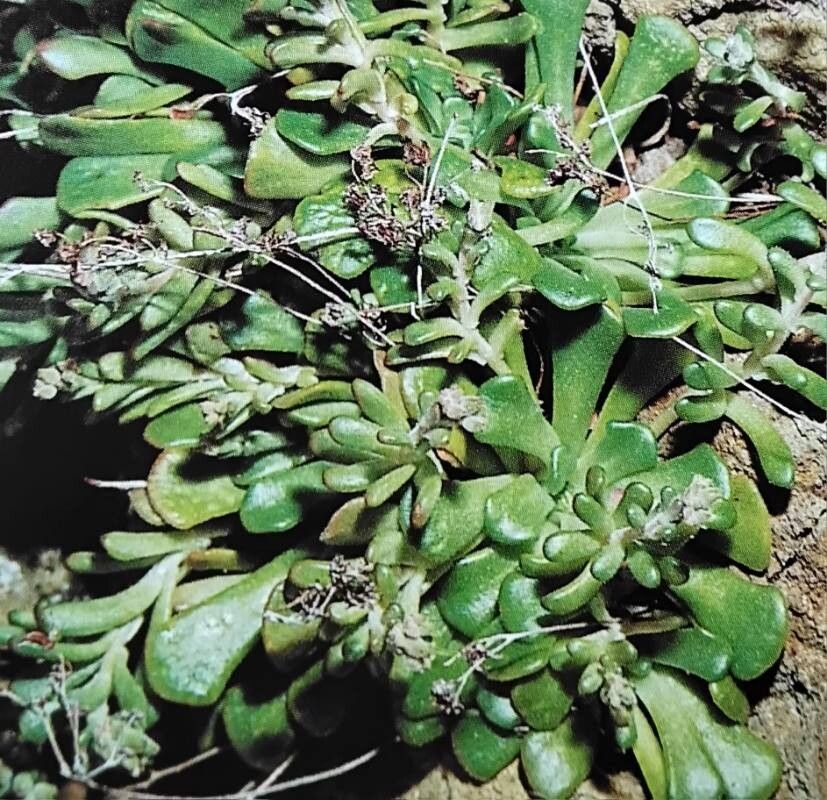
Hey there, fellow plant lovers! It’s your garden-gal here, ready to chat about one of my absolute faves: Rosularia sempervivum. If you’ve ever seen these little beauties, you know what I mean. They’re like miniature rosary beads, all tight rosettes in a whole spectrum of greens and sometimes even purplish hues. They just have this quiet charm, don’t they?
Propagating them is incredibly satisfying. It’s like creating little families from your existing plants, and honestly, it’s how you end up with more of these gems to tuck into every nook and cranny or share with friends. Good news for beginners: these guys are generally quite forgiving! A little patience goes a long way.
The Best Time to Start
When it comes to Rosularia sempervivum, spring and early summer are your absolute golden ticket. This is when the plant is really hitting its stride, pushing out new growth and energy. You’ll see those adorable little offsets, or “babies,” plumping up and ready to go. Trying to propagate in the dead of winter is just asking for disappointment; the plant is too dormant.
Supplies You’ll Need
Don’t overthink this! You don’t need a fancy lab. Here’s what I usually have on hand:
- Sharp, clean pruning shears or scissors: Essential for clean cuts.
- Well-draining potting mix: I love a gritty mix of perlite, coarse sand, and a little bit of general-purpose potting soil. Cactus or succulent specific mixes work wonderfully too.
- Small pots or trays: Whatever you have that will allow for good drainage. Old yogurt cups with holes poked in the bottom are perfectly fine!
- Rooting hormone (optional, but helpful): This can give your cuttings a little boost.
- A spray bottle: For gentle watering.
- Labels (optional): If you’re propagating multiple things, it’s good to keep track!
Propagation Methods
Rosularia sempervivum is a master of making its own little clones, and the easiest way to get them going is by taking those offsets.
Propagating Offsets (The Easiest Way!)
This is where the magic truly happens with these plants. You’ll notice that your mature Rosularia will start sending out little baby rosettes on short stems, usually radiating outwards from the base or sometimes along longer stolons.
- Inspect your parent plant: Look for offsets that are at least the size of a dime or a bit larger. These have a better chance of success.
- Gently separate: Using your clean scissors or pruners, carefully snip the stem connecting the offset to the mother plant. Try to get as close to the parent plant as possible without damaging it.
- Let them callous: This is a crucial step! Place your separated offsets on a dry paper towel in a bright spot, out of direct sunlight, for 2-3 days. You want the cut end to dry out and form a protective scab. This prevents rot when you plant them.
- Pot them up: Fill your small pots with your well-draining soil mix. Make a little well in the center.
- Plant the offsets: Gently press the calloused end of the offset into the soil. You don’t need to push it too deep, just enough for it to have contact. I usually plant them so the bottom leaves are just above the soil line.
- Water sparingly: Give them a very light misting with your spray bottle. The soil should be barely damp, not wet. We’re not actively encouraging roots yet, just keeping things from drying out completely.
The “Secret Sauce”
Okay, here are a few things I’ve learned over the years that seem to make all the difference:
- Think “desert oasis,” not “swamp.” These guys are succulents at heart. They hate wet feet. When you water your new cuttings, err on the side of underwatering. It’s so much easier to revive a slightly dry plant than a rotted one.
- Give them a gentle breeze. A little bit of airflow around your cuttings can do wonders to prevent fungal issues and encourage healing. If you’re propagating indoors, a gently wafting fan on a low setting can be beneficial, especially if you live in a humid climate.
- Don’t be tempted to water immediately after planting. Remember that callousing period? That’s your plant’s defense. Overwatering right after planting the offsets can undo all that hard work and lead to rot before roots even have a chance to form.
Aftercare & Troubleshooting
Once your offsets are potted, place them in a bright location with indirect sunlight. Think a windowsill that gets morning sun but is shielded from intense afternoon heat.
Watering: Wait a week or so after planting before the first real watering. Then, water only when the soil is completely dry. Use your finger to check – if you feel any moisture at all, hold off. It’s better to underwater than overwater at this stage.
Rooting: You’ll know they’re rooting when you see new growth, or if you gently tug on the offset and feel a slight resistance. This can take anywhere from a few weeks to a couple of months. Be patient!
Troubleshooting: The most common problem you’ll encounter is rot. If you notice an offset turning mushy, translucent, or black at the base, it’s likely rot. Unfortunately, there’s usually no coming back from that. The best prevention is proper watering and good airflow. If a few rot, don’t despair! Pull them out, check the soil moisture of the others, and adjust your care. Sometimes, a little rot just means you need to be a bit more vigilant with your watering.
A Gentle Closing
Propagating Rosularia sempervivum is such a rewarding journey, and it’s all about observing your plants and giving them what they need. Don’t be discouraged if your first few attempts aren’t perfect. Every gardener has had a few casualties along the way! Just keep experimenting, keep observing, and most importantly, enjoy the slow, beautiful process of growth. Happy propagating!
Resource: