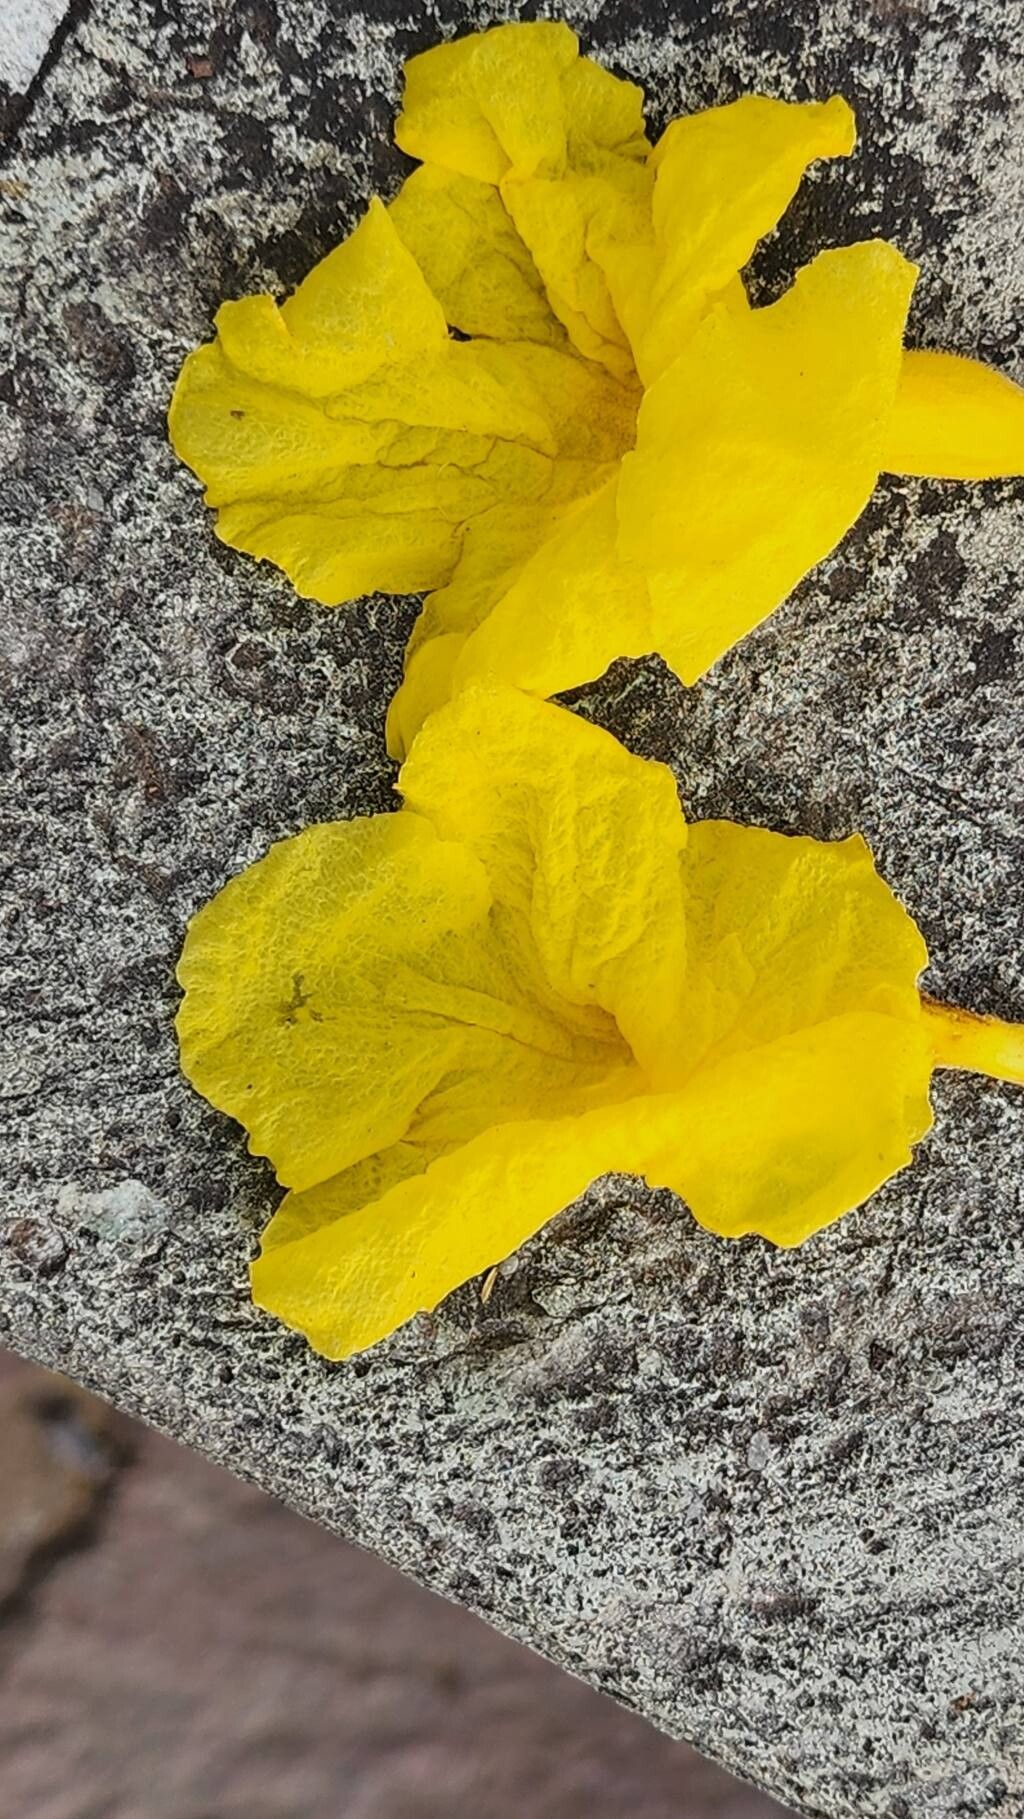
Hello there, fellow garden enthusiasts! Today, we’re diving into the delightful world of Roseodendron chryseum. You know, that stunning plant with its vibrant, almost unreal, golden flowers that just seem to sing with joy in the garden. It’s a real showstopper, and the satisfaction of seeing a tiny cutting transform into a thriving new plant is simply unparalleled. If you’re new to propagating, you’ll find Roseodendron chryseum to be a bit of a rewarding challenge. It’s not the absolute easiest plant to get a head start on, but with a little patience and the right approach, you’ll be rewarded with a beautiful new specimen.
The Best Time to Start
For Roseodendron chryseum, spring or early summer is truly your golden window. This is when the plant is actively growing, or just coming into its vigorous summer phase. You’ll have better luck taking cuttings from new, semi-hardwood growth – that’s the stuff that’s firm but still a little bendy. Avoid anything too soft and leafy or old and woody. Think of it as capturing the plant at its most energetic and ready to impress!
Supplies You’ll Need
- Sharp, clean pruning shears or a craft knife: Essential for making clean cuts.
- Rooting hormone powder or gel: This is a lifesaver, especially for slightly trickier plants.
- Small pots or seed trays: Clean ones are key to preventing disease.
- Well-draining potting mix: I like a blend of peat moss, perlite, and a little coarse sand. You can also buy specialized seed starting mixes.
- Plastic bags or a propagator: To create a humid environment for your cuttings.
- Watering can or spray bottle: For gentle watering.
- Labels and a marker: To keep track of what you’ve planted!
Propagation Methods
Let’s get our hands dirty! I usually have the most success with stem cuttings for Roseodendron chryseum.
- Take Your Cuttings: Select a healthy stem that is roughly the thickness of a pencil and about 6-8 inches long. Make a clean cut just below a leaf node (where a leaf attaches to the stem). Remove the lower leaves, leaving just a couple at the very top. You can even trim the larger leaves in half to reduce water loss.
- Apply Rooting Hormone: Dip the cut end of the stem into your rooting hormone, tapping off any excess. This gives your cutting a little boost to get things started.
- Plant Your Cuttings: Fill your clean pots or trays with your moistened potting mix. Make a hole in the center with your finger or a pencil, and gently insert the cutting. Firm the soil around it.
- Create a Humid Environment: Water the soil gently. Then, cover the pots with a plastic bag or place them in a propagator. This creates the humid microclimate that cuttings absolutely adore. You can prop up the bag with stakes so it doesn’t touch the leaves.
The “Secret Sauce” (Pro Tips)
Here are a few little tricks I’ve picked up over the years:
- Bottom Heat is Your Friend: If you can, place your pots on a gentle heat mat. Roseodendron chryseum really appreciates that warmth at the base, which encourages root development. It signals to the plant, “Hey, it’s time to grow down!”
- Don’t Overwater, But Don’t Let It Dry Out: This is a fine balance! The soil should be consistently moist, but never waterlogged. Check it regularly. If the top layer feels dry, give it a gentle drink. Too much water can lead to rot, which is our enemy here.
- Patience, Dear Gardener: Some plants are quick to root, others need a little coaxing. For Roseodendron chryseum, don’t give up too soon. It can take several weeks, sometimes even a couple of months, before you see signs of new growth or feel resistance when you gently tug on the cutting.
Aftercare & Troubleshooting
Once you start to see new leaf growth or feel a definite tug when you gently pull on the cutting, congratulations! You’ve got roots! At this point, you can start to gradually expose your new plants to open air. Remove the plastic covering for a few hours each day, slowly increasing the time over a week or so. Water when the top inch of soil feels dry.
The main thing to watch out for is rot. If your cutting turns mushy, black, or smells bad, it’s likely gone too far. This usually happens from overwatering or poor air circulation. If you see a little bit of mold on the soil surface, you can try carefully scraping it off and ensuring there’s better airflow.
A Encouraging Closing
Growing a new plant from a cutting is a truly magical process. It’s a testament to nature’s resilience and your nurturing touch. Don’t be discouraged if your first attempt isn’t perfect. Every gardener has lost a cutting or two! Just keep observing, keep experimenting, and most importantly, enjoy the journey. Those future golden blooms will be all the more precious because you helped them along their way. Happy propagating!
Resource: