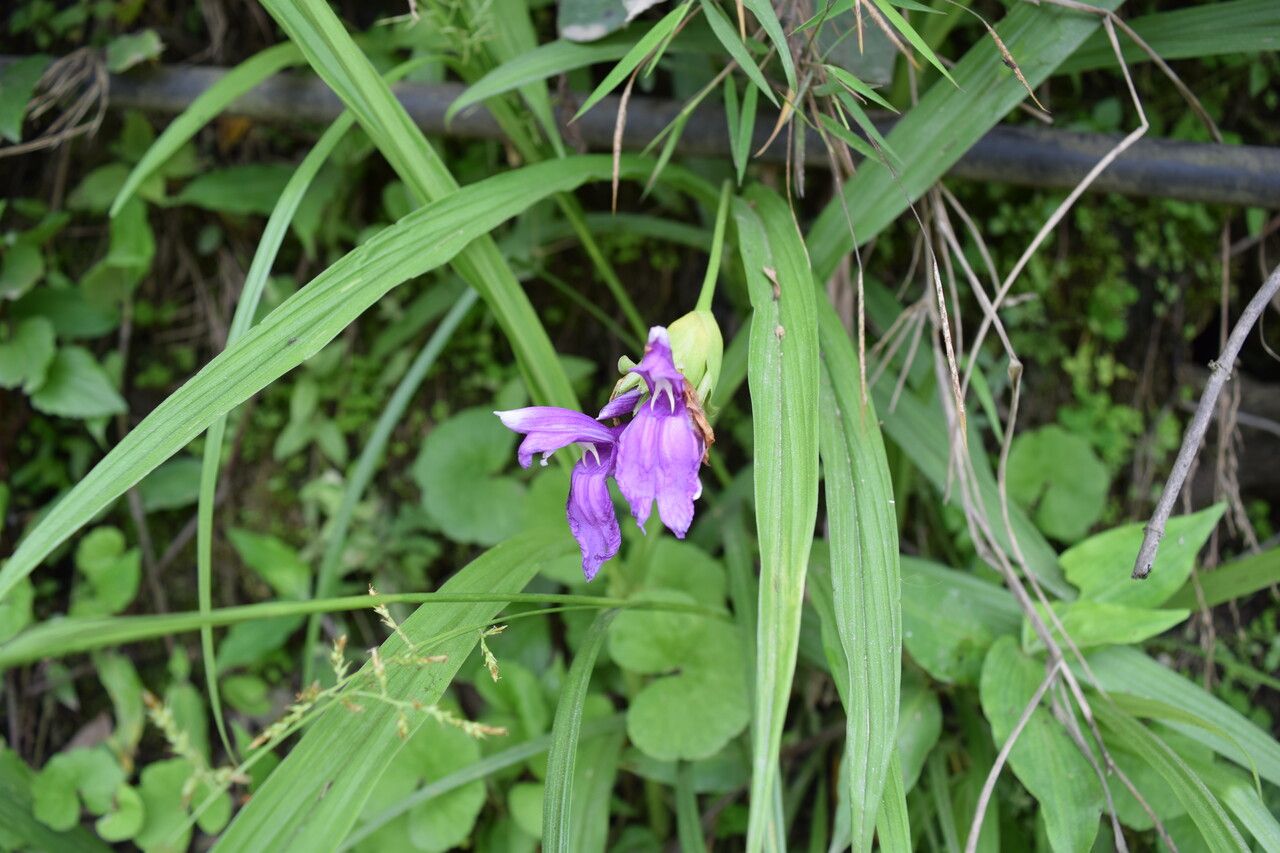
Oh, hello there! I’m so glad you’ve stopped by. Today, we’re diving into the delightful world of Roscoea capitata. If you’re like me, you’re drawn to its elegant, orchid-like blooms and its almost tropical air, which brings such a unique charm to the garden. And the best part? You too can enjoy more of this beauty by propagating it yourself!
I’ll be honest, Roscoea capitata isn’t necessarily the first plant that springs to mind for a complete beginner, but don’t let that discourage you. With a little patience and the right approach, it’s absolutely achievable. Think of it as a rewarding challenge that, once overcome, gives you a wonderful sense of accomplishment.
The Best Time to Start
For Roscoea capitata, the sweet spot for propagation is late spring to early summer. This is when the plant is actively growing after its winter dormancy and has plenty of energy to put into new roots. You’re looking for new growth, usually before the main flowering flush.
Supplies You’ll Need
Gathering your supplies beforehand makes the whole process so much smoother. Here’s what I usually have on hand:
- Sharp pruning shears or a clean knife: For making nice, clean cuts.
- Sterile potting mix: A well-draining mix is key. I often use a blend of peat moss, perlite, and a bit of compost.
- Small pots or seed trays: With drainage holes, of course.
- Rooting hormone (optional but helpful): Especially for stem cuttings.
- Plastic bags or a propagation dome: To maintain humidity.
- Watering can with a fine rose or spray bottle: For gentle watering.
- Labels and a marker: To keep track of your projects!
Propagation Methods
There are a couple of ways we can go about this, but my favorite and often most successful method for Roscoea capitata is division.
1. Division: The Most Reliable Route
This is done when your established plant is ready to be divided, typically in early spring as soon as new shoots emerge. It’s essentially like giving your plant a little haircut and splitting it into smaller, manageable pieces, each with its own roots and shoots.
- Step 1: Gently Excavate. Carefully dig up your Roscoea clump. I like to gently loosen the soil around it with a trowel.
- Step 2: Inspect Your Prize. You’ll see fleshy rhizomes, which are what we’re interested in. Look for sections that have at least one shoot or bud and some attached roots.
- Step 3: Make the Split. Gently pull or use your clean knife or shears to separate the rhizomes. Don’t force it too much; if a section is stubborn, try to tease it apart. Ensure each piece has its own root system.
- Step 4: Pot Up Your Divisions. Plant each divided section into its own pot filled with your well-draining potting mix. Make sure the top of the rhizome is just barely covered with soil, or even slightly exposed depending on the size.
- Step 5: Water Gently. Water the newly potted divisions thoroughly but gently. We want the soil to be moist, not waterlogged.
- Step 6: Provide Care. Place the pots in a shady spot outdoors or a bright, indirect light indoors. Keep them consistently moist.
2. Stem Cuttings: A More Adventurous Approach
This method is a bit more hands-on but can be very rewarding if it works!
- Step 1: Take Healthy Cuttings. In late spring or early summer, select non-flowering, healthy stems from your plant. Using your sharp shears, cut a stem about 4-6 inches long, just below a leaf node. Remove the lower leaves, leaving only a few at the top.
- Step 2: Dip in Hormone (Optional). If you’re using rooting hormone, dip the cut end of the stem into it.
- Step 3: Pot Them Up. Insert the cut end of the stem into small pots filled with your moist, sterile potting mix. You can place a few cuttings in a pot, but make sure they aren’t touching each other.
- Step 4: Create a Humid Environment. Water gently and then cover the pots with a clear plastic bag or propagation dome to create a mini-greenhouse. Ensure the leaves do not touch the plastic.
- Step 5: Provide Consistent Conditions. Place the pots in a bright spot with indirect light. Keep the soil consistently moist.
The “Secret Sauce” (Pro Tips)
After years of playing in the dirt, I’ve picked up a few little tricks that often make a difference.
- You know how with some plants, you can just stick a leaf in water and it grows? For Roscoea, and this is crucial, keep the leaves of your stem cuttings completely out of any water. If you were attempting water propagation (which I don’t recommend as much for this one), any submerged leaf will just rot, taking the whole cutting down with it.
- If you’re doing divisions, don’t be afraid of the water! After replanting, give them a good, thorough but gentle soaking. This helps settle the soil around the roots and eliminates air pockets.
- For stem cuttings, especially if you’re in a cooler climate, bottom heat can be a game-changer. Placing your pots on a heated propagation mat set to a low temperature can significantly speed up root development.
Aftercare & Troubleshooting
Once your divisions or cuttings show signs of new growth, it’s a good sign roots are forming!
- Gradually Acclimatize. If you’ve used covers, start by taking them off for a few hours each day to let the young plants get used to normal humidity.
- Watering is Key. Continue to keep the soil consistently moist, but not soggy. Overwatering is one of the quickest ways to lose a new plant, especially to rot.
- Watch for Rot. The biggest culprit for failure is usually rot. If you see mushy stems or a foul smell, it’s a strong indicator of too much moisture and not enough air circulation. Sometimes, you can salvage a cutting by taking a fresh, healthy piece before the rot spreads.
A Little Patience Goes a Long Way
Propagating plants is a journey, and it requires a touch of patience. Some things take off immediately, others take their time. Don’t get discouraged if your first attempt isn’t perfect. Learn from it, enjoy the process of nurturing these new little lives, and soon you’ll have even more of those gorgeous Roscoea capitata blooms to admire in your garden. Happy gardening!
Resource:
https://identify.plantnet.org/k-world-flora/species/Roscoea%20capitata%20Sm./data