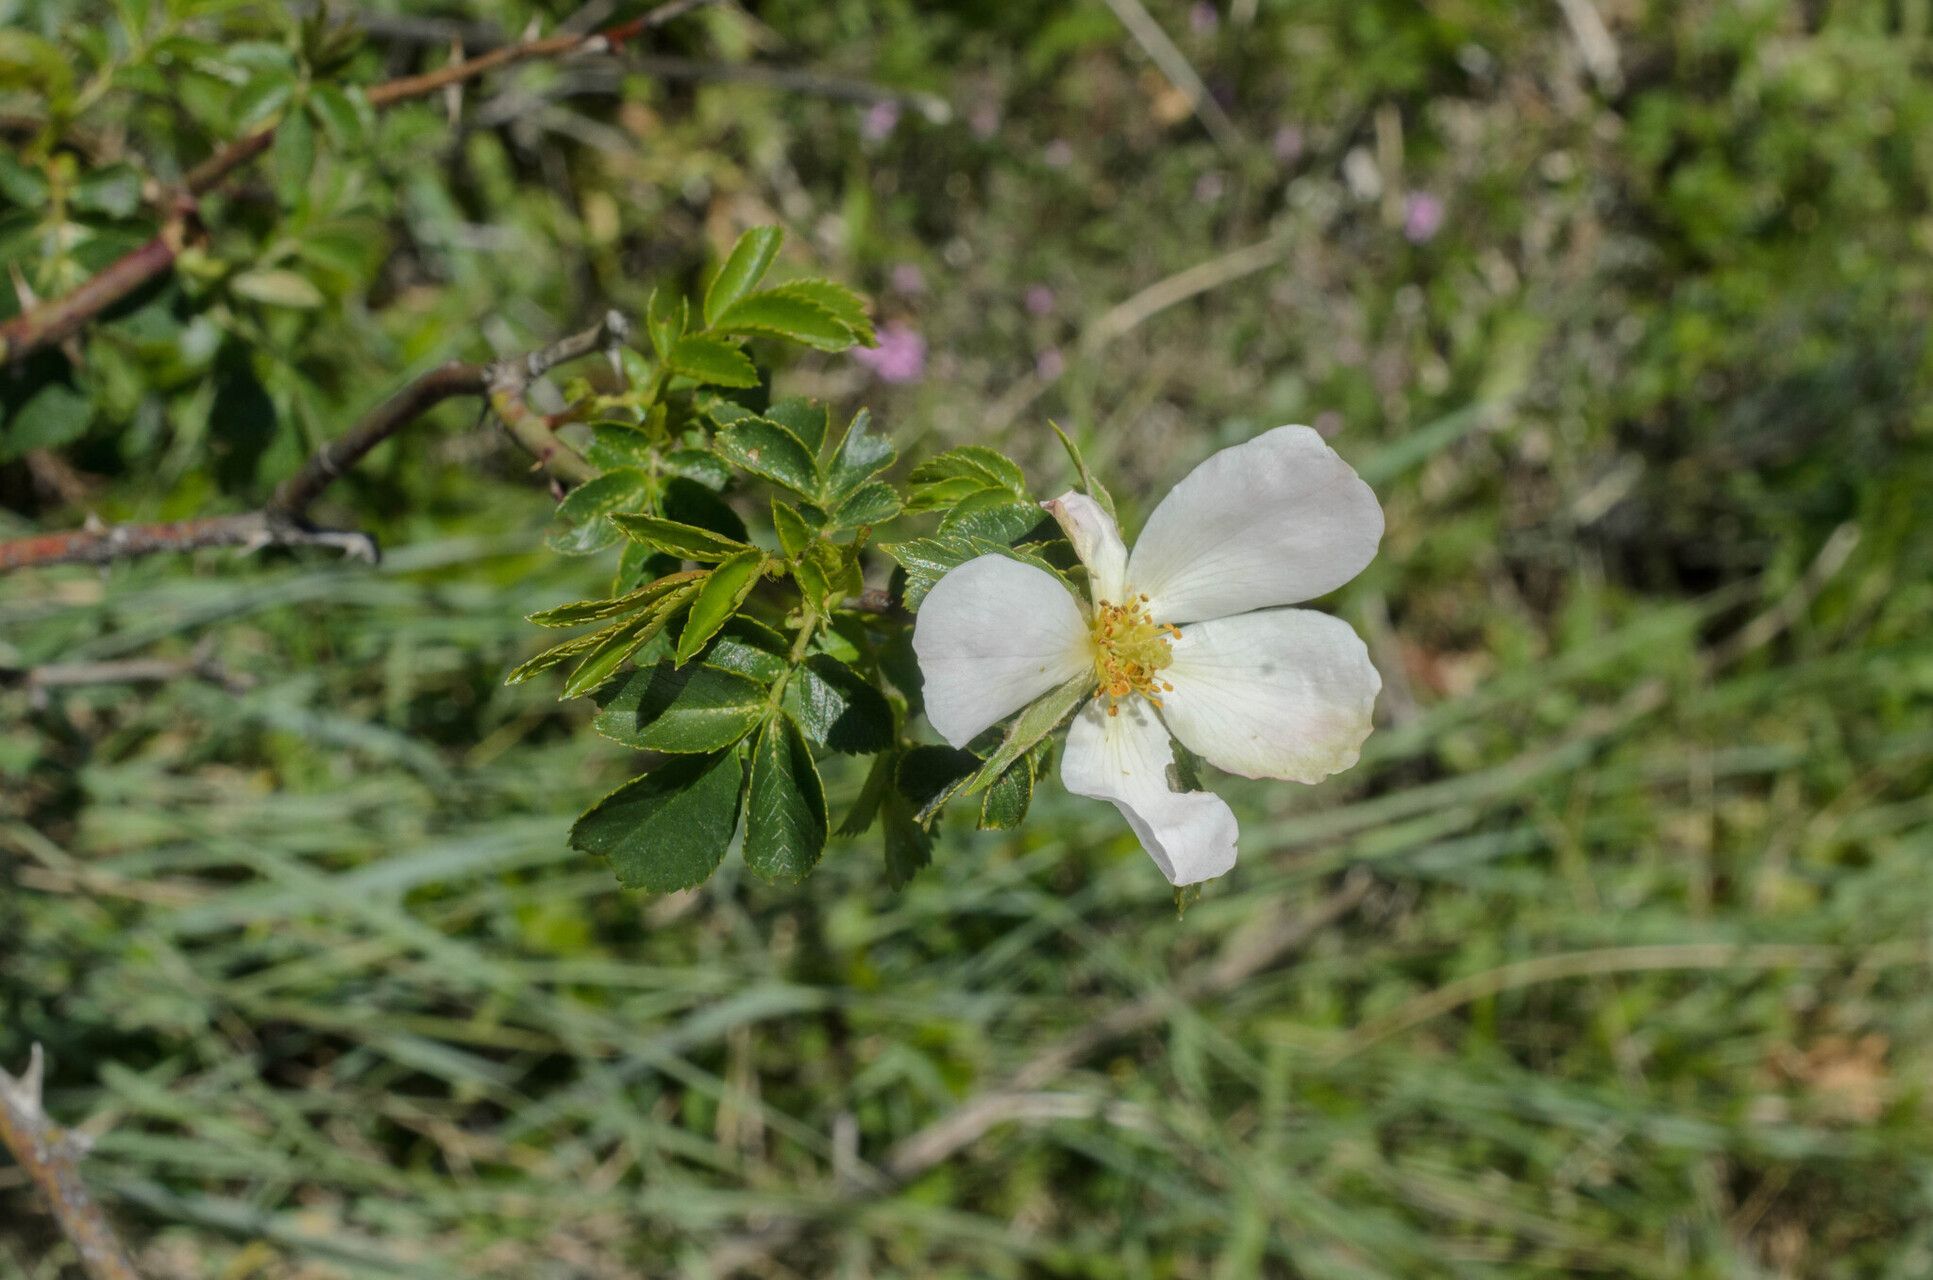
Oh, Rosa chavinii! What a lovely choice for propagation. This charming rose, with its delicate blooms and often robust growth, is a real gem to have in any garden. And the satisfaction of creating new life from an existing plant? It’s truly one of the most rewarding parts of gardening for me. For those of you just starting out with propagation, I’d say Rosa chavinii is a moderately easy plant to work with. With a little patience and the right approach, you’ll find yourself with a whole brood of new beauties!
The Best Time to Start
Timing is everything when it comes to successful propagation. For Rosa chavinii, I’ve found my best results come from working with semi-hardwood cuttings. This means you’ll want to take your cuttings from new growth that has started to mature – it’s no longer floppy and green, but it hasn’t fully hardened off into woody stems. Late spring through early summer is usually the sweet spot. The plant is actively growing, and the stems have that perfect balance of flexibility and firmness.
Supplies You’ll Need
Before we get our hands dirty, let’s gather our tools. Having everything ready will make the process much smoother:
- Sharp Pruning Shears or a Craft Knife: Clean cuts are essential for good rooting.
- Rooting Hormone Powder or Gel: This isn’t strictly mandatory, but it really gives your cuttings a boost.
- A Well-Draining Potting Mix: I prefer a blend of peat moss or coir, perlite, and a little bit of sand. You want something that holds moisture but doesn’t waterlog. You can also buy a specialized propagation mix.
- Small Pots or Seedling Trays: Clean containers are a must.
- Plastic Bags or a Clear Dome Lid: To create a humid environment.
- Watering Can with a Fine Rose: Gentle watering is key.
- A Marker and Labels: So you don’t forget what you planted where!
Propagation Methods
For Rosa chavinii, stem cuttings are my go-to method. It’s reliable and gives you a good chance of success.
- Take Your Cuttings: Select healthy, vigorous shoots that are about pencil-thick. Using your clean shears or knife, cut a section about 6-8 inches long. Make the basal cut (the bottom cut) at a slight angle, just below a leaf node (where a leaf attaches to the stem). This is where rooting hormones and new roots are most likely to form. For the top cut, make it clean and straight just above a leaf node.
- Prepare the Cuttings: Gently remove the leaves from the bottom half of the cutting. If the remaining leaves are very large, you can cut them in half horizontally. This reduces water loss through transpiration while still allowing for some photosynthesis.
- Apply Rooting Hormone: Dip the cut end of the stem into your rooting hormone, tapping off any excess.
- Plant the Cuttings: Fill your pots or trays with your prepared potting mix. Make a hole in the center of each pot with a pencil or your finger. Insert the cutting into the hole, ensuring the nodes where you removed the leaves are buried in the soil. Gently firm the soil around the stem.
- Create a Humid Environment: Water the soil gently until it’s moist but not saturated. Then, cover the pots with a clear plastic bag, being careful to keep the bag from touching the leaves, or place them under a clear dome lid. This traps humidity, which is crucial for the cuttings to survive before they develop roots.
The “Secret Sauce” (Pro Tips)
After years of trial and error, I’ve picked up a few tricks that make a real difference:
- Bottom Heat is Your Friend: If you can, place your pots on a seedling heat mat. This gentle bottom warmth encourages root development from below, significantly speeding up the process and improving your success rate. It’s like giving the roots a cozy incubator.
- Avoid Standing Water on Leaves: In that humid environment you’ve created, if water consistently sits on the leaves, it can lead to fungal issues. Try to position your plastic bag so it arches over, keeping condensation off the foliage. A good airing out every few days can also help.
- Cleanliness is Next to Godliness: I can’t stress this enough. Sterilize your tools before you start and use clean pots. Any lingering bacteria or fungi on your tools or containers can introduce diseases to your vulnerable cuttings. A quick dip in isopropyl alcohol or bleach solution works wonders.
Aftercare & Troubleshooting
Once your cuttings have been planted, place them in a bright spot but out of direct, harsh sunlight. Keep the soil consistently moist but never soggy. You’ll know they’re rooting when you see new growth appearing or feel a gentle tug when you lightly pull on the stem. This usually takes anywhere from 4 to 8 weeks, sometimes longer.
If you notice your cuttings wilting excessively and not perking up after watering, or if the stem turns mushy and black at the soil line, that’s usually a sign of rot. This often happens when the soil is too wet or if there’s poor air circulation. If you spot rot, it’s best to discard that cutting to prevent it from spreading. Don’t get discouraged; it happens to the best of us! Just try to adjust your watering or air flow for the next batch.
A Little Bit of Patience Goes a Long Way
Propagating Rosa chavinii is a journey, and like any good garden project, it requires a bit of patience. Don’t be disheartened if not every cutting takes. Each attempt is a learning experience. Enjoy the process of nurturing these tiny beginnings. Soon enough, you’ll be admiring your own homegrown roses, and that’s a feeling that simply can’t be beat. Happy propagating!
Resource:
https://identify.plantnet.org/k-world-flora/species/Rosa%20chavinii%20Rapin%20ex%20Reut./data