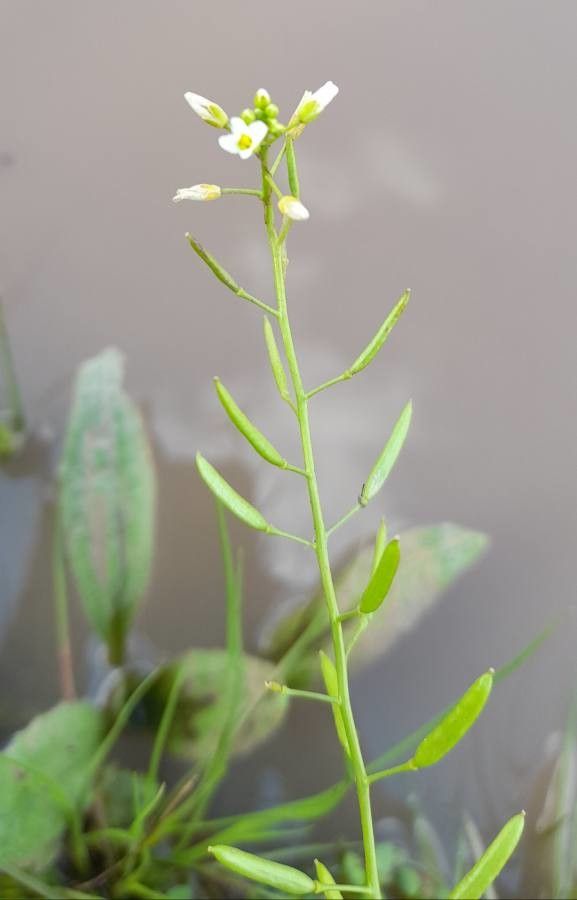
Well hello there, fellow garden enthusiasts! It’s wonderful to be back with you today, and I’m excited to chat about a plant that has brought me so much joy over the years: Rorippa bonariensis. You might know it as “Trailing Balloon Flower” or by its other common name, the Argentinian Yellow Bell. Its delicate, cheerful yellow blooms and lovely trailing habit make it a star in hanging baskets, containers, and even spilling over the edges of garden beds.
Propagating Rorippa bonariensis is a particularly rewarding endeavor. It’s not a fussy plant at all, which for me, speaks volumes! If you’re new to the plant propagation game, you’ll be happy to hear that this one is quite forgiving. It’s definitely a great plant to get your hands dirty with and build your confidence.
The Best Time to Start
For the highest success rates, I always recommend propagating Rorippa bonariensis in the spring or early summer. This is when the plant is actively growing and has plenty of energy to put into developing new roots. You’ll want to take cuttings from healthy, non-flowering stems. Think of it as taking a “tip” that’s eager to explore and grow!
Supplies You’ll Need
Gathering your supplies beforehand makes the whole process so much smoother. Here’s what I usually have on hand:
- Sharp pruning shears or a clean knife: For making clean cuts.
- Rooting hormone (optional but helpful): A powder or gel that encourages root development.
- A well-draining potting mix: I like a blend of peat moss, perlite, and a bit of compost.
- Small pots or seed trays: Clean ones, please!
- Watering can or spray bottle: For gentle watering.
- A plastic bag or propagation dome: To create a humid environment.
Propagation Methods
Rorippa bonariensis is wonderfully adaptable, and I’ve had great luck with a couple of simple methods.
Stem Cuttings
This is my go-to for Rorippa. It’s straightforward and almost always yields results.
- Select your cutting: Look for a healthy, vigorous stem that’s about 4-6 inches long. Gently pinch or snip it just below a leaf node (where a leaf attaches to the stem). Remove any lower leaves, leaving just a few at the very top.
- Dip in rooting hormone (optional): If you’re using rooting hormone, dip the cut end into it. Gently tap off any excess.
- Plant the cutting: Make a small hole in your prepared potting mix. Insert the cut end of the stem into the hole, ensuring at least one leaf node is buried in the soil. Gently firm the soil around the cutting.
- Water gently: Water the soil thoroughly but avoid drowning it.
- Create humidity: I like to cover the pot with a clear plastic bag or a propagation dome. Make sure the bag doesn’t touch the leaves of the cutting. This little greenhouse effect keeps things moist and happy.
- Place in bright, indirect light: Find a spot that receives plenty of light but isn’t in direct, hot sun.
Water Propagation
Sometimes, I prefer to skip the soil and watch the magic unfold in water.
- Prepare your cutting: Similar to the stem cutting method, take a 4-6 inch tip cutting from a healthy stem and remove the lower leaves.
- Place in water: Put the cutting in a small jar or glass of clean water. Make sure the leaf nodes (where leaves were removed) are submerged, but don’t let the leaves themselves touch the water.
- Change the water regularly: Every couple of days, change out the water to keep it fresh and oxygenated. This is crucial to prevent rot.
- Find a bright spot: Again, place it in bright, indirect light.
- Transplant when ready: Once you see substantial roots (about an inch or two long), you can transplant your baby Rorippa into its potting mix, following the steps for planting cuttings.
The “Secret Sauce” (Pro Tips)
After years of playing with plants, a few little tricks have really made a difference for me.
- Don’t overcrowd: When taking multiple cuttings, give them a bit of breathing room in their pots. Overcrowding can lead to poor air circulation and increase the risk of fungal issues.
- Bottom heat is your friend: If you have a heat mat for seedlings, use it! Placing your pots on a gentle heat source can significantly speed up root development. It mimics the warmth of spring soil, giving those cuttings a nice boost.
- Be patient with flowering stems: While you want to take cuttings from non-flowering stems, if you happen to have a situation where your cutting develops a tiny flower bud, don’t be afraid to pinch it off. The plant should focus its energy on growing roots, not putting on a show just yet.
Aftercare & Troubleshooting
Once you start seeing new growth or small roots peeking out from the drainage holes, it’s time to transition your new plants.
- Gradually acclimate: If you used a plastic bag, slowly start to remove it over a few days to let your plant get used to the regular humidity.
- Water consistently: Keep the soil moist but not soggy. You can check by sticking your finger about an inch into the soil; if it feels dry, it’s time to water.
- Watch for rot: The most common sign of trouble is a mushy, black stem at the soil line. This usually means it’s too wet or there’s a lack of air circulation. If you see this, sadly, the cutting is likely lost. If you catch it early, you can try to salvage healthy parts, but prevention is key!
- Drying out: Conversely, if the leaves start to wilt and look dry, it might be too dry. Give it a good drink and check your humidity levels again.
A Little Patience, A Lot of Joy
Propagating Rorippa bonariensis is such a fulfilling way to expand your garden and share these cheerful plants with friends. Don’t be discouraged if a cutting or two doesn’t make it. Every gardener has had those moments! The key is to be patient, observe your plants, and enjoy the process of bringing new life into your space. Happy propagating!
Resource:
https://identify.plantnet.org/k-world-flora/species/Rorippa%20bonariensis%20(Poir.)%20Macloskie/data