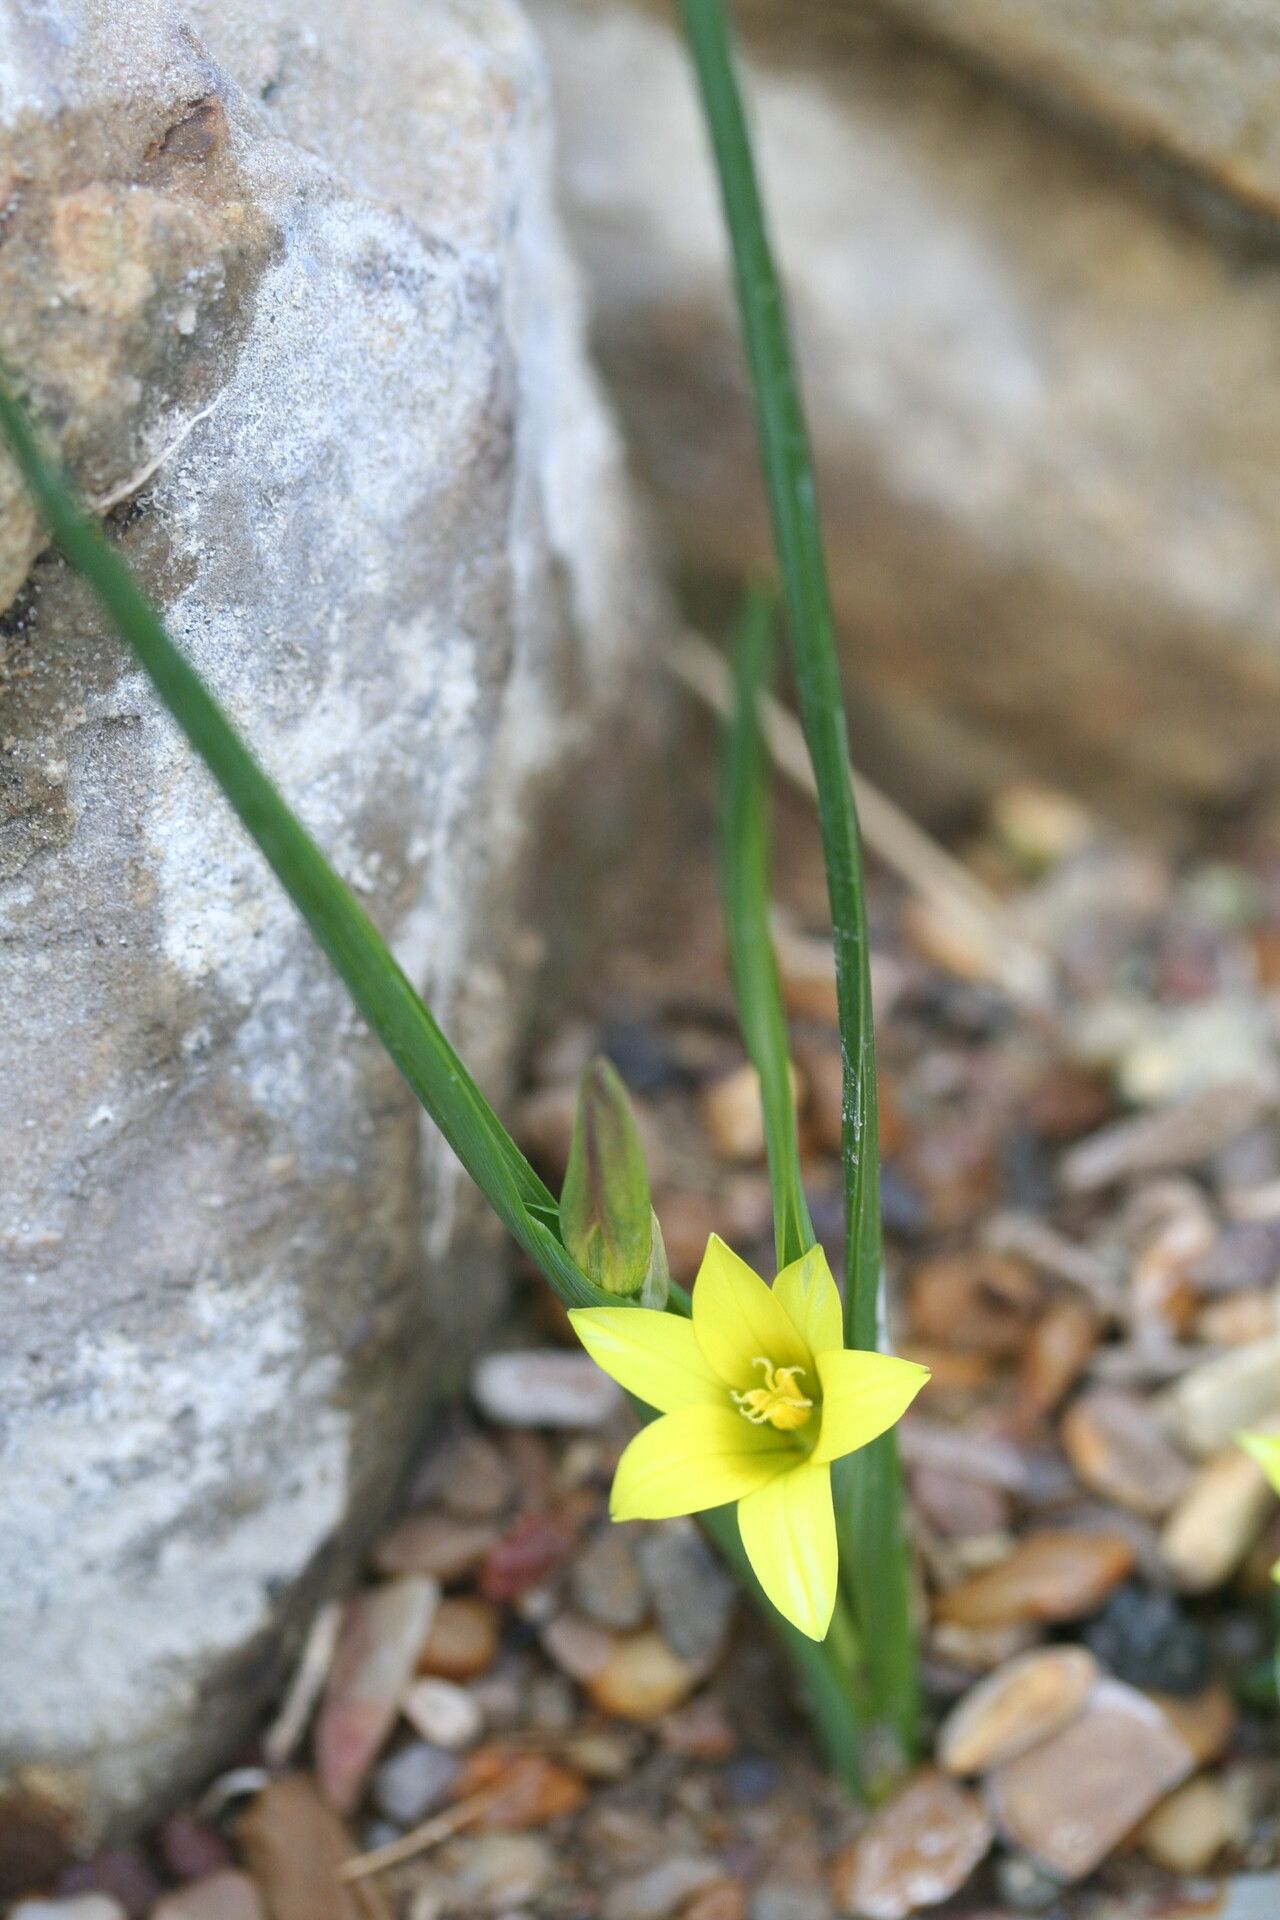
Hello there, fellow garden enthusiasts! I’m so happy you’ve stopped by my little corner of the internet. Today, we’re diving into the delightful world of Romulea flava. If you haven’t met this charming little bloom yet, picture delicate, star-shaped flowers, often in vibrant yellows, emerging from grass-like foliage. They have this wonderful way of brightening up late winter or early spring borders.
Propagating Romulea flava is a truly rewarding endeavor. Watching a tiny corm or a small division transform into a flourishing plant is such a joy. Now, if you’re a beginner, don’t let the fancy botanical name fool you. While it might seem a bit intricate, propagating Romulea flava is absolutely achievable, and I’m here to guide you every step of the way. Think of it as a fun gardening project!
The Best Time to Start
Timing is everything in gardening, isn’t it? For Romulea flava, the ideal time to propagate is right after they finish their blooming cycle and enter their dormancy. This usually happens in late spring or early summer, after the foliage has naturally started to yellow and die back. This period of rest is crucial; it means the plant has stored up plenty of energy for new growth. Trying to propagate when they’re actively growing can be more challenging and less successful.
Supplies You’ll Need
Gathering your tools beforehand makes the whole process smoother. Here’s what I typically have on hand:
- A good quality, well-draining potting mix. I like a blend of equal parts potting soil, perlite, and a touch of grit.
- A clean and sharp trowel or a small spade.
- A labeling system (waterproof markers and plant tags, or even just popsicle sticks!).
- For division: a fine-tipped dibber or a pencil for making small planting holes.
- A watering can with a fine rose attachment.
- Optional but helpful: a tiny bit of superphosphate to give the new corms a boost.
Propagation Methods: Let’s Get Our Hands Dirty!
Romulea flava is most commonly propagated through corm division. These little underground bulbs, called corms, are the plant’s preferred method for making more of themselves.
Corm Division:
- Gentle Excavation: Once the foliage has completely died back, it’s time to carefully dig up your Romulea flava clumps. Use your trowel to gently loosen the soil around the plant. You want to avoid damaging the corms as you lift them.
- Cleaning Off the Soil: Gently brush or rinse off as much soil as you can from the corms. You’ll see the parent corm and lots of smaller baby corms attached.
- Separating the Corms: This is where you become a little botanical surgeon! Look for where the smaller corms are naturally attached to the larger ones. With your fingers or a small knife, carefully separate the corms. The goal is to have healthy-looking corms, and the smaller ones are perfectly viable. If a corm looks mushy or diseased, best to discard it.
- Planting Your New Treasures: Fill small pots (about 4-inch size works well) with your well-draining potting mix. Make a hole in the center of each pot with your dibber or pencil. Place one or a few corms in the hole, depending on their size, and cover them gently with about an inch of soil. Space them a little apart if you’re planting multiples.
- Watering In: Water the pots lightly but thoroughly. You want the soil to be moist but not waterlogged.
- Labeling is Key: Don’t forget to label each pot with the plant name and the date you potted them. It’s a simple step that prevents future confusion!
The “Secret Sauce” (Pro Tips)
Now, here are a couple of tricks I’ve picked up over the years that can really make a difference:
- Don’t Rush the Dormancy: This is by far the most common mistake. If you try to divide corms when the plant is still green, you’re essentially trying to take a nap away from someone’s bedroom! They haven’t stored the energy, and you’ll have much lower success rates. Wait for that wilting foliage.
- Embrace Bottom Heat (If You Can): While not strictly necessary, if you have a greenhouse or a warm windowsill, placing your pots on a gentle heating mat can really encourage those corms to wake up and start rooting faster. It mimics the warmth they’d naturally receive in the ground as the seasons change.
Aftercare & Troubleshooting
Once your pots are planted, place them in a bright, cool location. Think a shaded cold frame, a cool greenhouse, or a bright windowsill that doesn’t get scorching sun. I like to keep the soil consistently lightly moist during this period. You’ll see signs of life when new green shoots emerge from the soil. This can take anywhere from a few weeks to a couple of months, so patience is your friend.
The most common issue you might encounter is rot. This usually happens if the soil is too wet, especially in cooler conditions. If you see a corm turning mushy and disintegrating, or if your emerging shoots look yellow and unhealthy, it’s often a sign of too much moisture. In these cases, you might need to gently excavate to check the corms. If you catch it early enough, letting the soil dry out a bit more thoroughly can help.
A Little Encouraging Wrap-Up
So there you have it! Propagating Romulea flava is a rewarding journey that connects you even more deeply with your garden. Don’t be discouraged if your first attempt isn’t perfect. Every gardener, myself included, has had their share of learning experiences. Enjoy the process, observe your little corms, and embrace the magic of growth. Happy planting!
Resource:
https://identify.plantnet.org/k-world-flora/species/Romulea%20flava%20(Lam.)%20M.P.de%20Vos/data