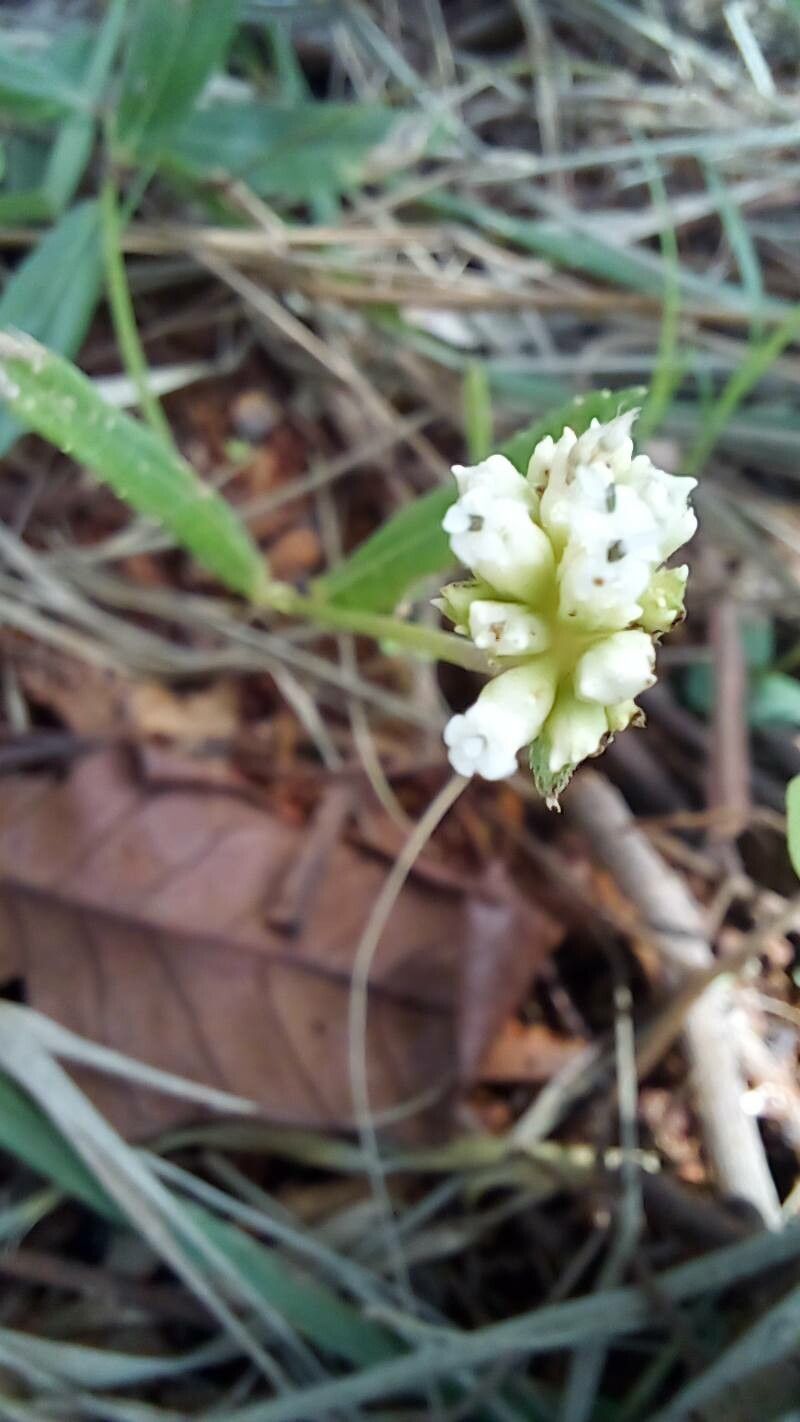
Oh, Riencourtia latifolia! Isn’t she a beauty? With those lush, architectural leaves, she brings such a touch of drama to any space. I’ve always adored mine, and the thought of being able to share her with fellow plant lovers? Pure joy! The good news is, while she might not be the absolute first plant a brand new beginner should tackle, with a little guidance, you’ll find propagating Riencourtia latifolia is quite achievable and incredibly rewarding. Seeing a new little plant sprout from a piece of an older one is just magic.
The Best Time to Start
For the highest success rate with Riencourtia latifolia, I find late spring or early summer is simply your best bet. This is when the plant is actively growing, full of energy, and ready to put out new roots. Starting during this vigorous growth phase means your cuttings or divisions have the best chance to establish themselves quickly before cooler weather sets in.
Supplies You’ll Need
Gathering your supplies beforehand makes the whole process smoother. Here’s what I usually have on hand:
- Sharp, clean pruning shears or a sharp knife: Essential for making clean cuts that heal well.
- Well-draining potting mix: I like a blend of regular potting soil with perlite or coarse sand, or even a cactus/succulent mix.
- Small pots or propagation trays: Whatever suits the size of your cuttings or divisions.
- Rooting hormone (optional but recommended): A little boost can make a big difference in encouraging root development.
- Plastic bags or a clear dome: To create a humid environment.
- Watering can with a fine rose: To gently water your new propagations.
- Labels: So you remember what you’ve planted!
Propagation Methods
Riencourtia latifolia is a trooper when it comes to propagation. Here are my go-to methods:
Stem Cuttings
This is my favorite way to multiply Riencourtia latifolia.
- Select a healthy stem: Look for a stem that’s not too old and woody, but not so soft it’s just emerged. About 4-6 inches long is ideal.
- Make a clean cut: Using your sharp shears or knife, make a cut just below a leaf node. This is where the magic happens for root formation.
- Remove lower leaves: Gently strip off the bottom one or two sets of leaves. You want at least one or two nodes exposed to the soil or air for rooting.
- Apply rooting hormone (if using): Dip the cut end into your rooting hormone, tapping off any excess.
- Plant your cutting: Insert the cut end about an inch deep into your prepared, moist potting mix. Gently firm the soil around it.
- Create humidity: Either cover the pot with a clear plastic bag (making sure the leaves don’t touch the plastic) or place it under a clear propagation dome. Pop a couple of drainage holes in the bag if it’s a tight seal.
- Place in bright, indirect light: Find a warm spot with plenty of light, but out of direct sun, which can scorch your precious cutting.
Division
If your Riencourtia latifolia has become a bit of a clump, division is a fantastic way to get multiple plants.
- Gently remove the plant from its pot: Try to keep as much of the original soil ball intact as possible.
- Identify natural divisions: Look for where the plant naturally splits into separate root sections.
- Separate the clumps: You can often gently pull them apart. If they are stubborn, use a clean, sharp knife or trowel to cut through the roots and crowns where necessary. Be as gentle as possible.
- Pot up each division: Plant each new section into its own pot with fresh, well-draining soil.
- Water gently: Give them a light watering to settle the soil.
The “Secret Sauce” (Pro Tips)
Here are a couple of things I’ve learned over the years that can really give you an edge:
- Bottom Heat is Your Friend: Especially for stem cuttings, placing your pots on a gentle heat mat can significantly speed up root formation. It mimics the warmth of spring soil and really encourages those roots to get moving.
- Don’t Drench, Just Keep Moist: When watering your cuttings or divisions initially, I find it’s better to water from the bottom if possible, letting the pot soak up what it needs. This prevents disturbing the delicate plantlets and reduces the risk of rot or damping off. Let the top layer of soil just begin to dry before watering again.
Aftercare & Troubleshooting
Once you see signs of new growth – little leaves unfurling or resistance when you gently tug your cutting – you’re in business!
- Gradual Acclimation: If you’ve used a humidity dome or plastic bag, start gradually introducing your new plant to drier air by opening the cover for a few hours each day over a week.
- Reduced Watering: As it establishes, you can start watering a little less frequently, allowing the top inch of soil to dry out between waterings.
- Keep it Warm: Continue to provide that bright, indirect light and a warm environment.
Now, what if things go wrong? The most common culprit is rot. If your cutting looks mushy, black, or is falling apart, it’s likely due to overwatering or poor drainage. Don’t despair! Sometimes, you can salvage a perfectly clean section of the stem and try again. For divisions, if a section looks unwell, separate it and give it its own space to recover. Patience is key!
So there you have it! Propagating Riencourtia latifolia is a wonderfully accessible way to expand your collection or share your love for this stunning plant. Don’t be afraid to get your hands dirty, learn from every attempt, and most importantly, enjoy the journey of watching new life unfurl. Happy gardening!
Resource:
https://identify.plantnet.org/k-world-flora/species/Riencourtia%20latifolia%20Gardner/data